As of April 2024, all new accounts come pre-loaded with rich automations set up for content writing and publication. The following is a detailed guide to using the automations to create quality blog and location-specific posts for you website:
To see our guide on using the automations for social media accounts, see this article.
Make sure to check out our article on Optimizing Search Engine Visibility for these WordPress pages at this link.
Connecting Instant Uploader to WordPress
Adding content for scheduled conversion to Blogs and Location Specific Posts
How to post immediately without the scheduler
To be able to post from Instant Uploader to your WordPress website, you must first connect your account Instant Uploader.
You can either go to Instant Uploader, go to Config -> Web Connect and follow the instructions you'll find on the page, or follow this guide to install the WordPress plugin and connect your accounts.
To create Blog and Location Specific Posts one at a time, follow this guide. To upload content in bulk, please view this article.
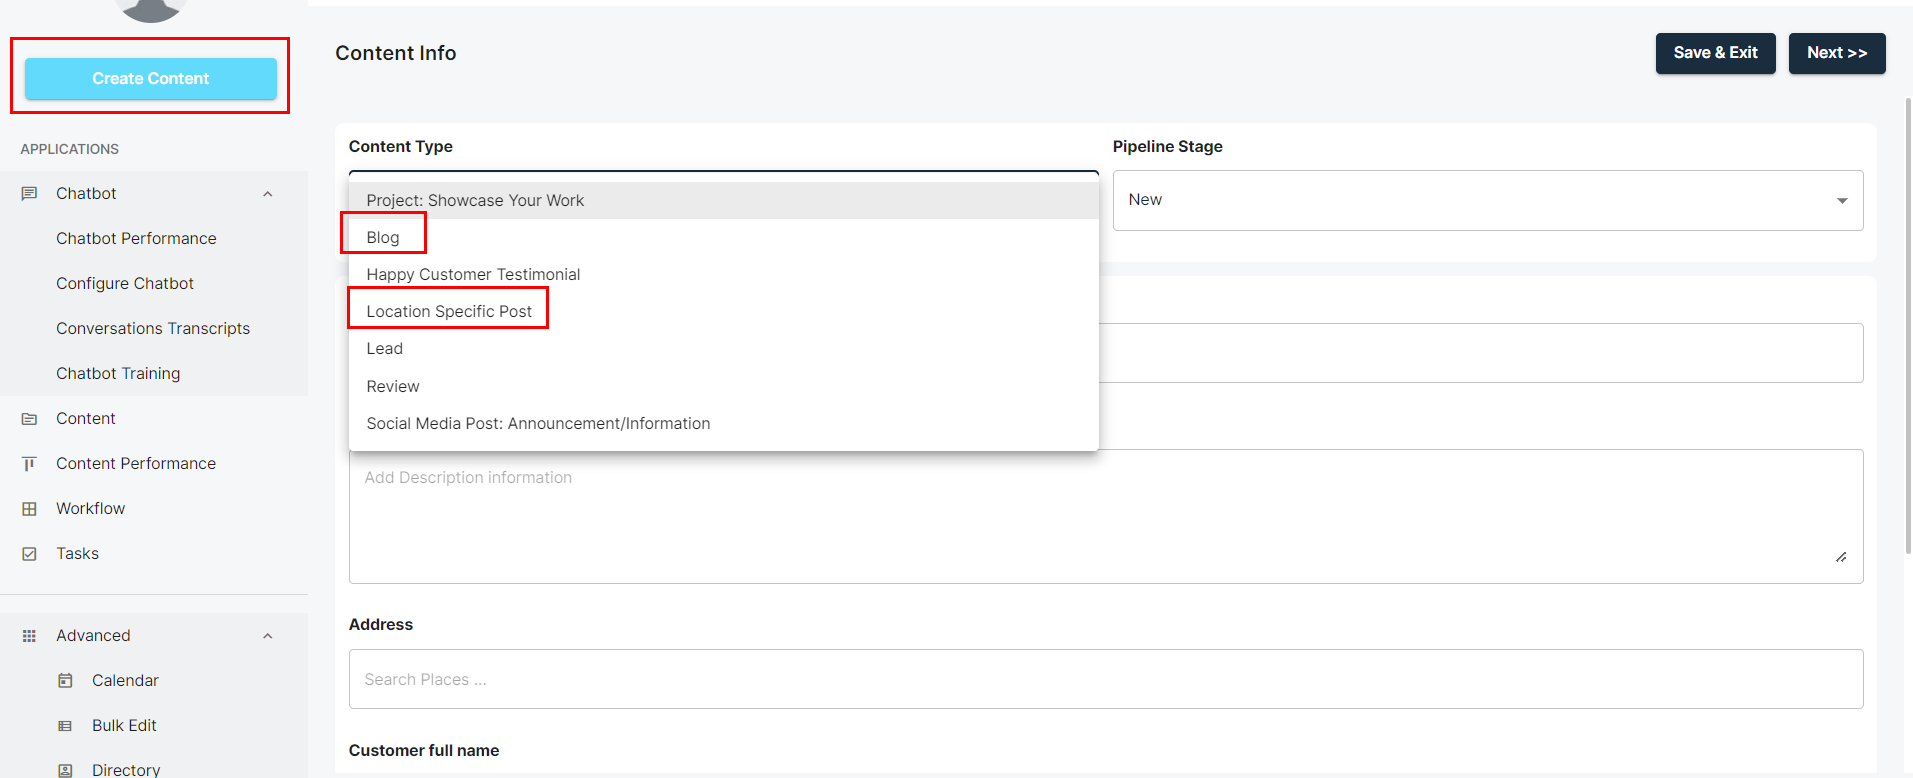
Step 1: In the Instant Uploader web app, click on Create Content, then from the dropdown, select "Blog" or "Location Specific Post" and press Save:
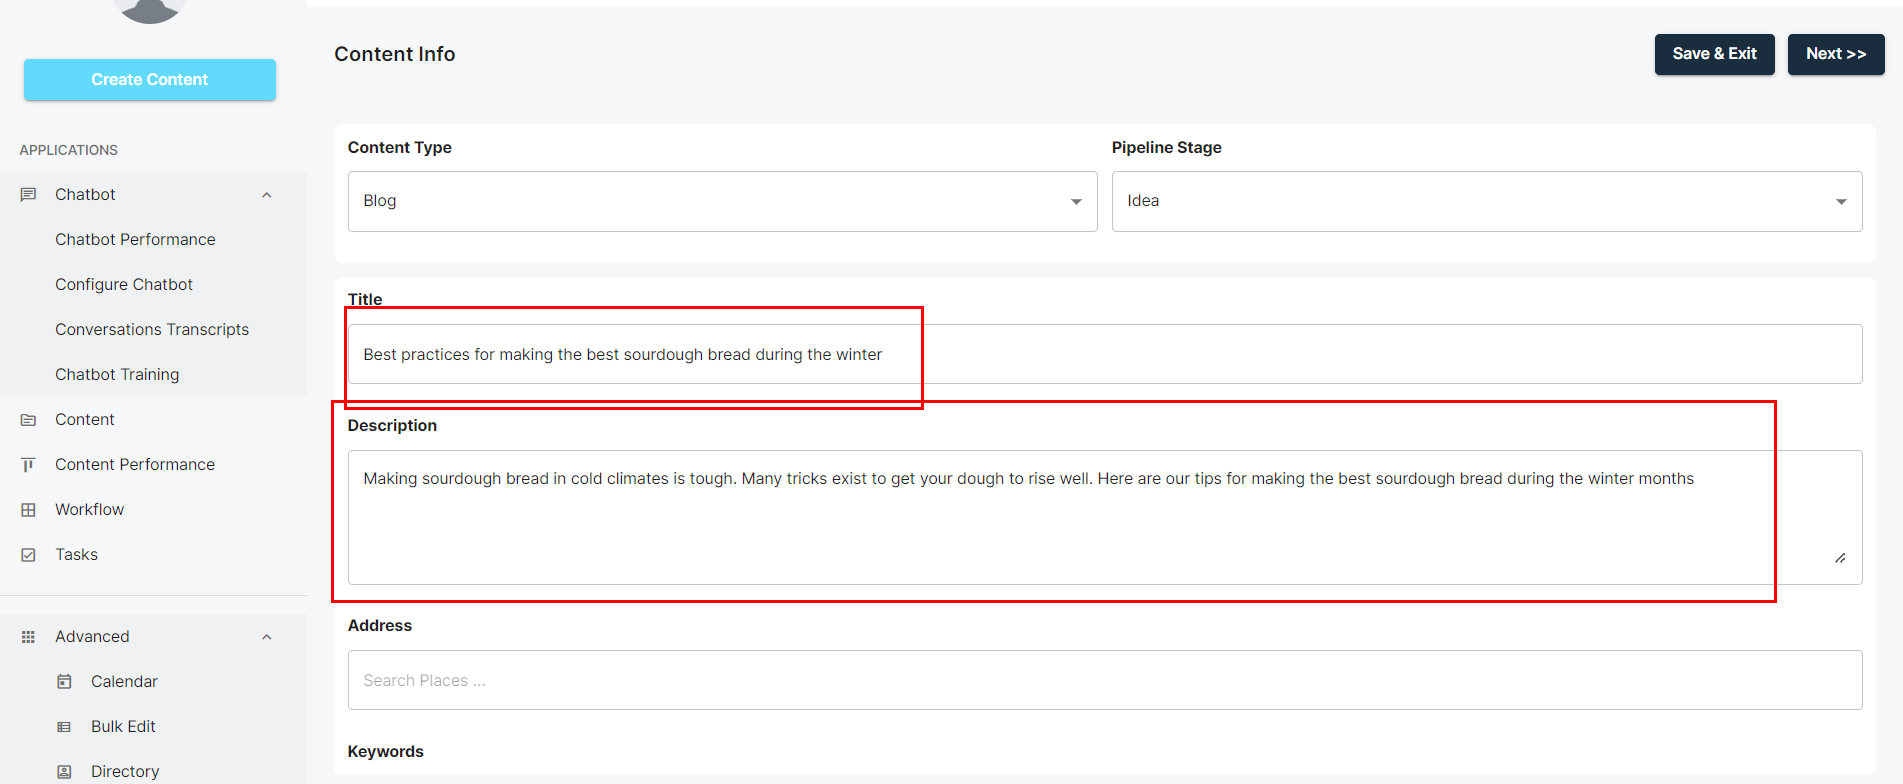
Step 2: Add a title and description and click Next.
***Important! These are the primary inputs that dictate to the AI what should be included in the post. The better and more descriptive these inputs are, the better the outcome of the post. For example, the input pictured in the below image will give fairly good results, but Title: "bread" and Description: "Bread tips" will force the AI to make up lots of unwanted information to complete the post, leading to poor and inaccurate results. Likewise, for Location Specific Posts, the goal is to give the bot context and information that will lead to people from your geographic area to find your website when searching Google.
Step 3: Add an image or images. You can click and search or drag and drop. Then press next.
Optional: After uploading an image and before clicking Next, if the image is relevant to the post (not a general stock image), you can click the image and then click "Analyze with AI" to add context to your post.
Note: Adding images is not necessary but adds a lot of value to posts.

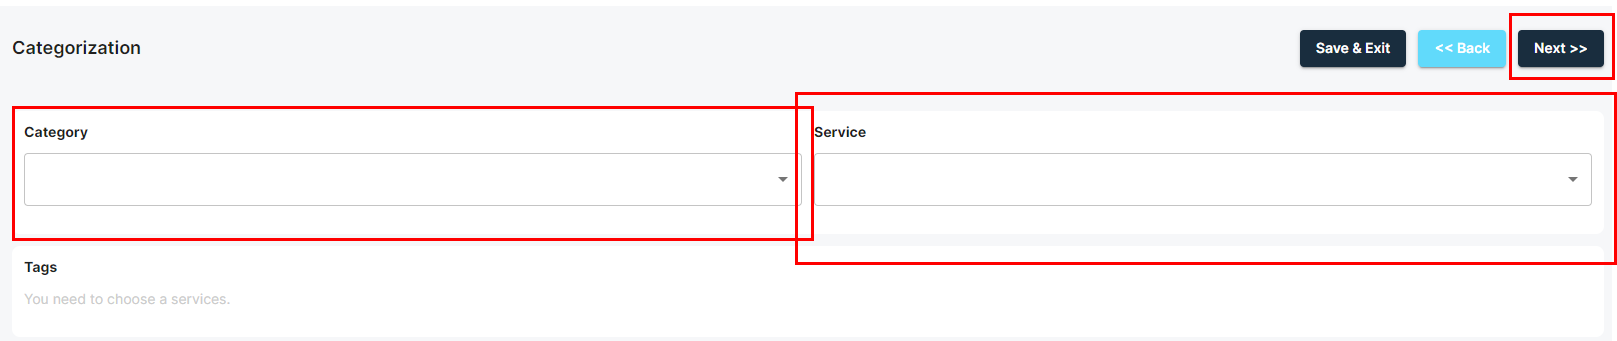
Step 4: Optional: Add internal context and relevance to the posts by categorizing the posts in the dropdowns. Then click Next:
Step 5: Review the information and, when satisfied, click "Save and Return to Feed"

Step 6: Create as many of these items as you'd like and they will now be in the queue to be automatically written up and published to your WordPress website.
The scheduler will choose the least recent item and create the writeup every Monday and Wednesday at 9:00 Pacific Time. The time and frequency can be edited by going to Config->Automations and clicking the second tab, Event Rules:

Step 7: After a few minutes, once the AI Writer completes the writeups for each platform and publishes to WordPress, an automated email will be sent out to inform you of the posting. The content can be edited by clicking on the content, clicking the pencil in the top right corner and in the 4th tab, AI Writer, you can edit and save. The changes will be reflected on your website automatically.
After step 4 above, change the stage to "completed". The writeup and publishing will occur immediately and the automated email will be sent out as above.
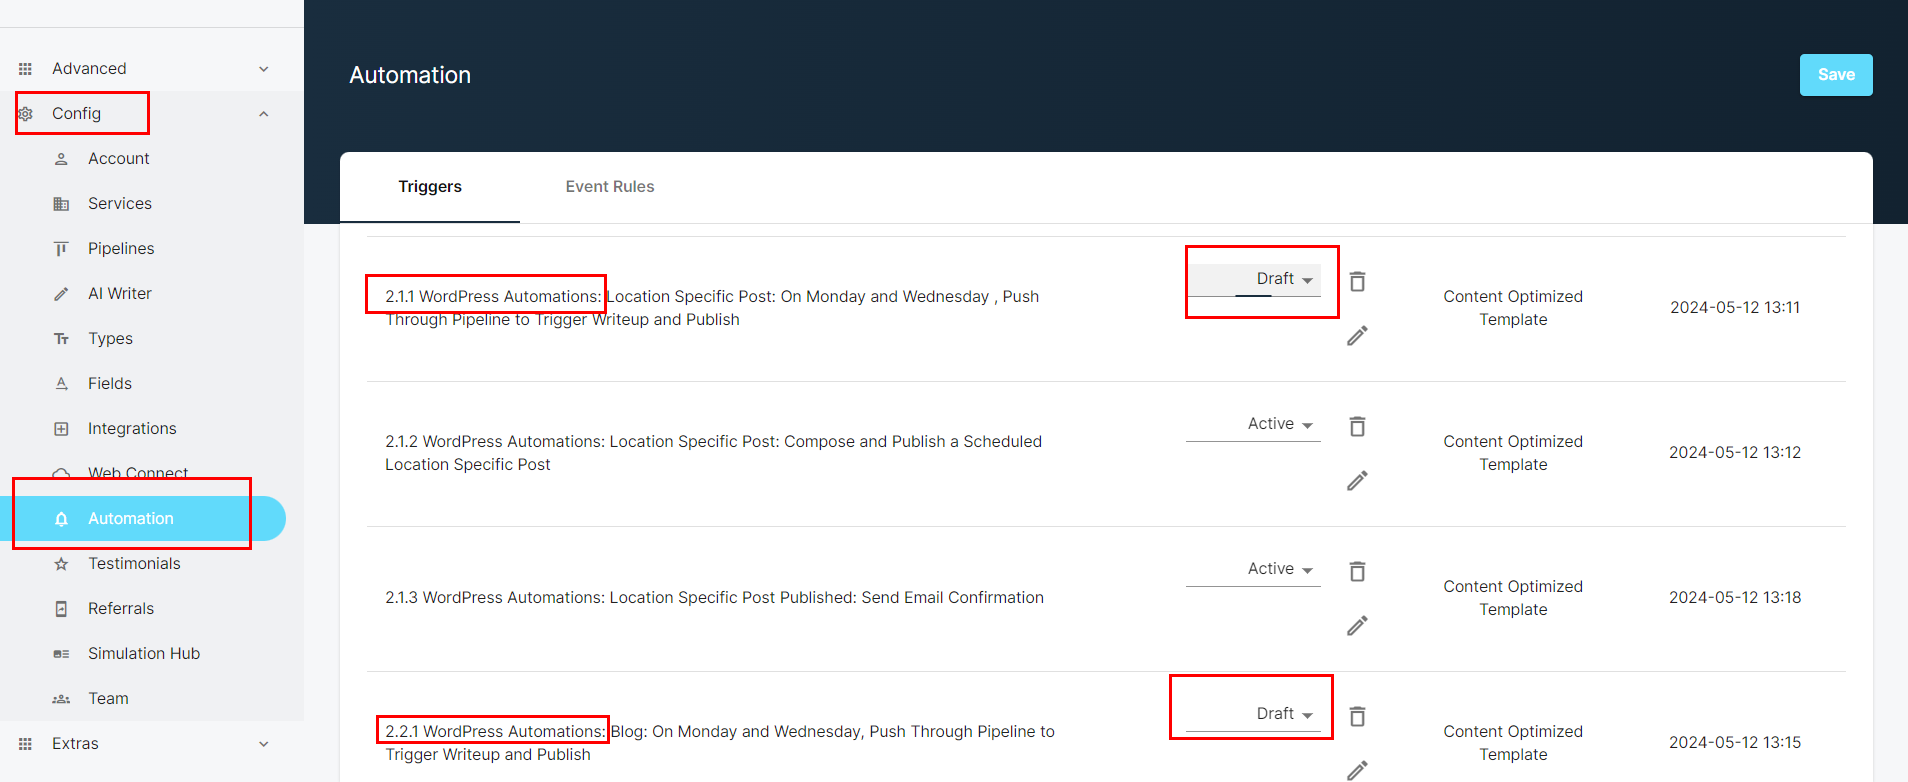
Optional: If you don't want the scheduler to run at all, and you want to only create the writeups like this, go to Config->Automations and change 2.1.1 and 2.2.1 to "Draft":
I hope you enjoyed this article and that you get great value out of the power of the WordPress automations.
Happy posting!
