Welcome to our step-by-step guide on how to connect your WordPress website to our platform. This process is straightforward, and I'll walk you through each step to ensure a smooth integration. Let's get started!
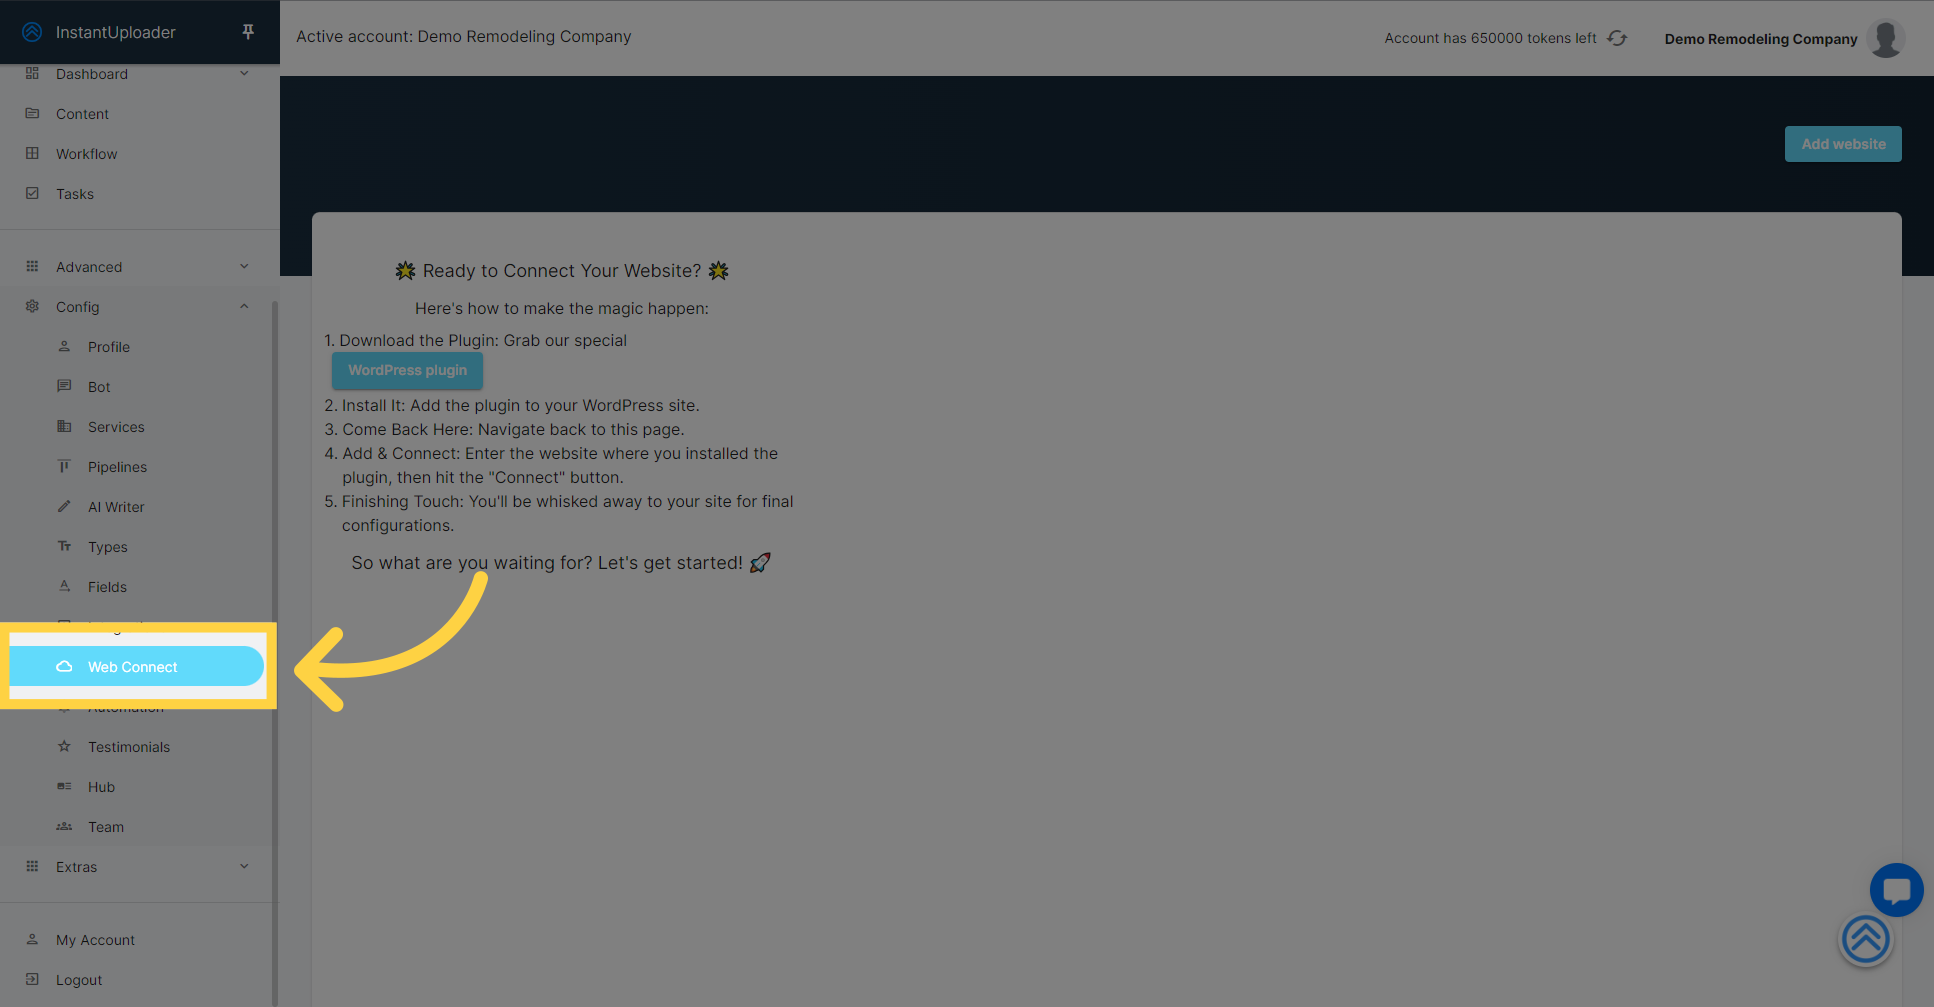
First things first, let's click on the 'Web Connect' option. This is where we'll begin the process of integrating your WordPress site with our platform.
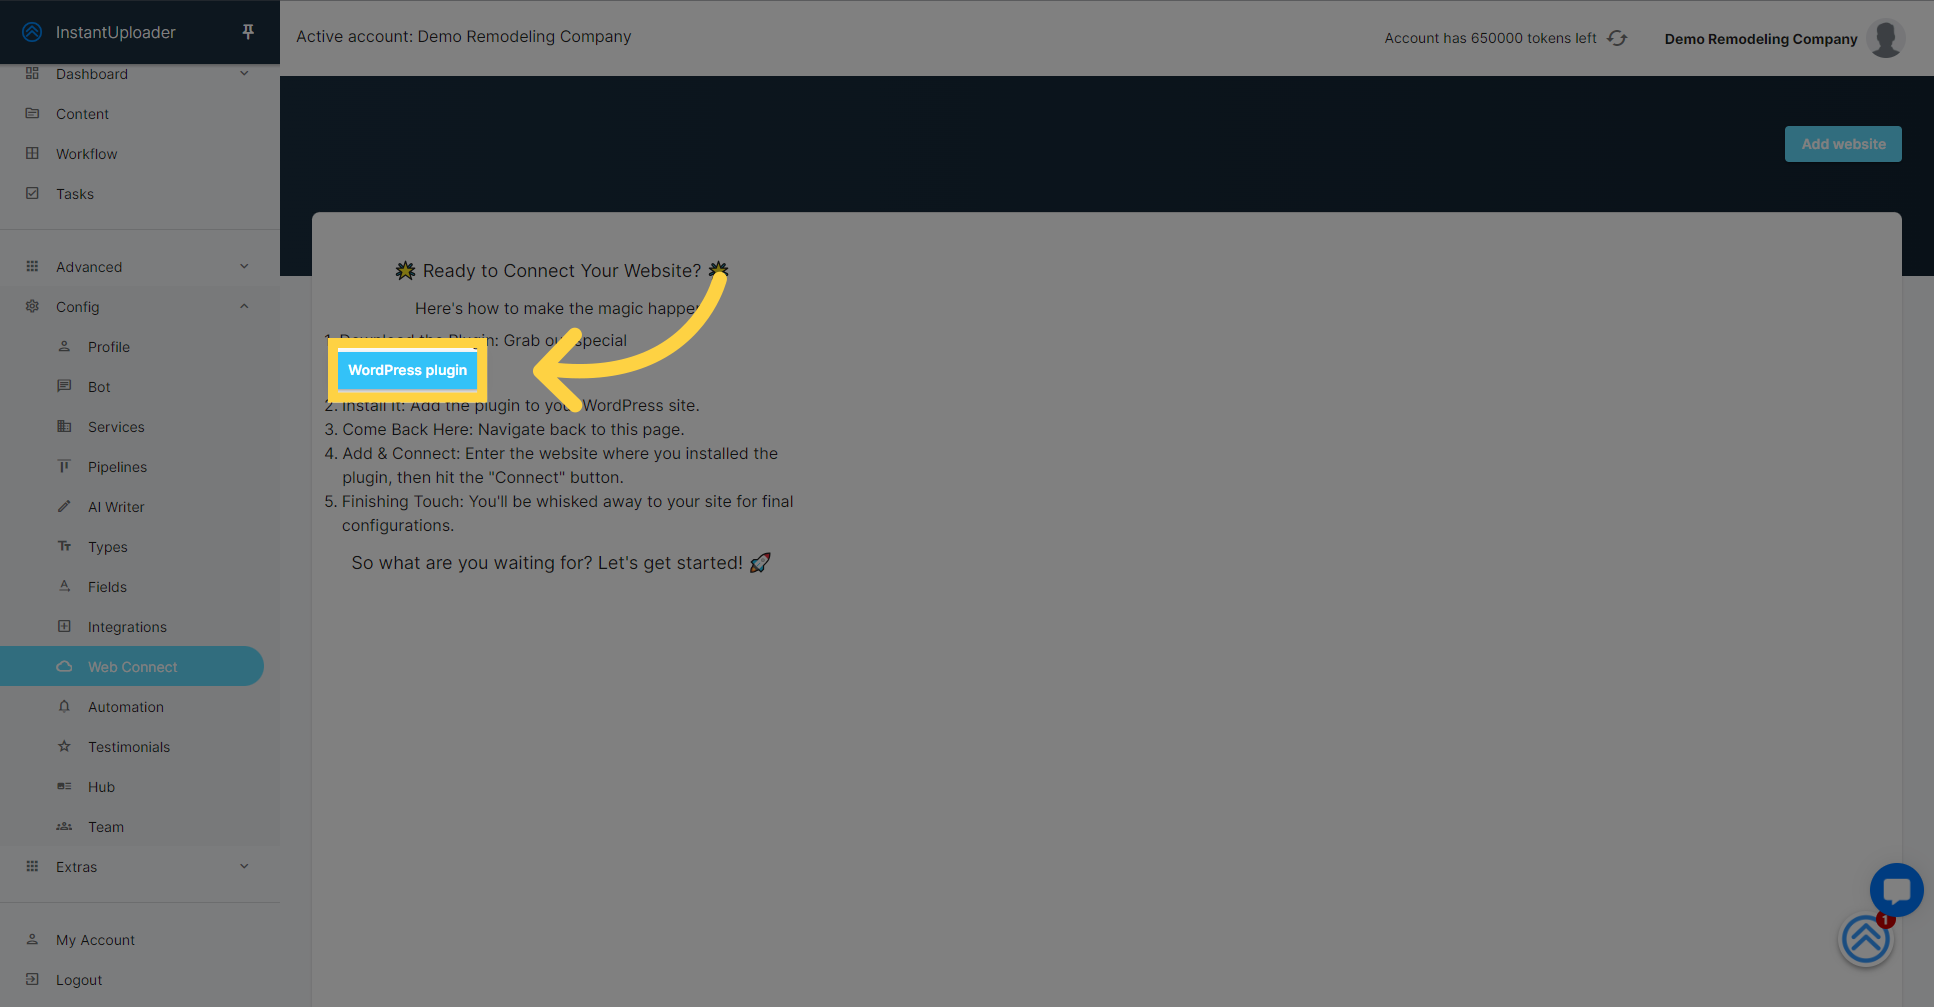
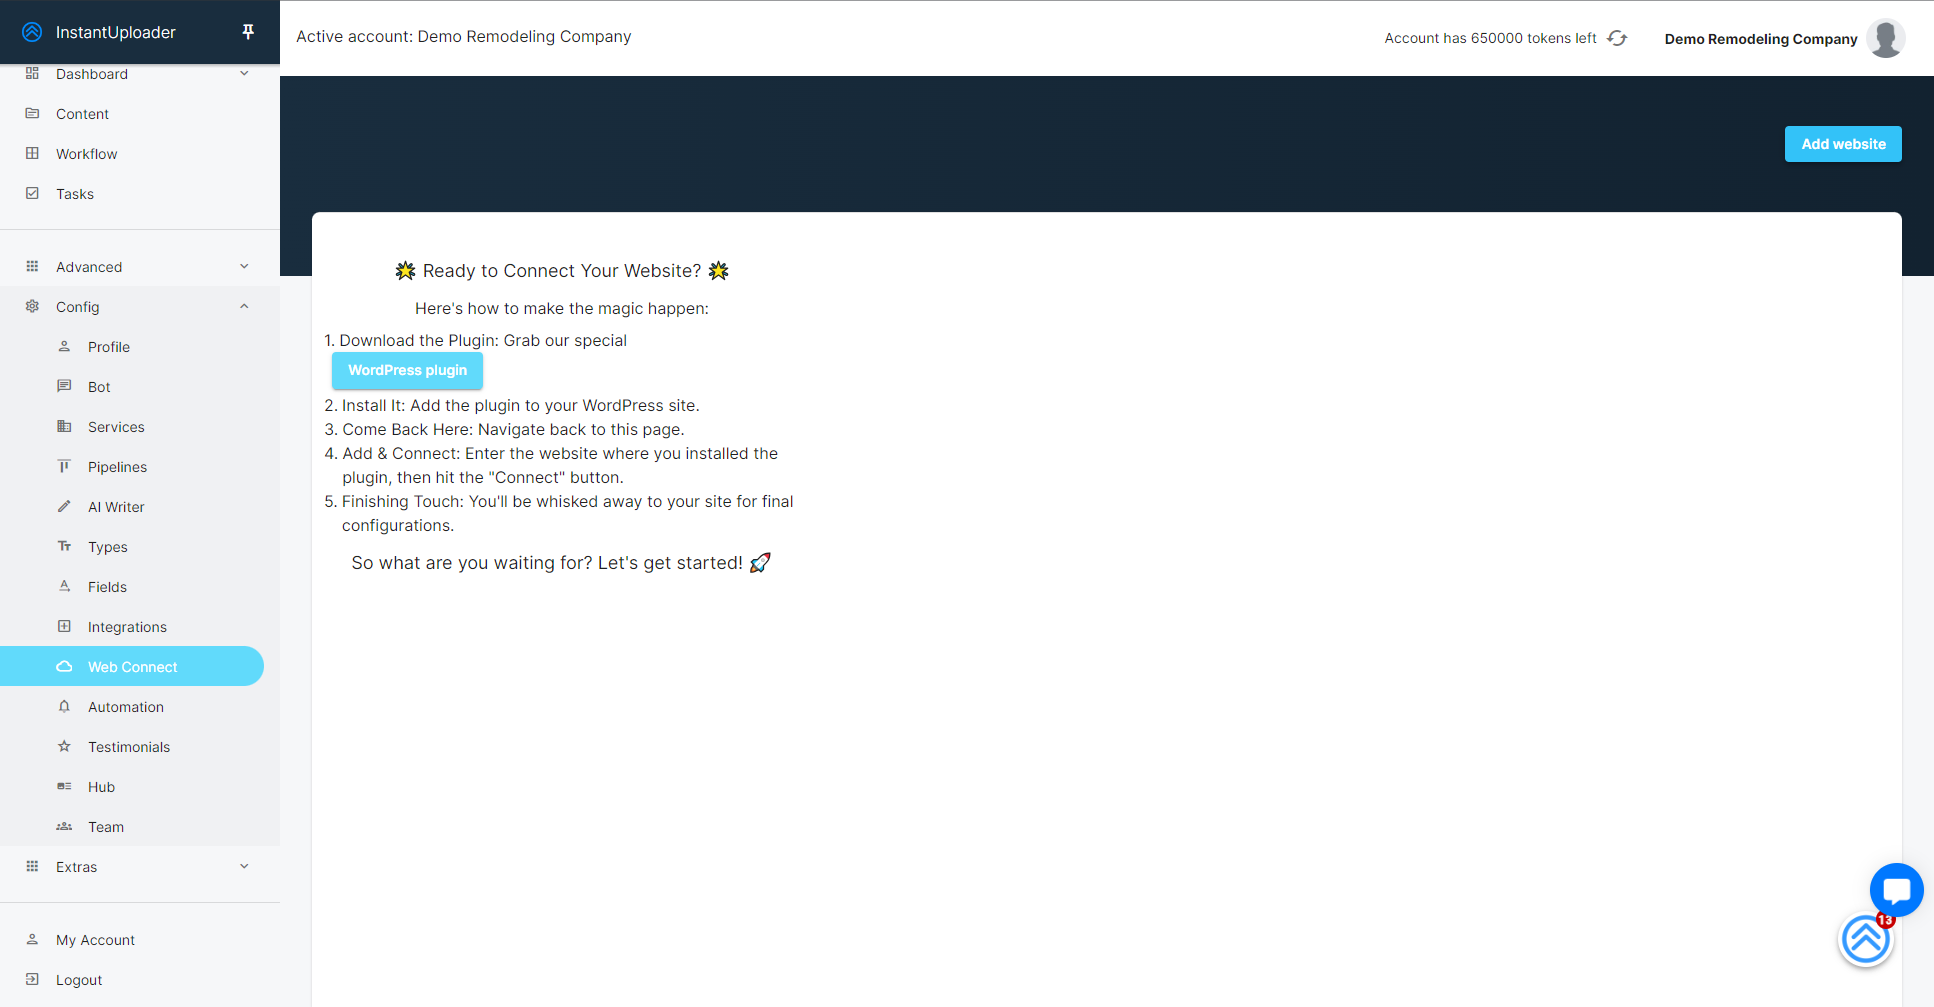
Now, we're going to download the WordPress plugin that will enable the connection. Simply click the download link, and you should see the plugin file, typically a .zip file, being downloaded to your computer.
With the plugin downloaded, it's time to install it. We'll navigate to your WordPress website, so make sure you're logged in as an admin. Once you're in, click on 'Plugins' and then 'Add New'. From there, click on 'Upload Plugin'.
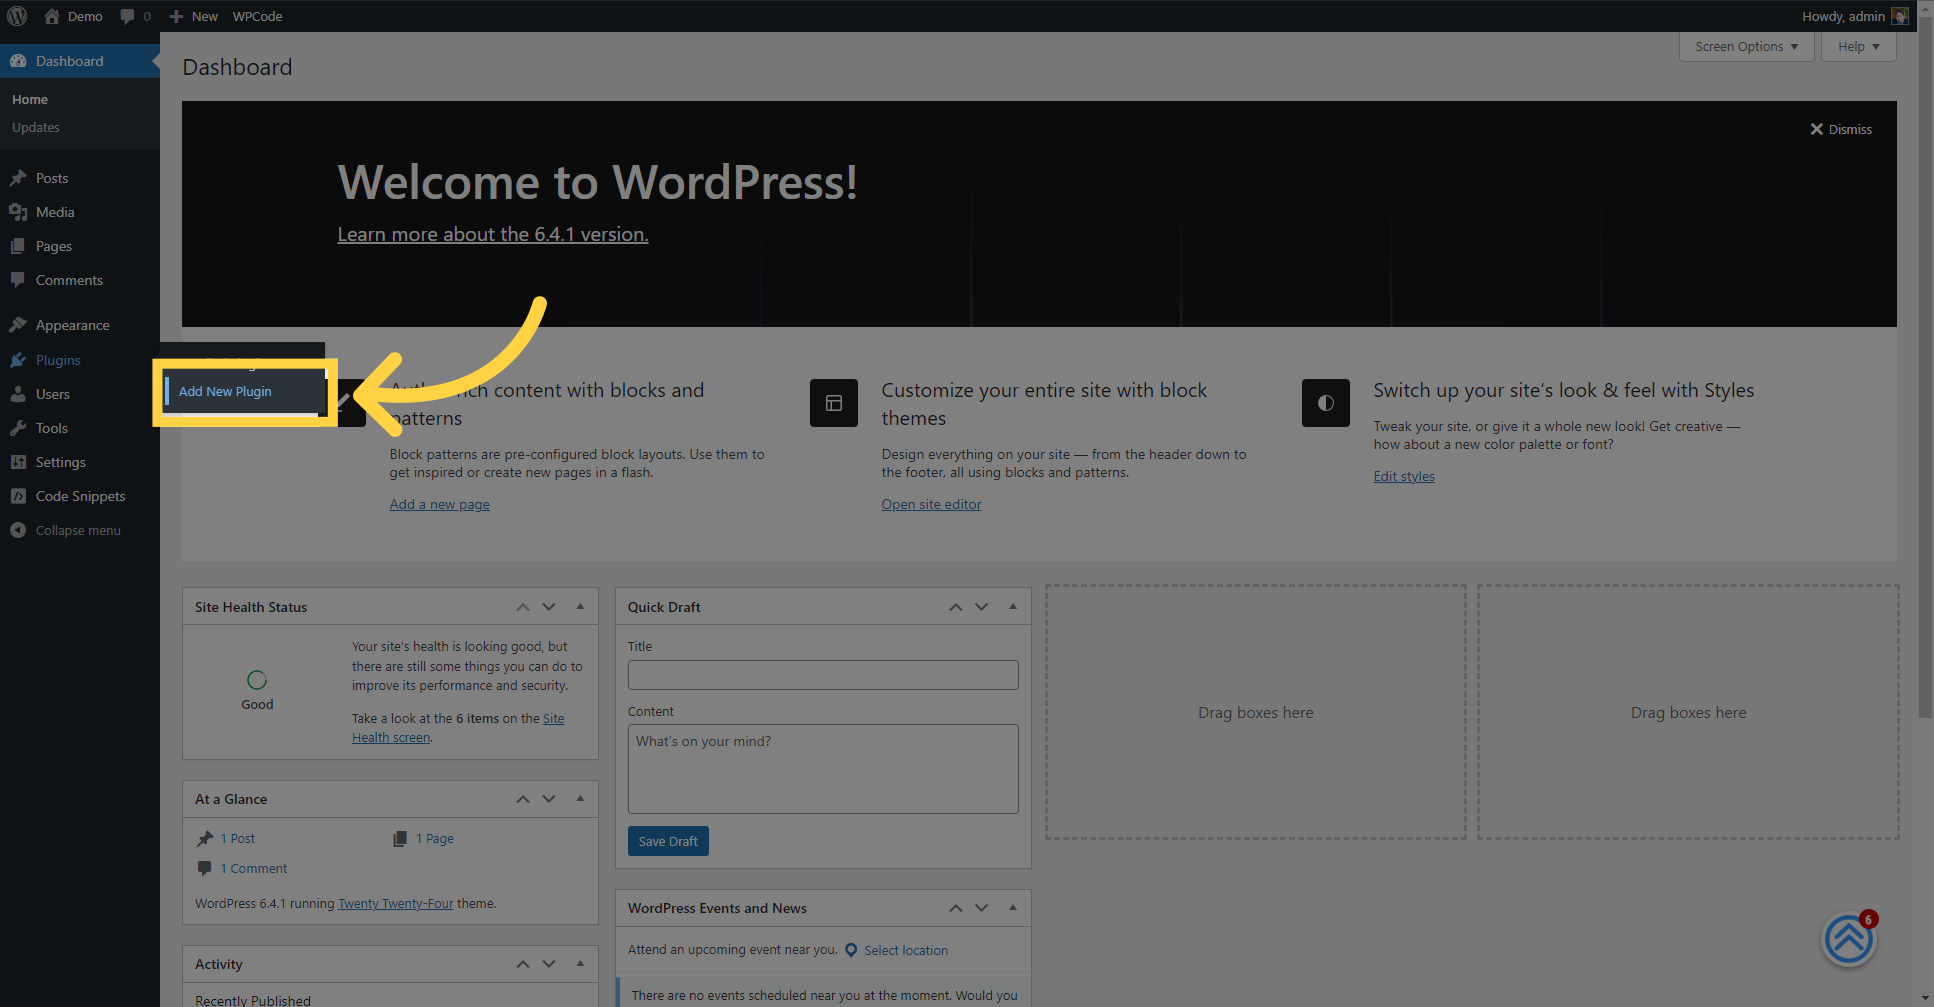
Click on "Upload Plugin" to upload a plugin.
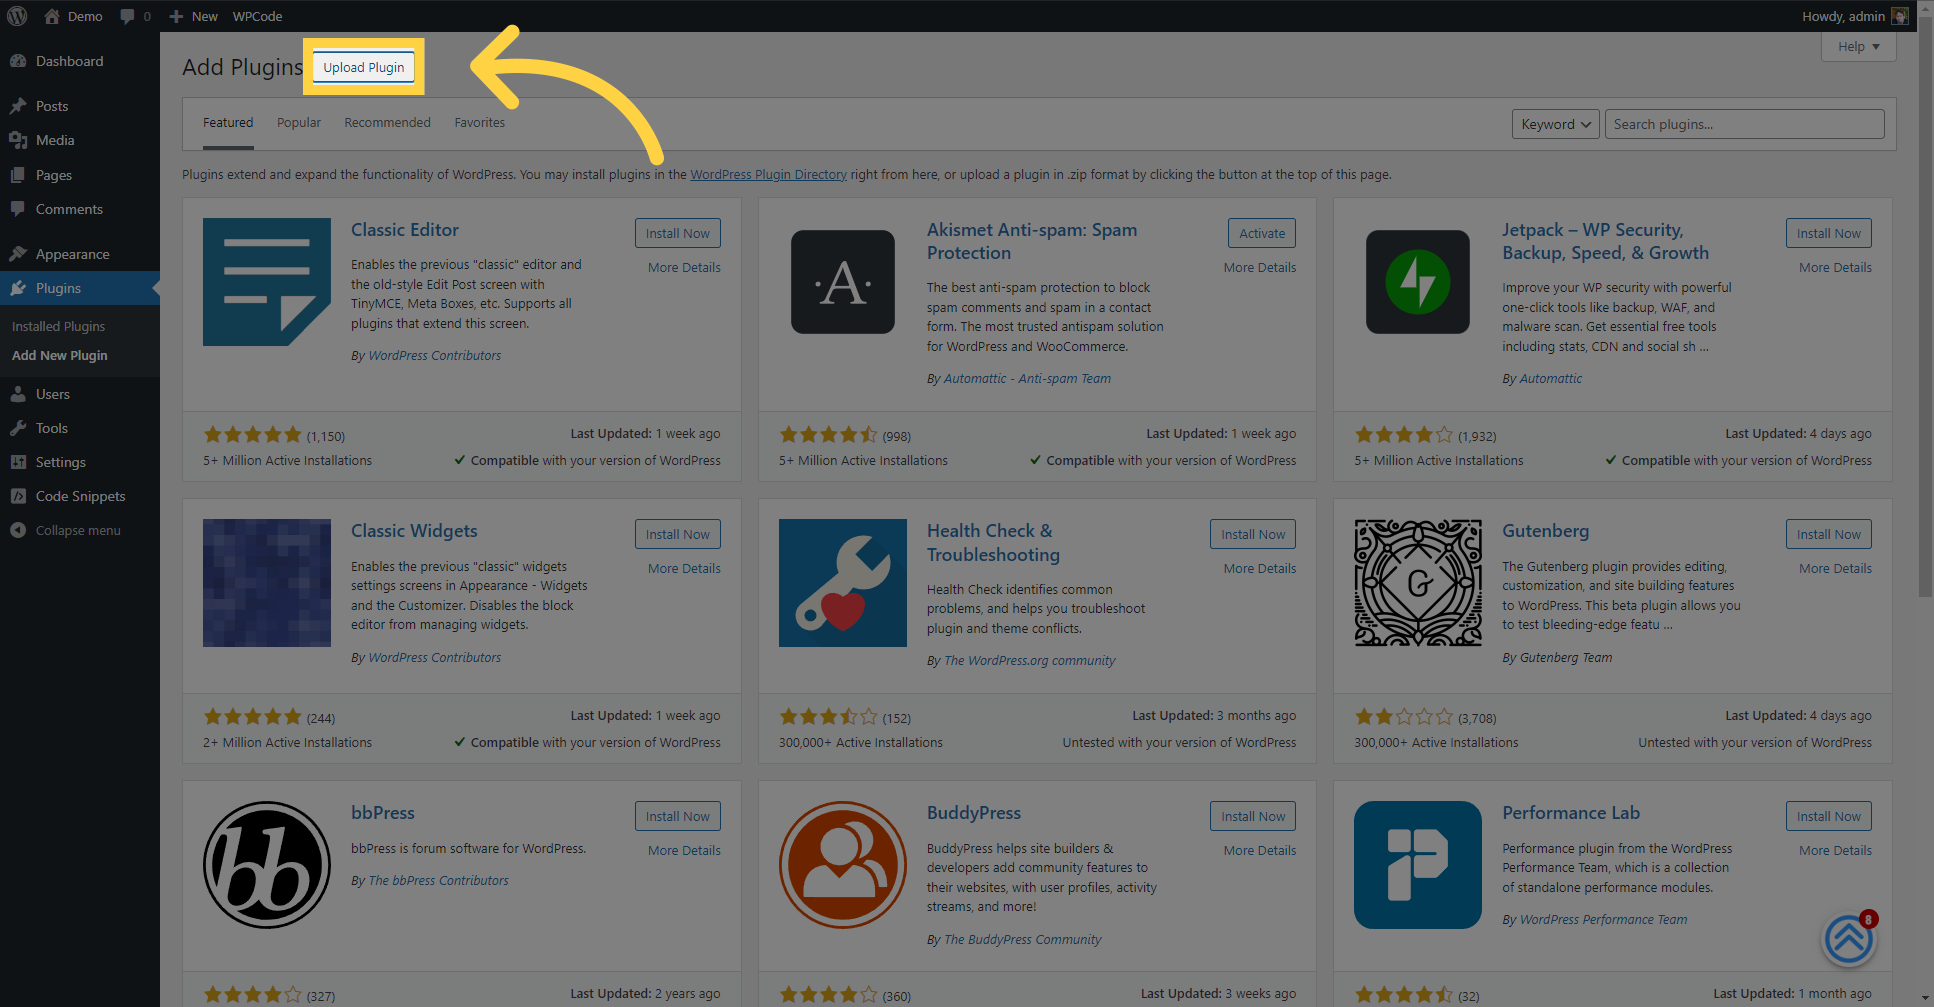
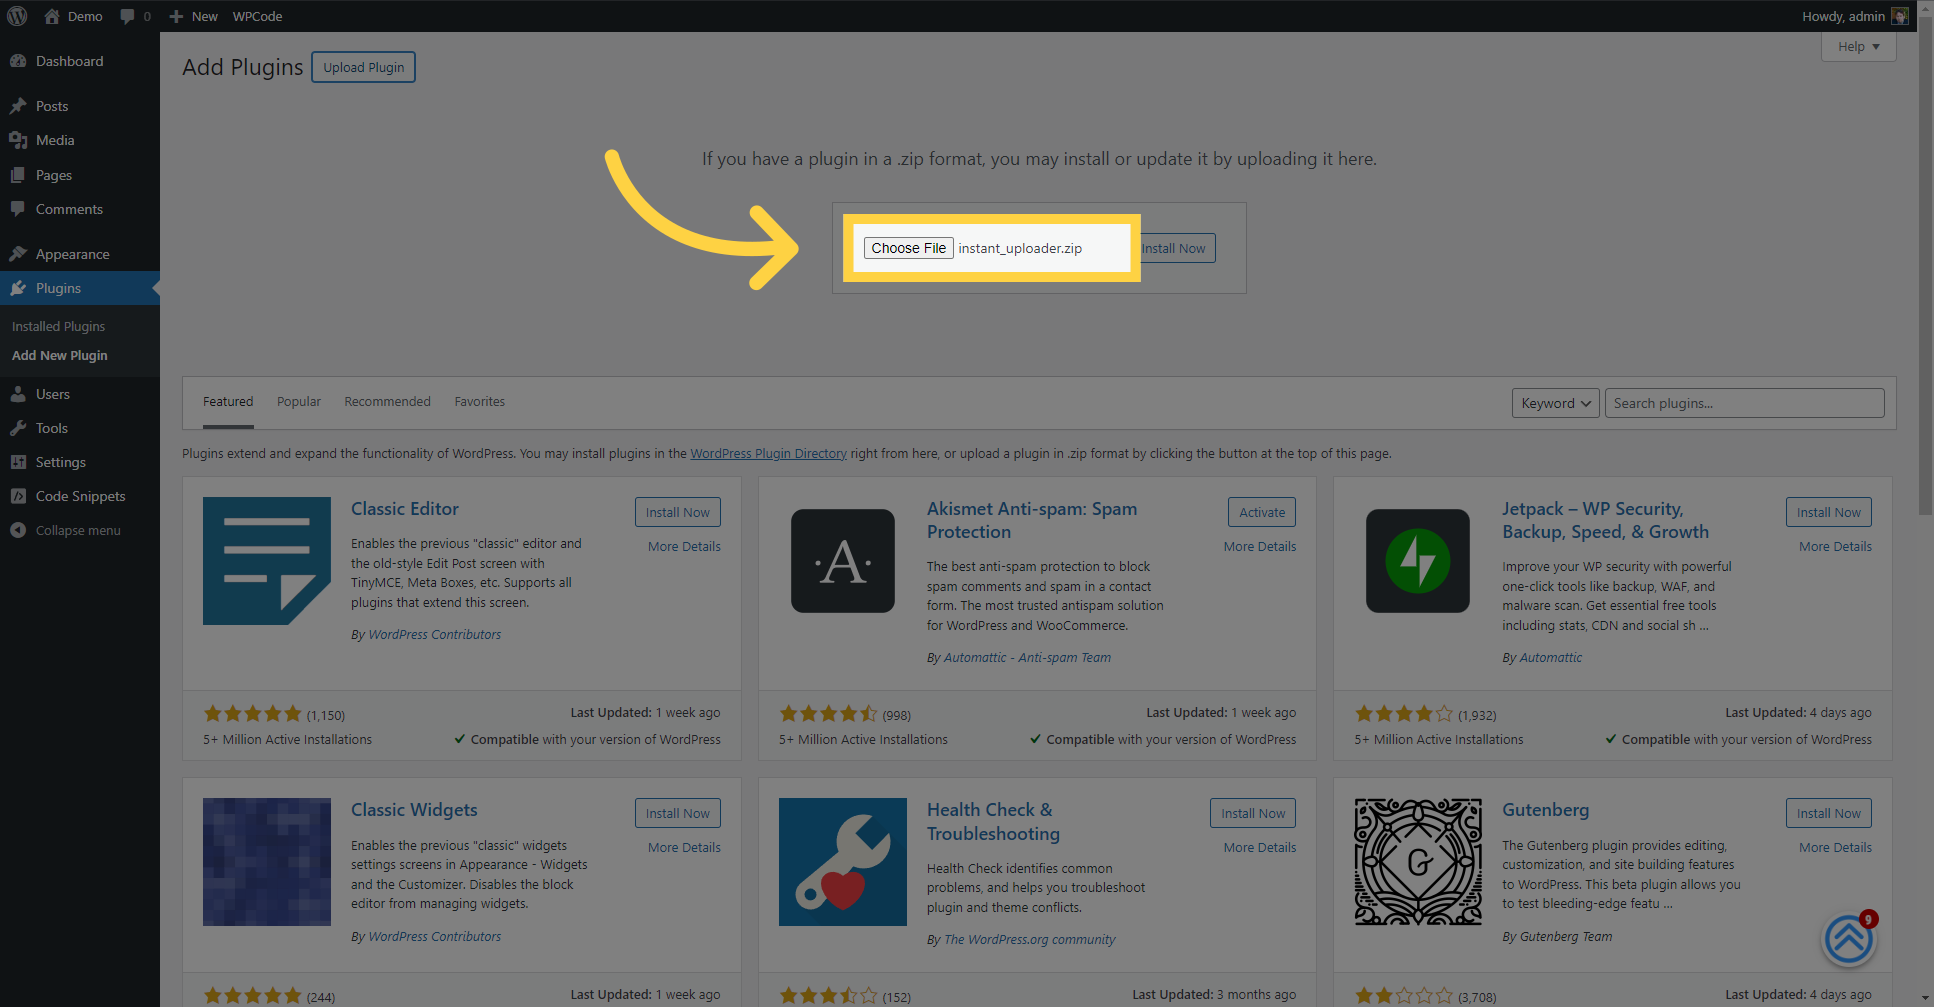
After clicking 'Upload Plugin', you'll need to click 'Choose File' to locate the plugin file you just downloaded. It should be named something like 'instant_uploader.zip'. Select it and click 'Install Now'. The plugin will take a few moments to upload, so be patient.
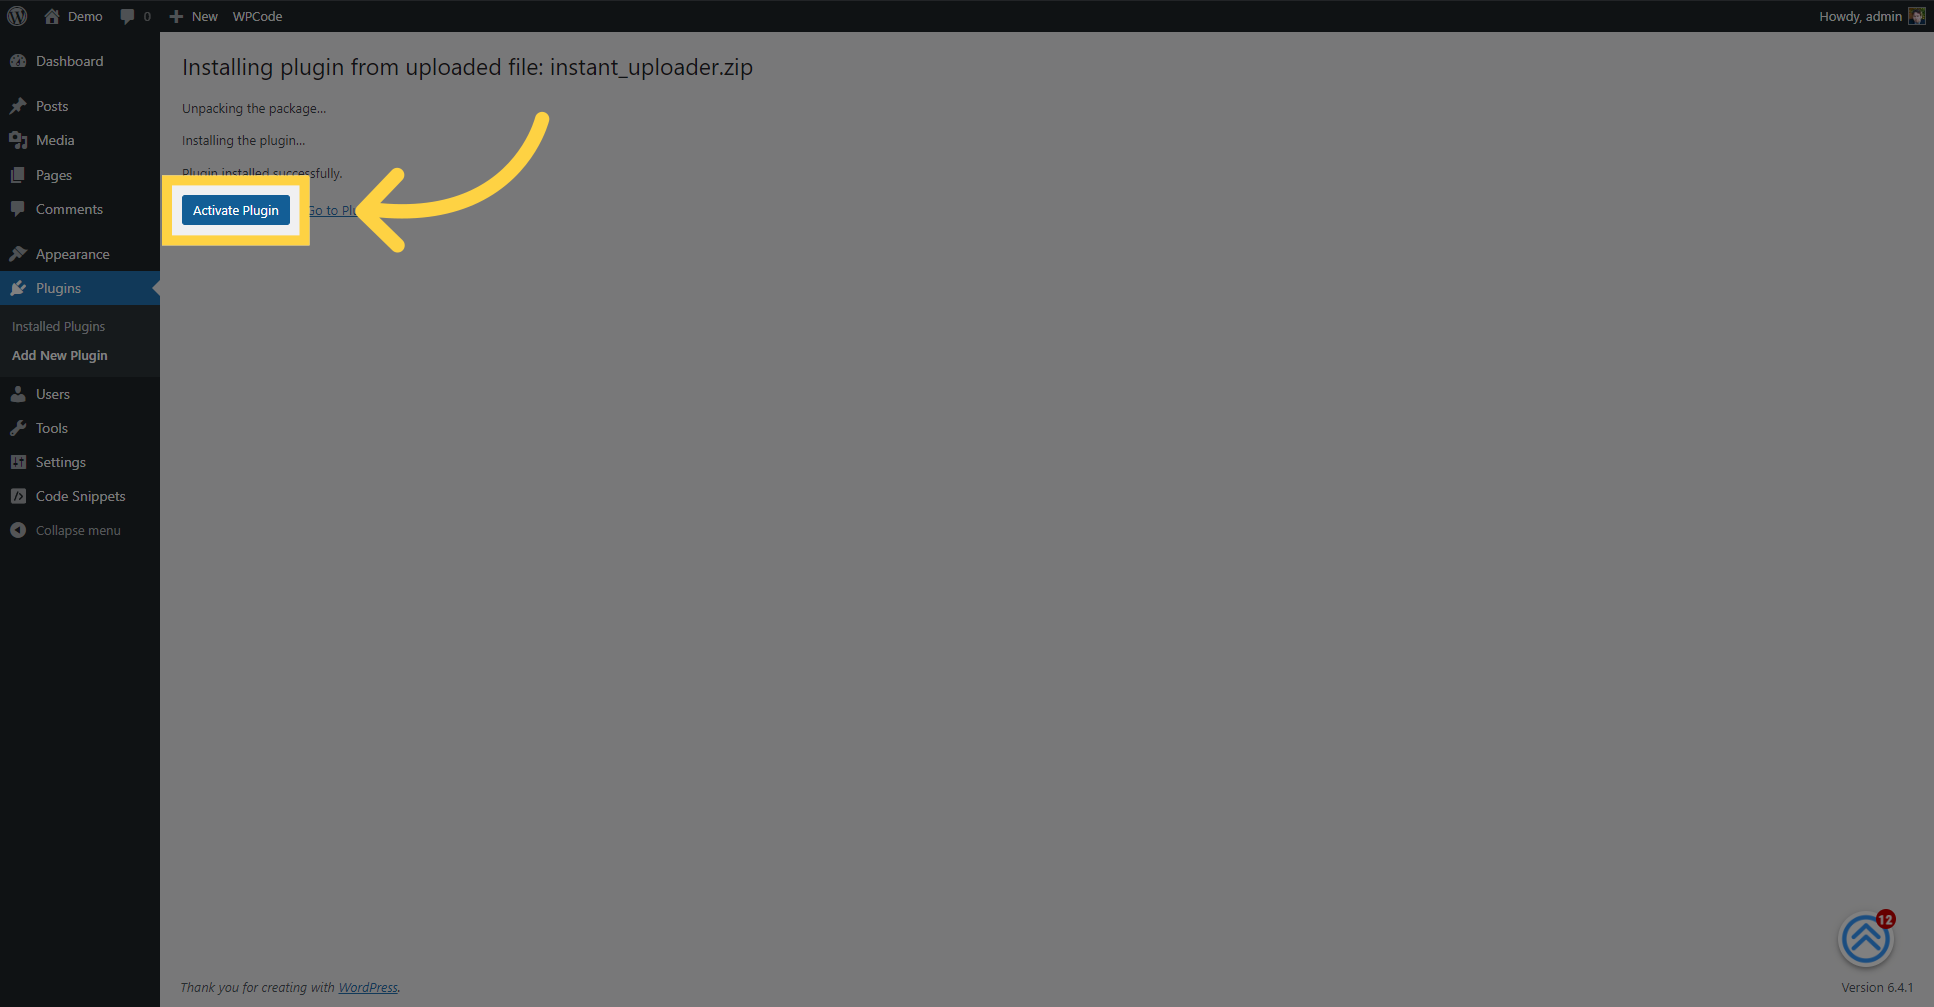
After successfully uploading the plugin, the next step is to bring it to life by activating it. Simply click on the 'Activate Plugin' button to proceed.
Switch back to our Platform.
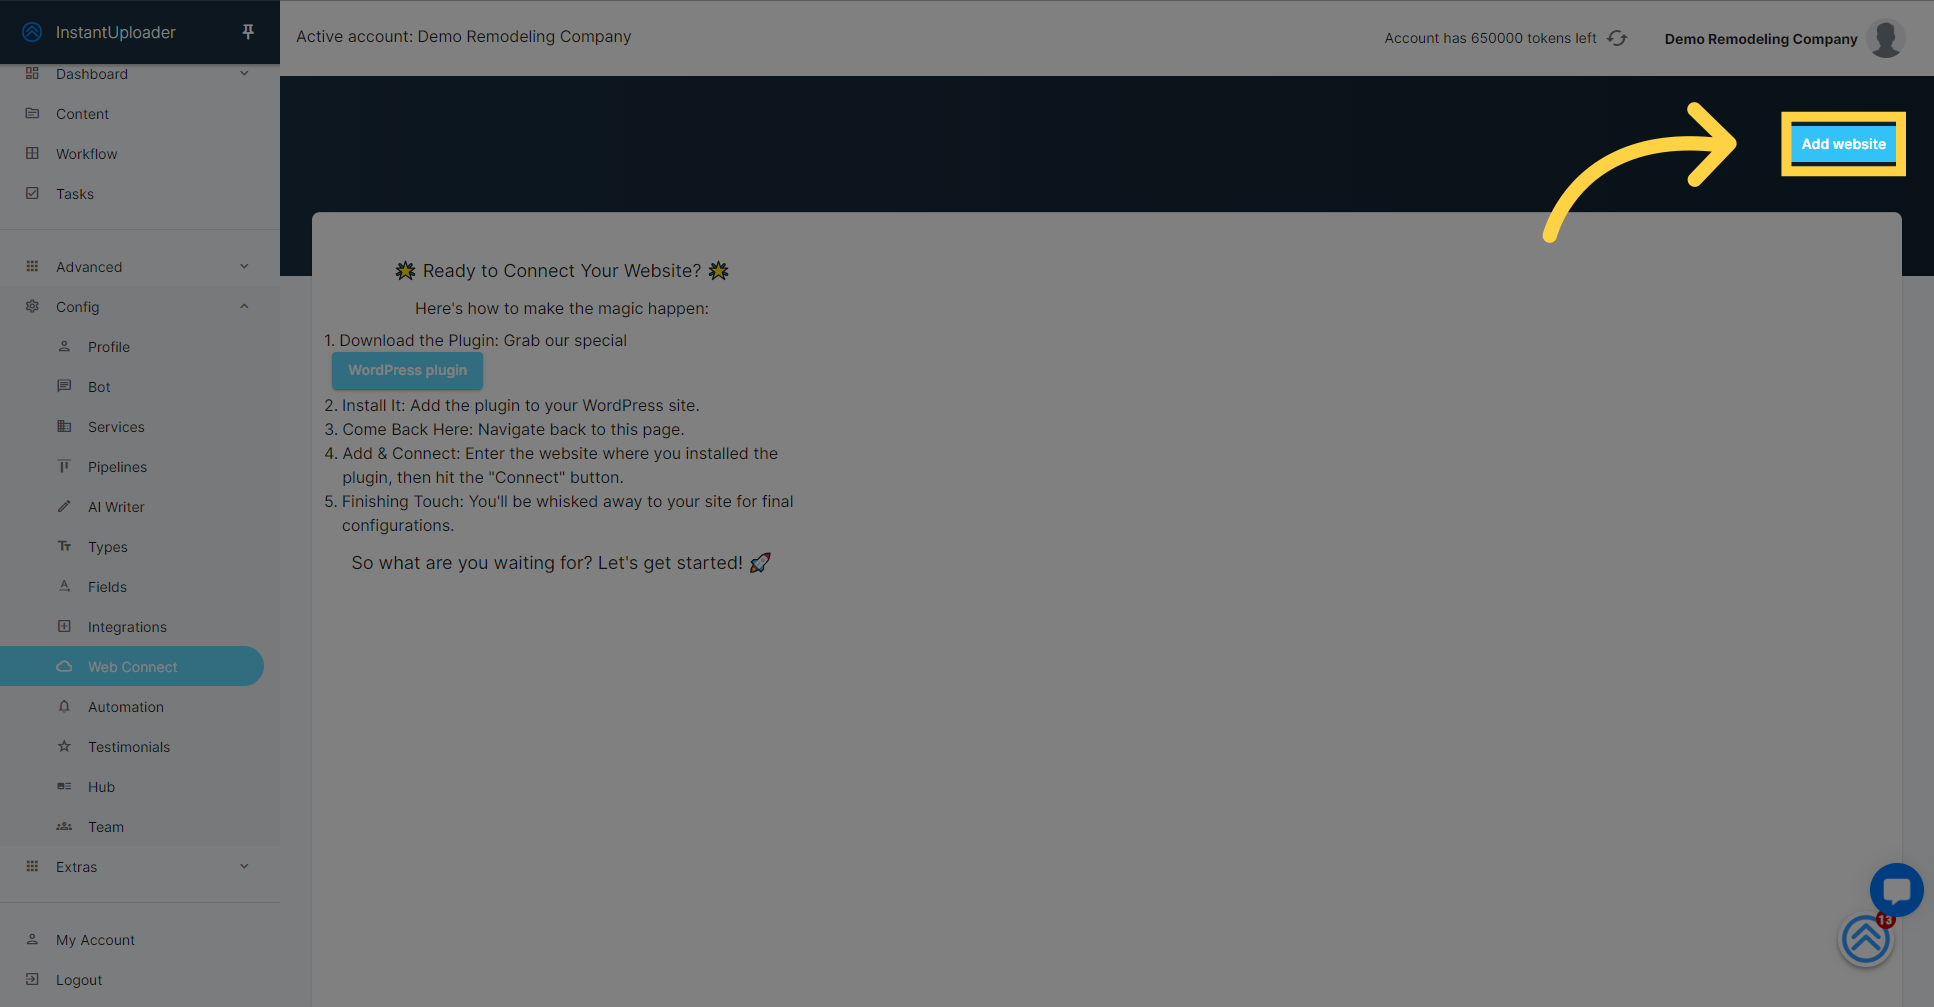
With the plugin activated, click on 'Add Website'.
Click on "URL" to enter the website URL.
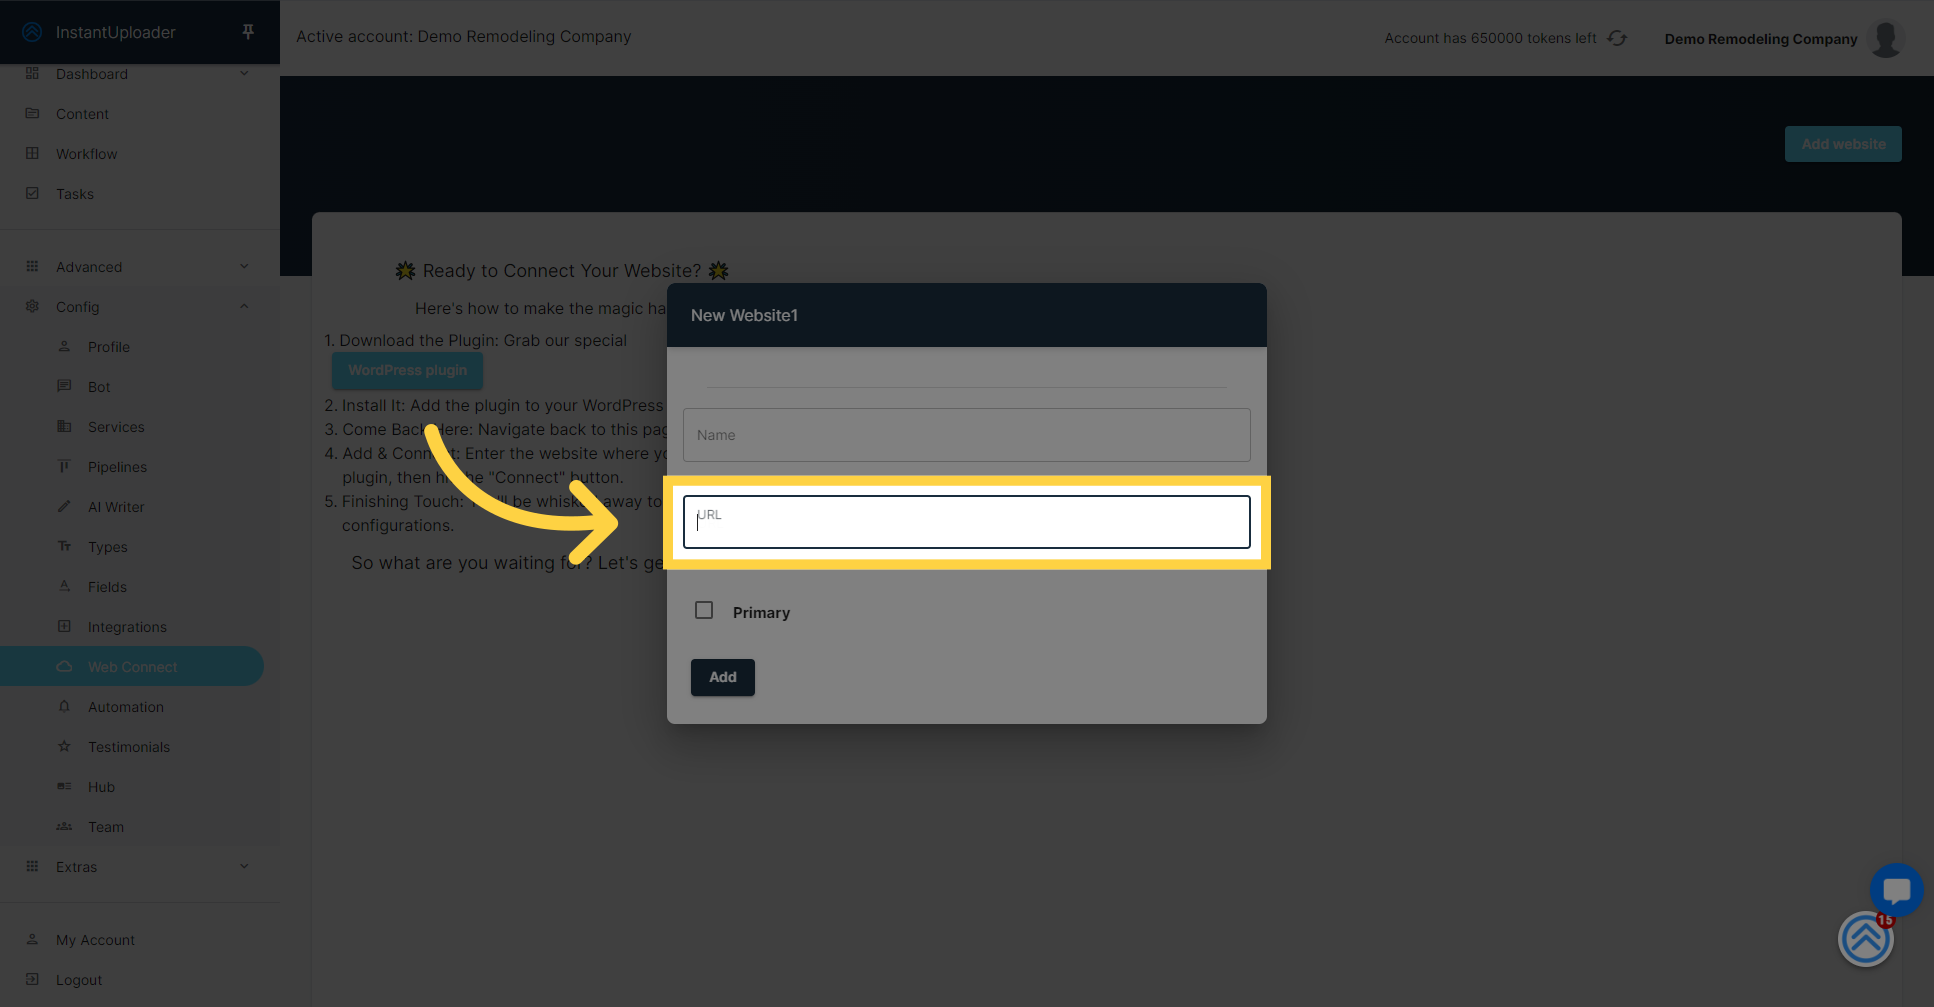
Click on "Name" to enter the website name.

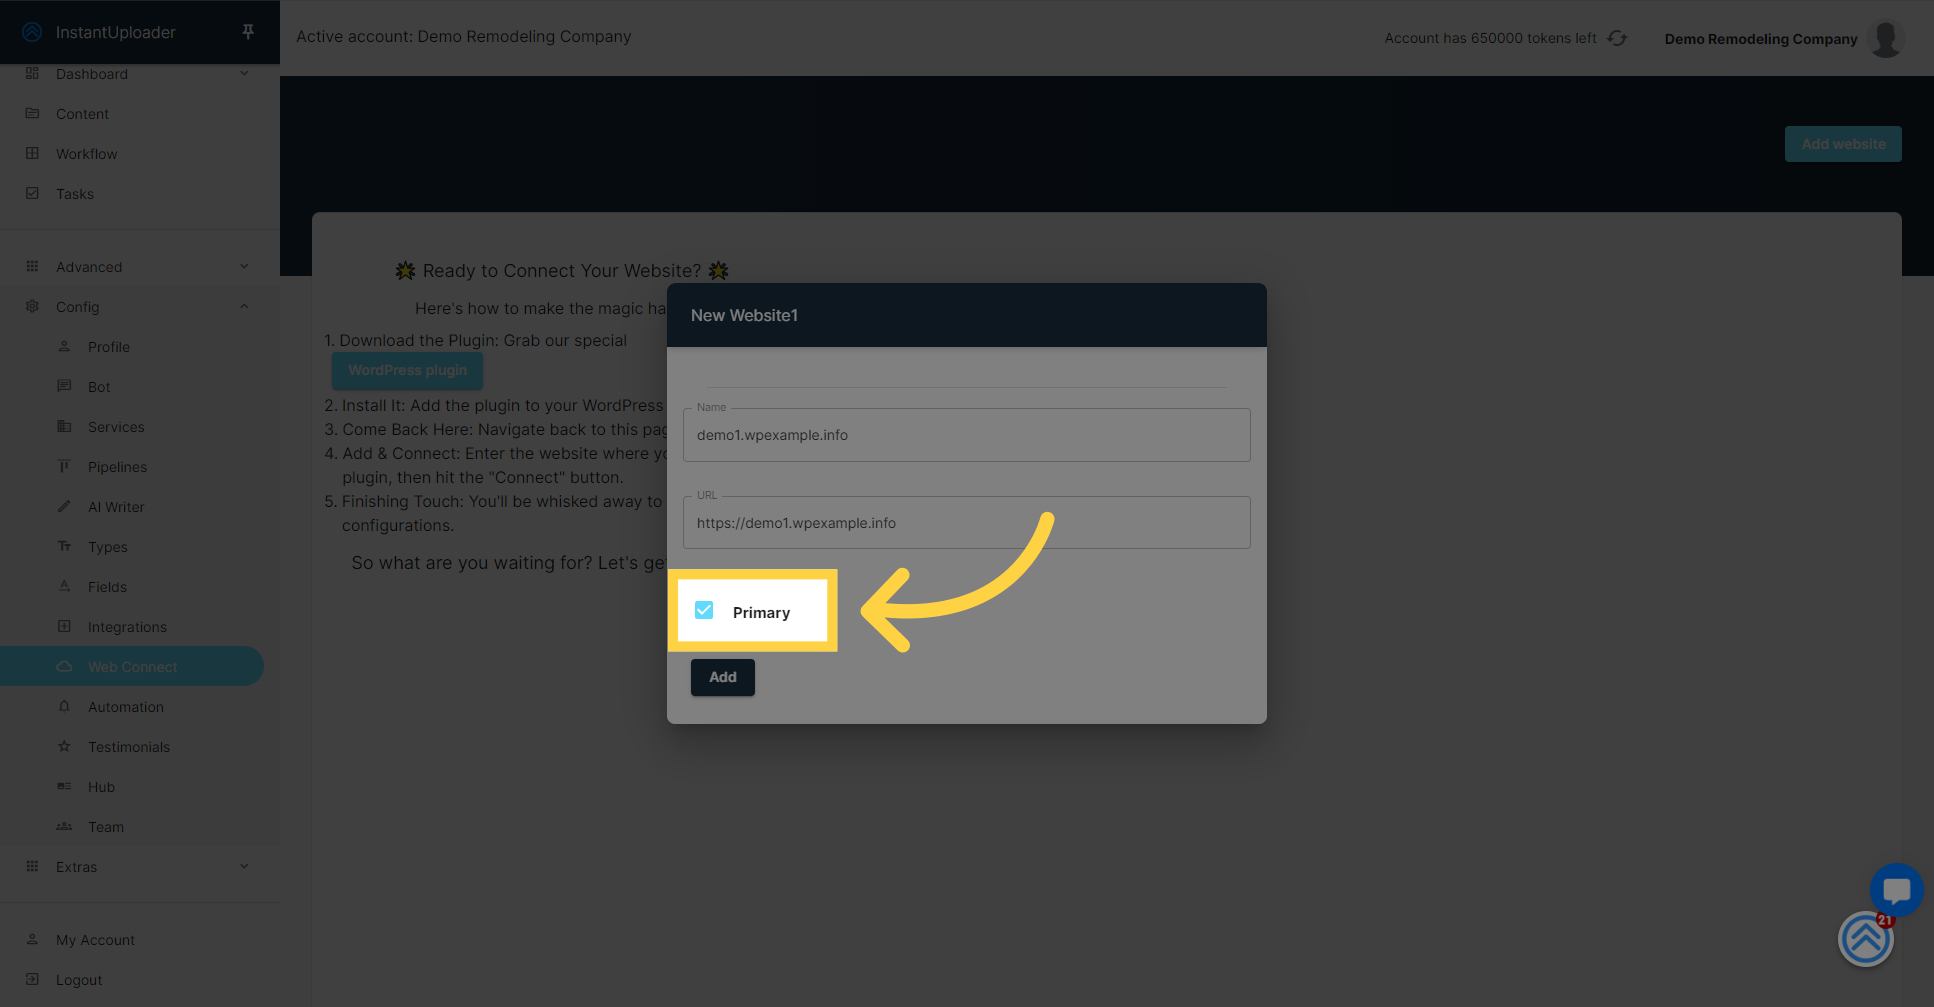
Set it as the primary website.
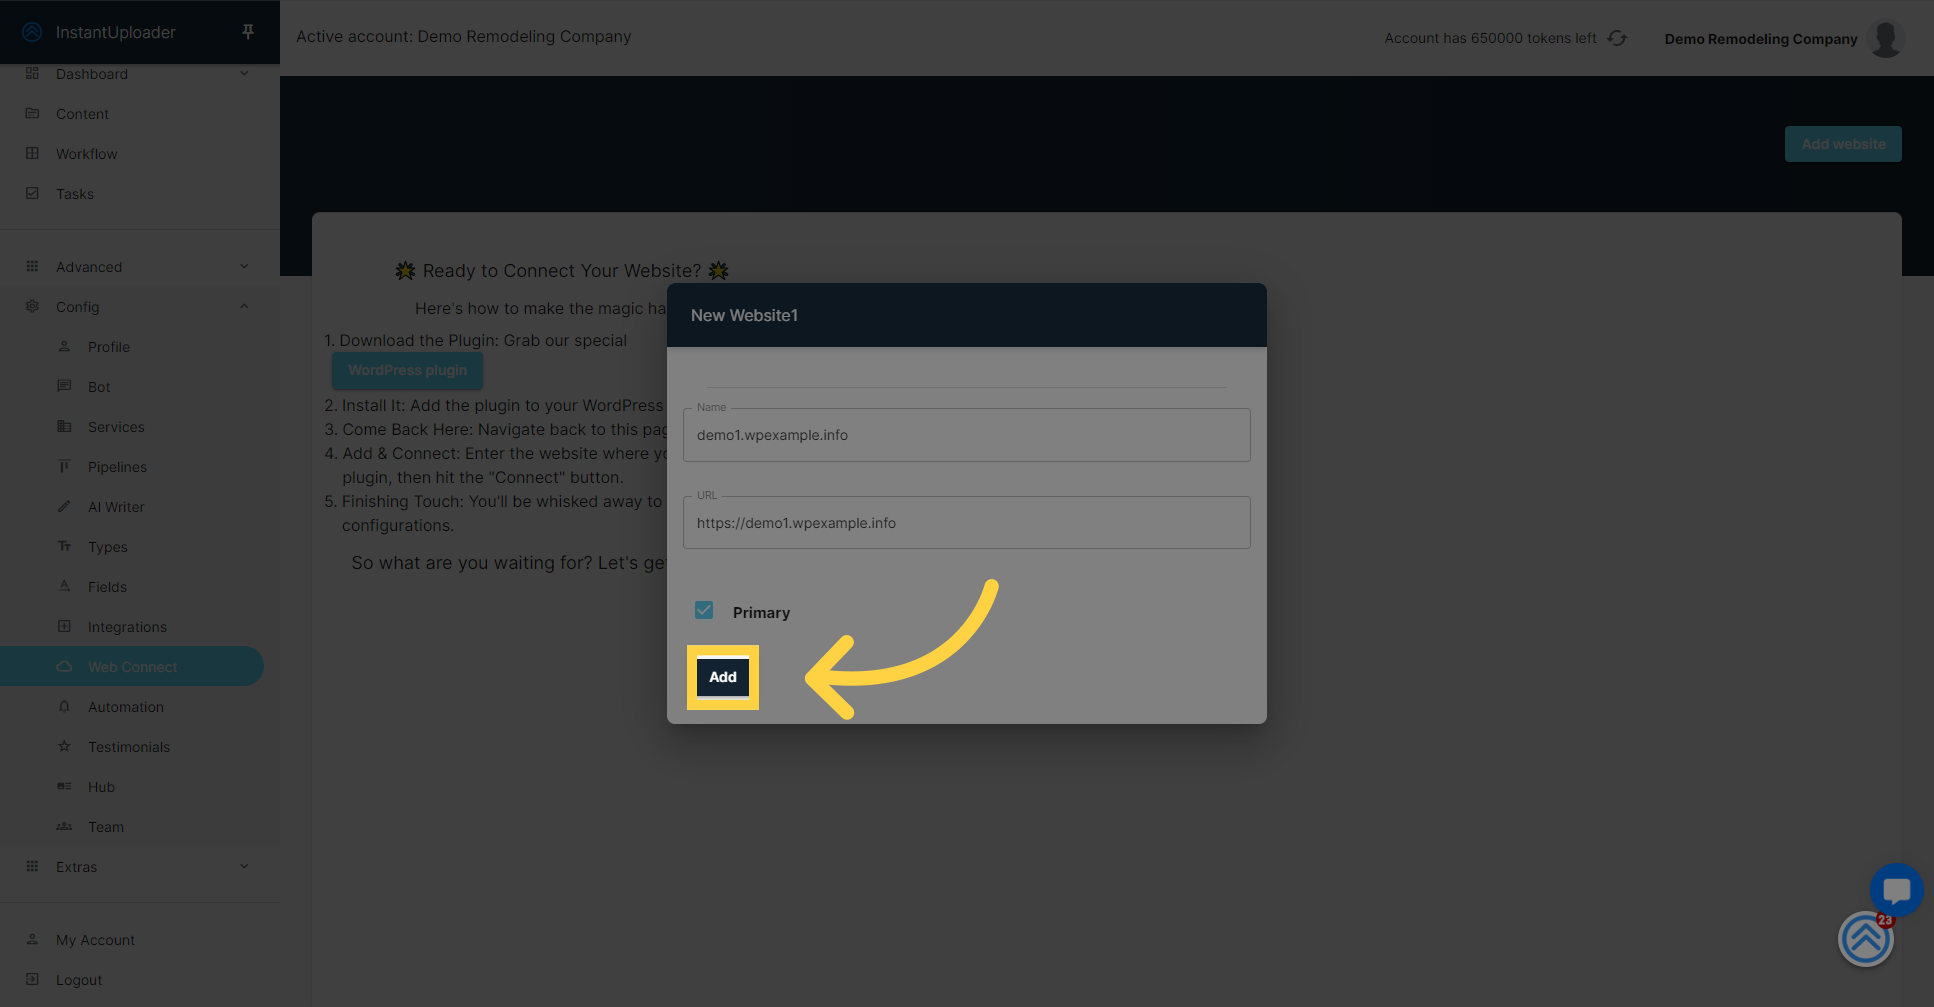
Click on "Add" to add the website.
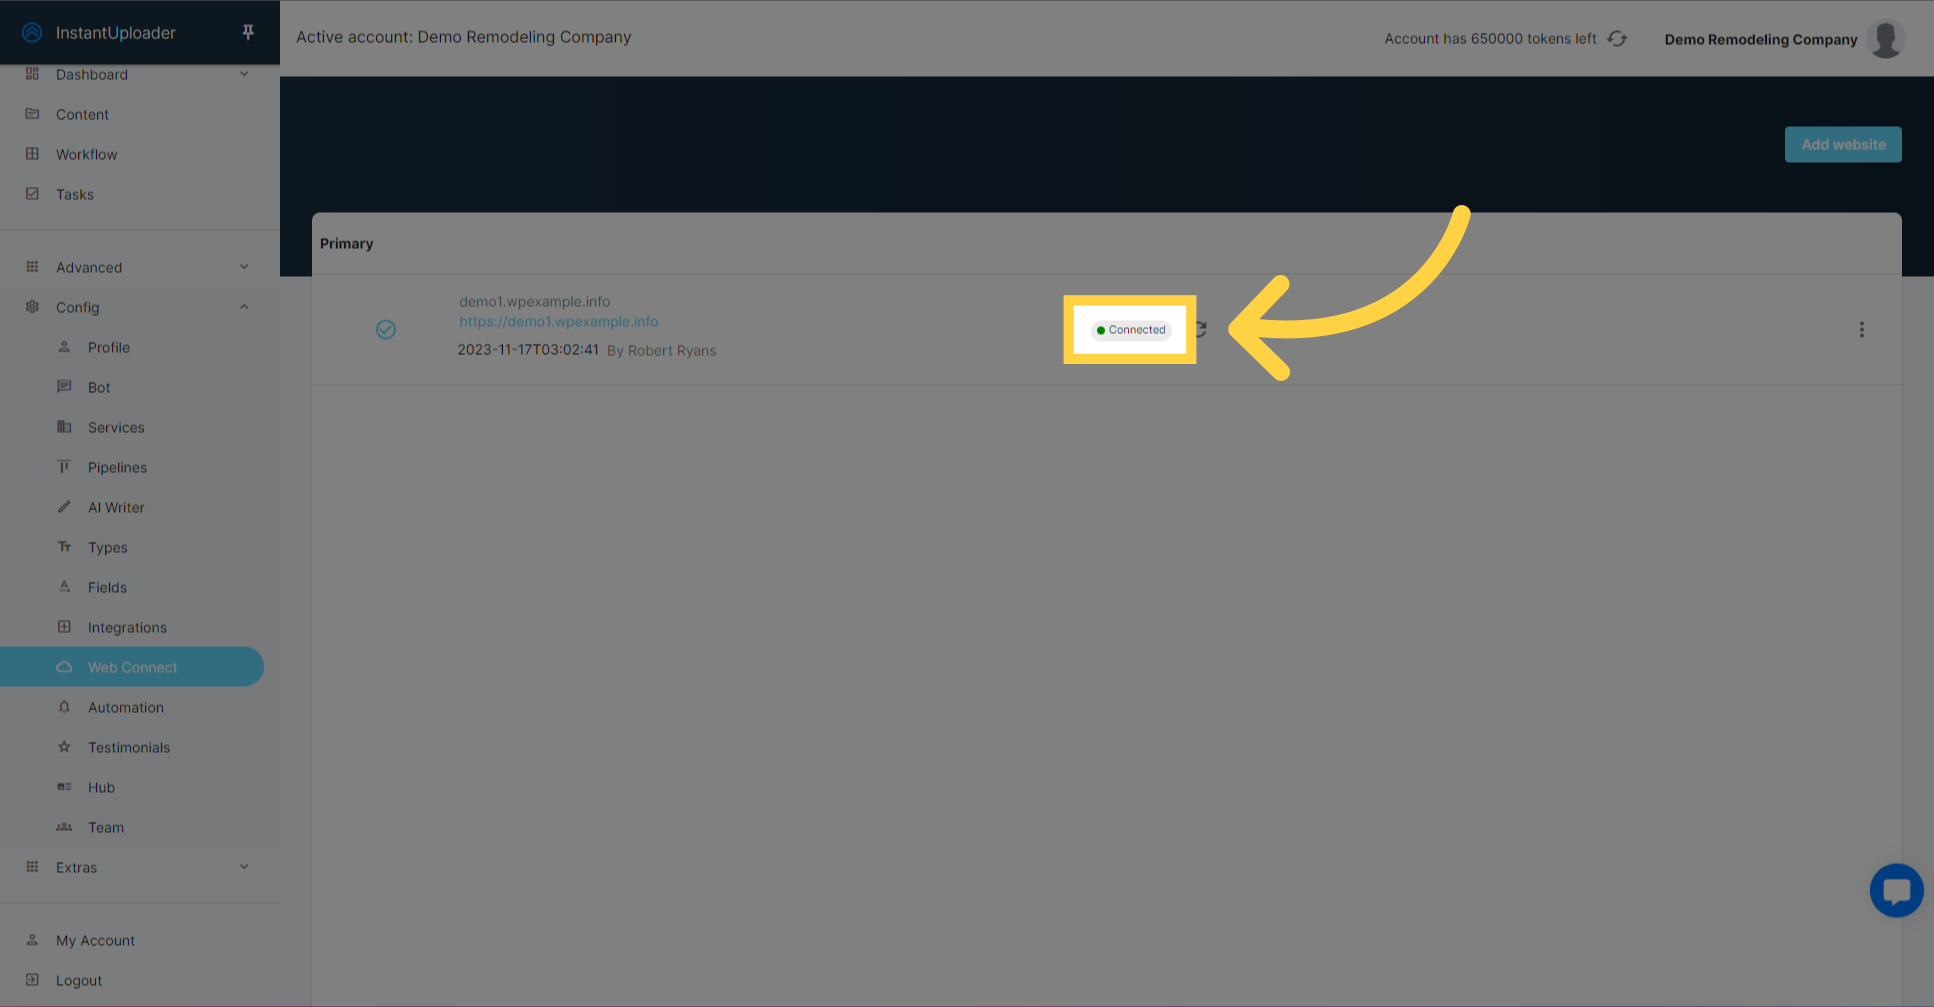
After adding your website, click on 'Refresh' button to check the connection.
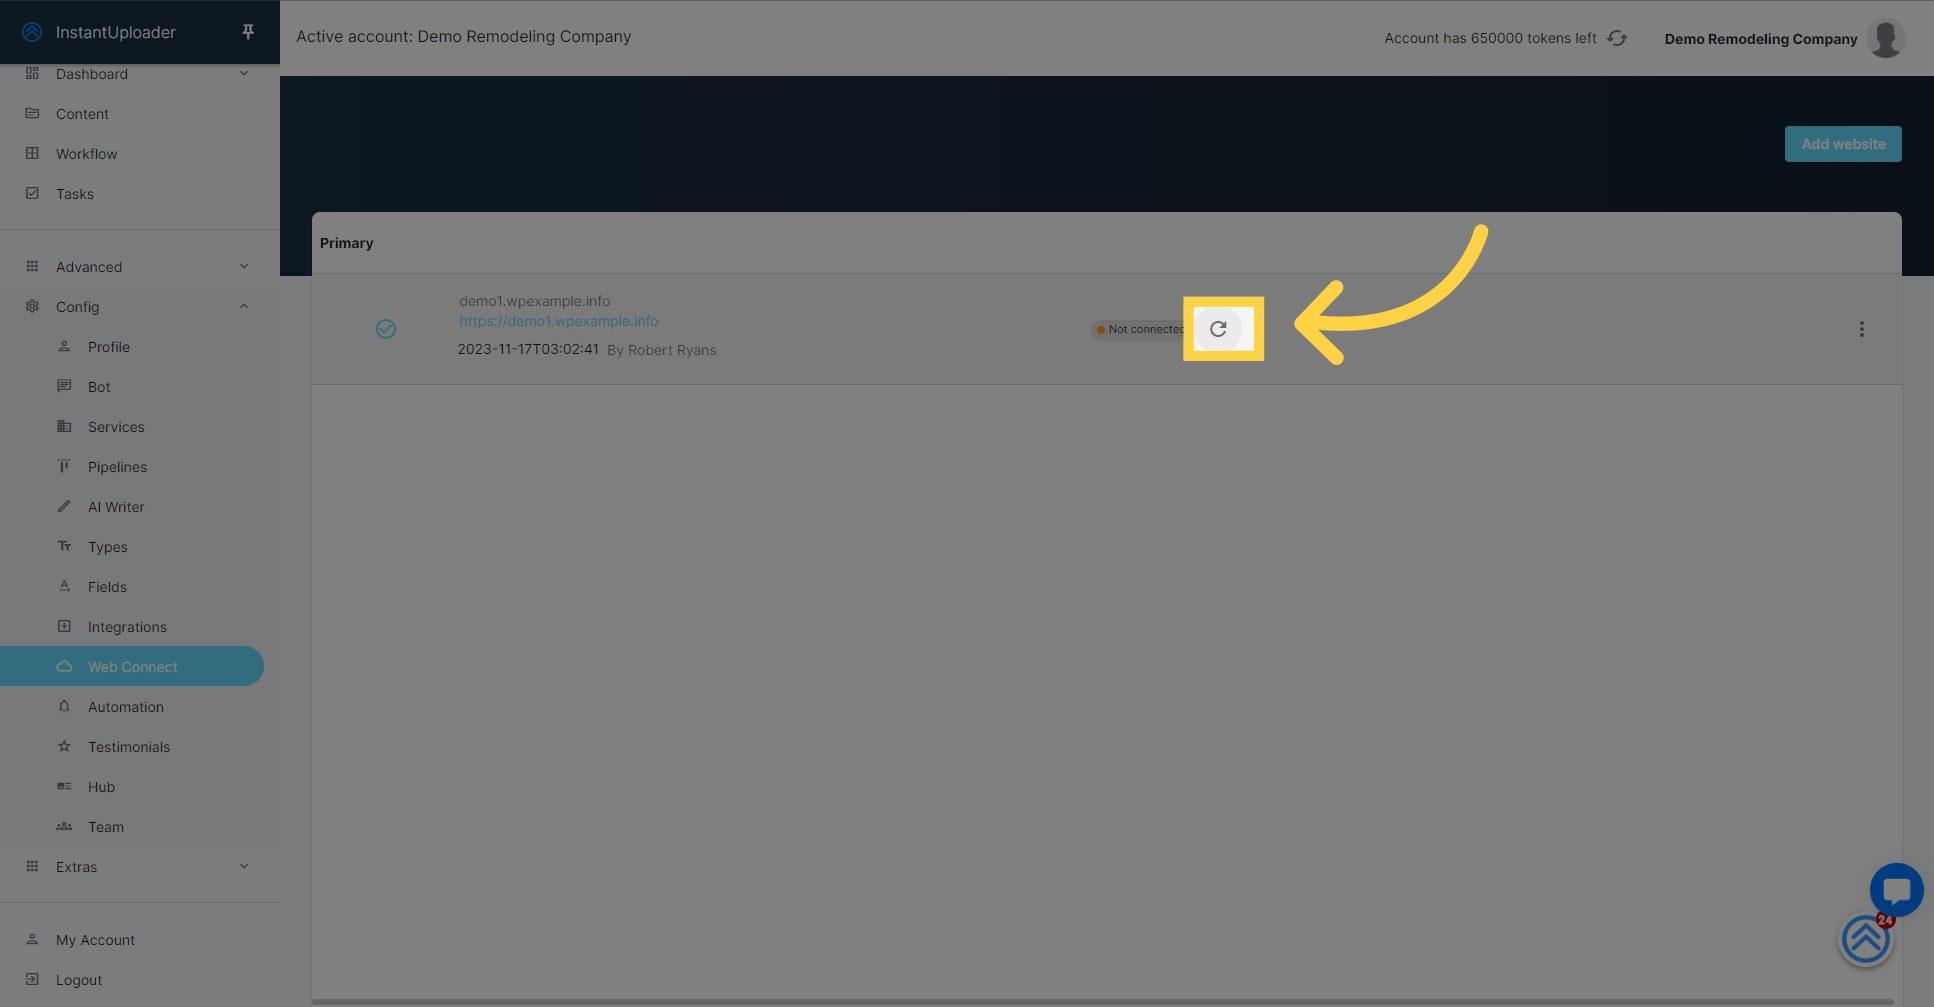
You should now see that your WordPress website is connected to our platform.
And there you have it! Your WordPress website should now be successfully connected to our platform. If you run into any issues, our FAQ is always available to assist you. Thanks for following along, and welcome aboard!
