Welcome to our step-by-step guide on managing the content approval process. This guide will walk you through how to approve or reject content before it goes live on your website or social media channels. Let's get started!
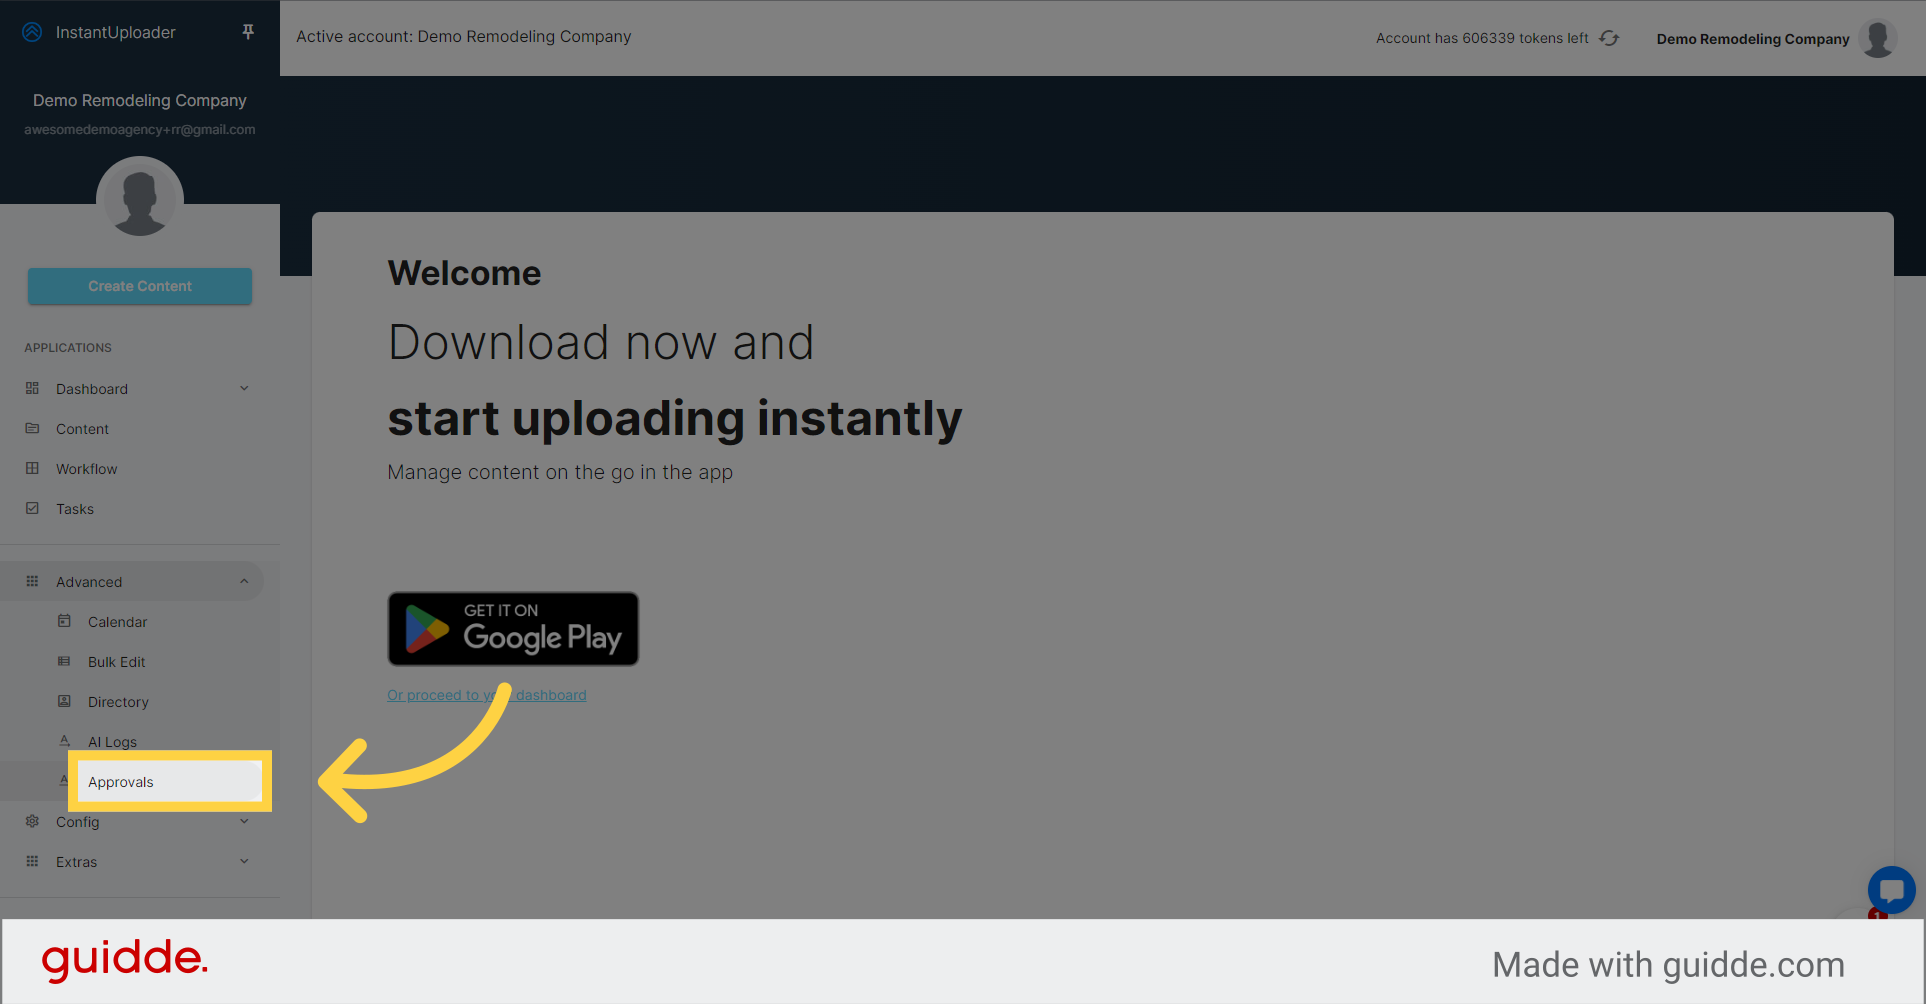
First things first, let's click on the "Advanced" option in the main menu. Here, you'll find the "Approval" tab. Click on it to proceed.
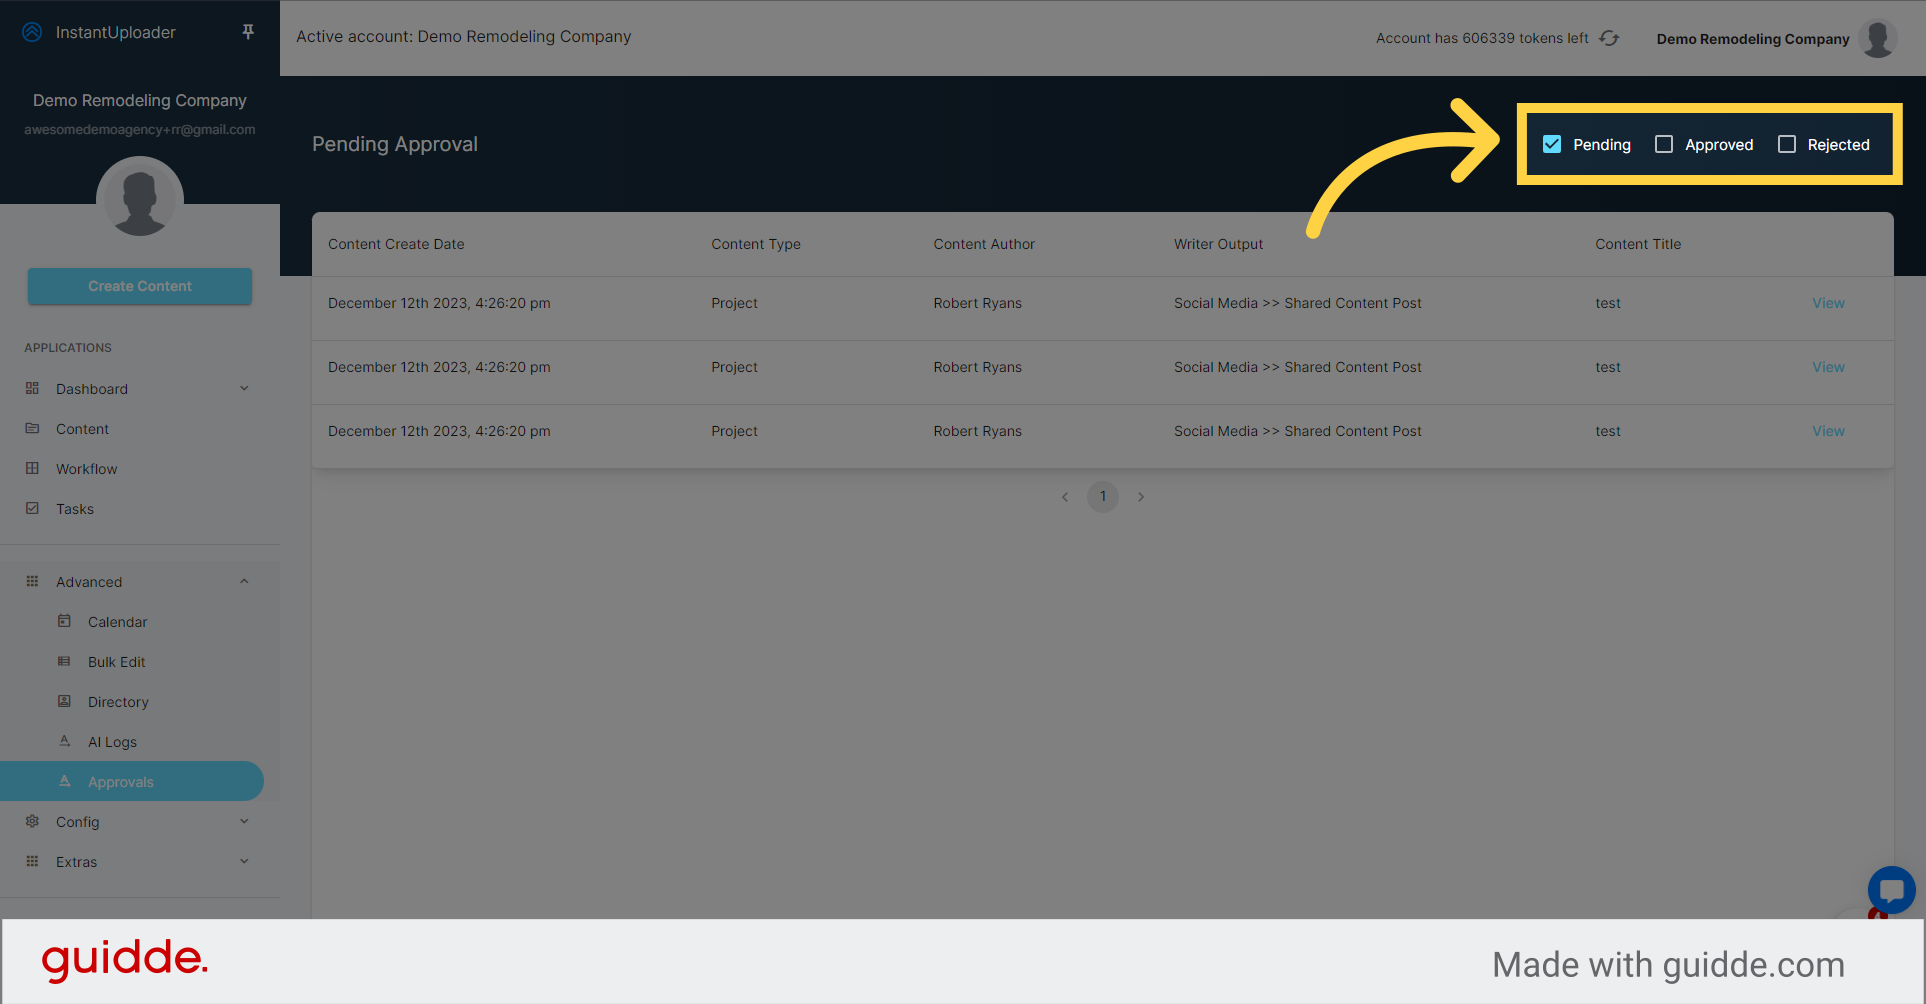
To focus on the content awaiting your approval, you'll want to adjust your view. Look for any status filters at the top right of the screen and uncheck all except for "Pending." This will filter out any other content, allowing you to concentrate solely on the items that require your attention. Now, you're ready to review the content that's pending approval.
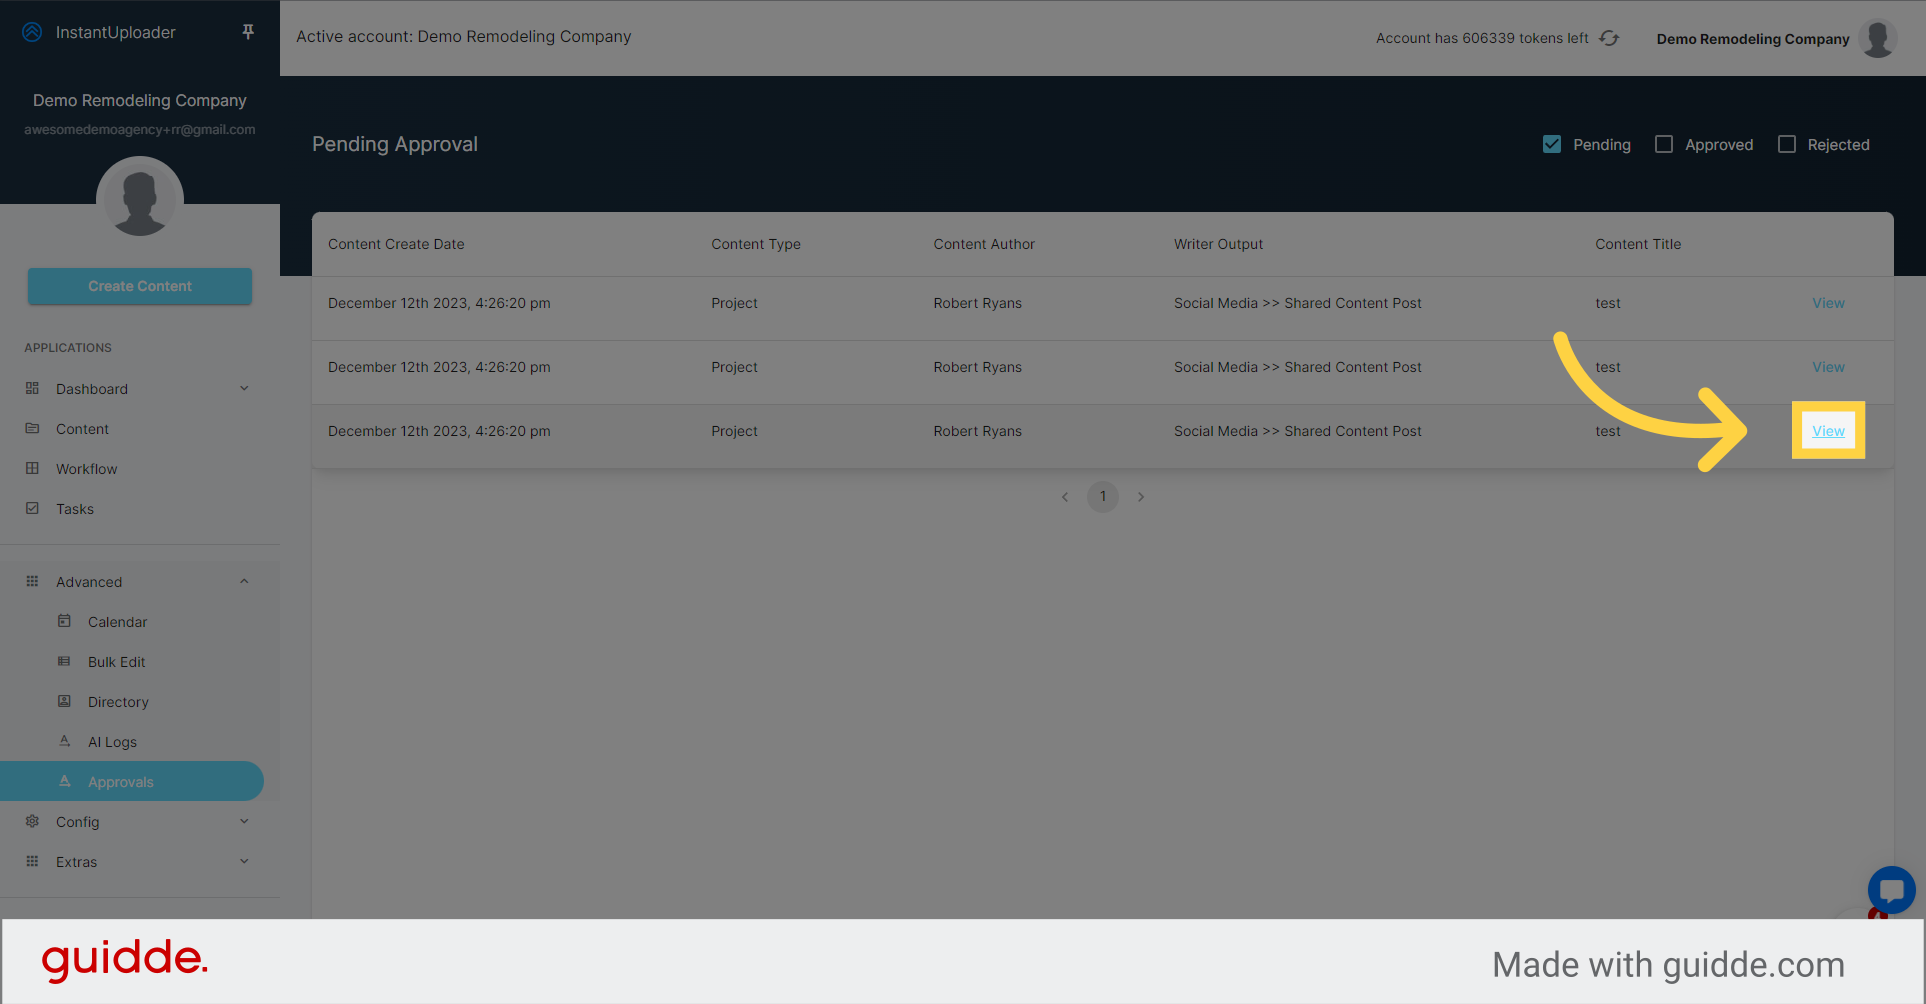
To review a specific piece of content, click on the "View" button next to it.
Take a moment to examine the content carefully.
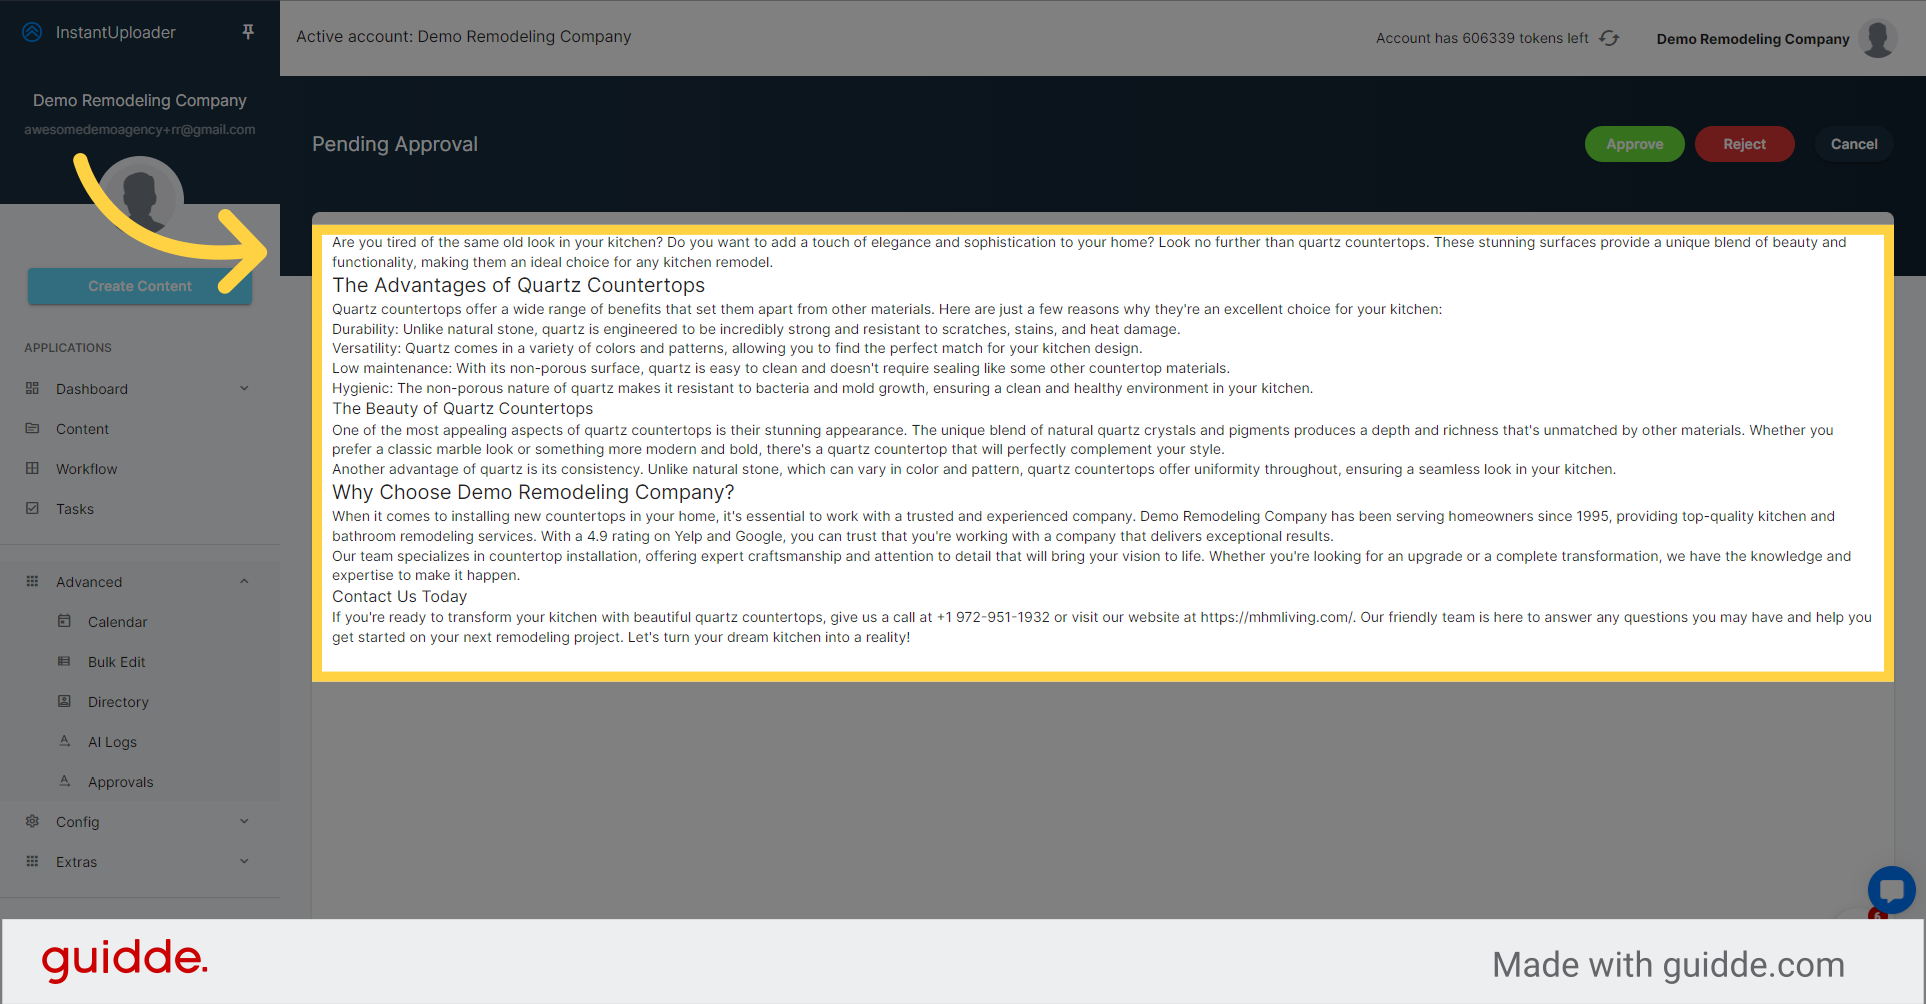
If everything looks good and you're ready to publish, click on the "Approve" button.

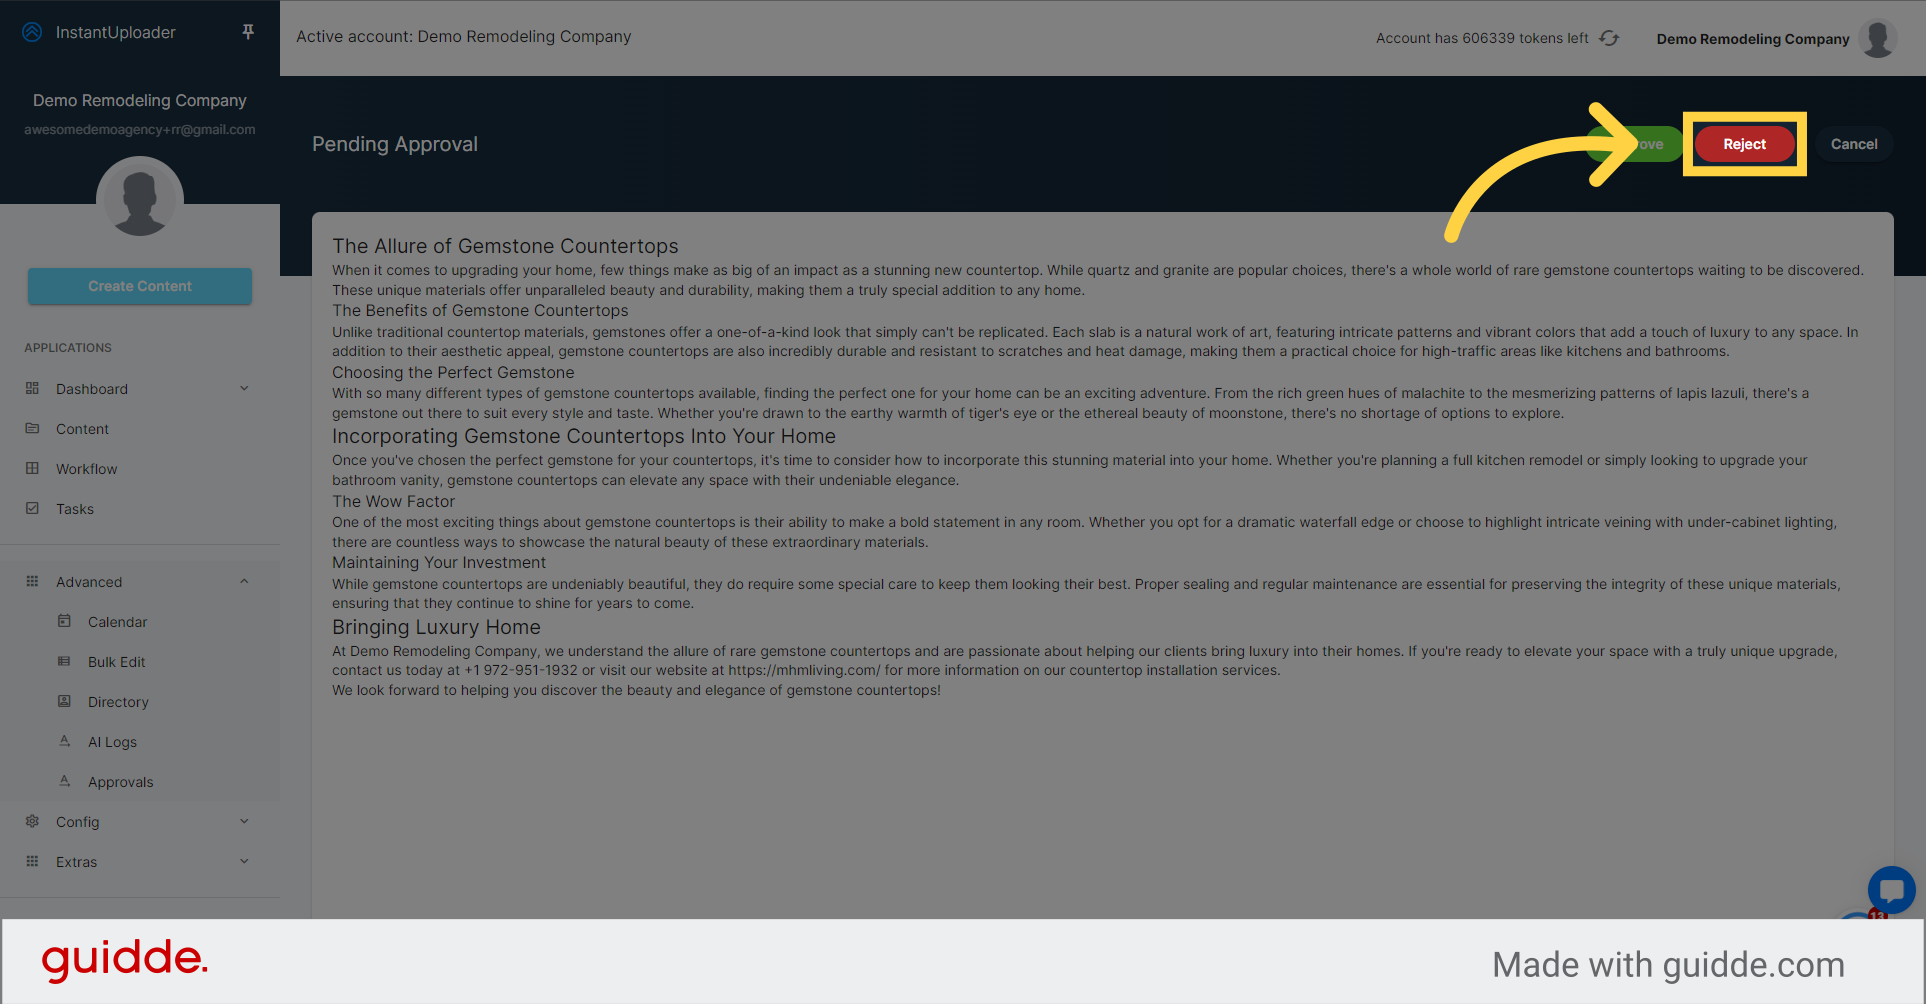
Sometimes, content may not meet your standards or fit your current strategy. Let's click "View" once again.

To reject an item, click on the "Reject" button.
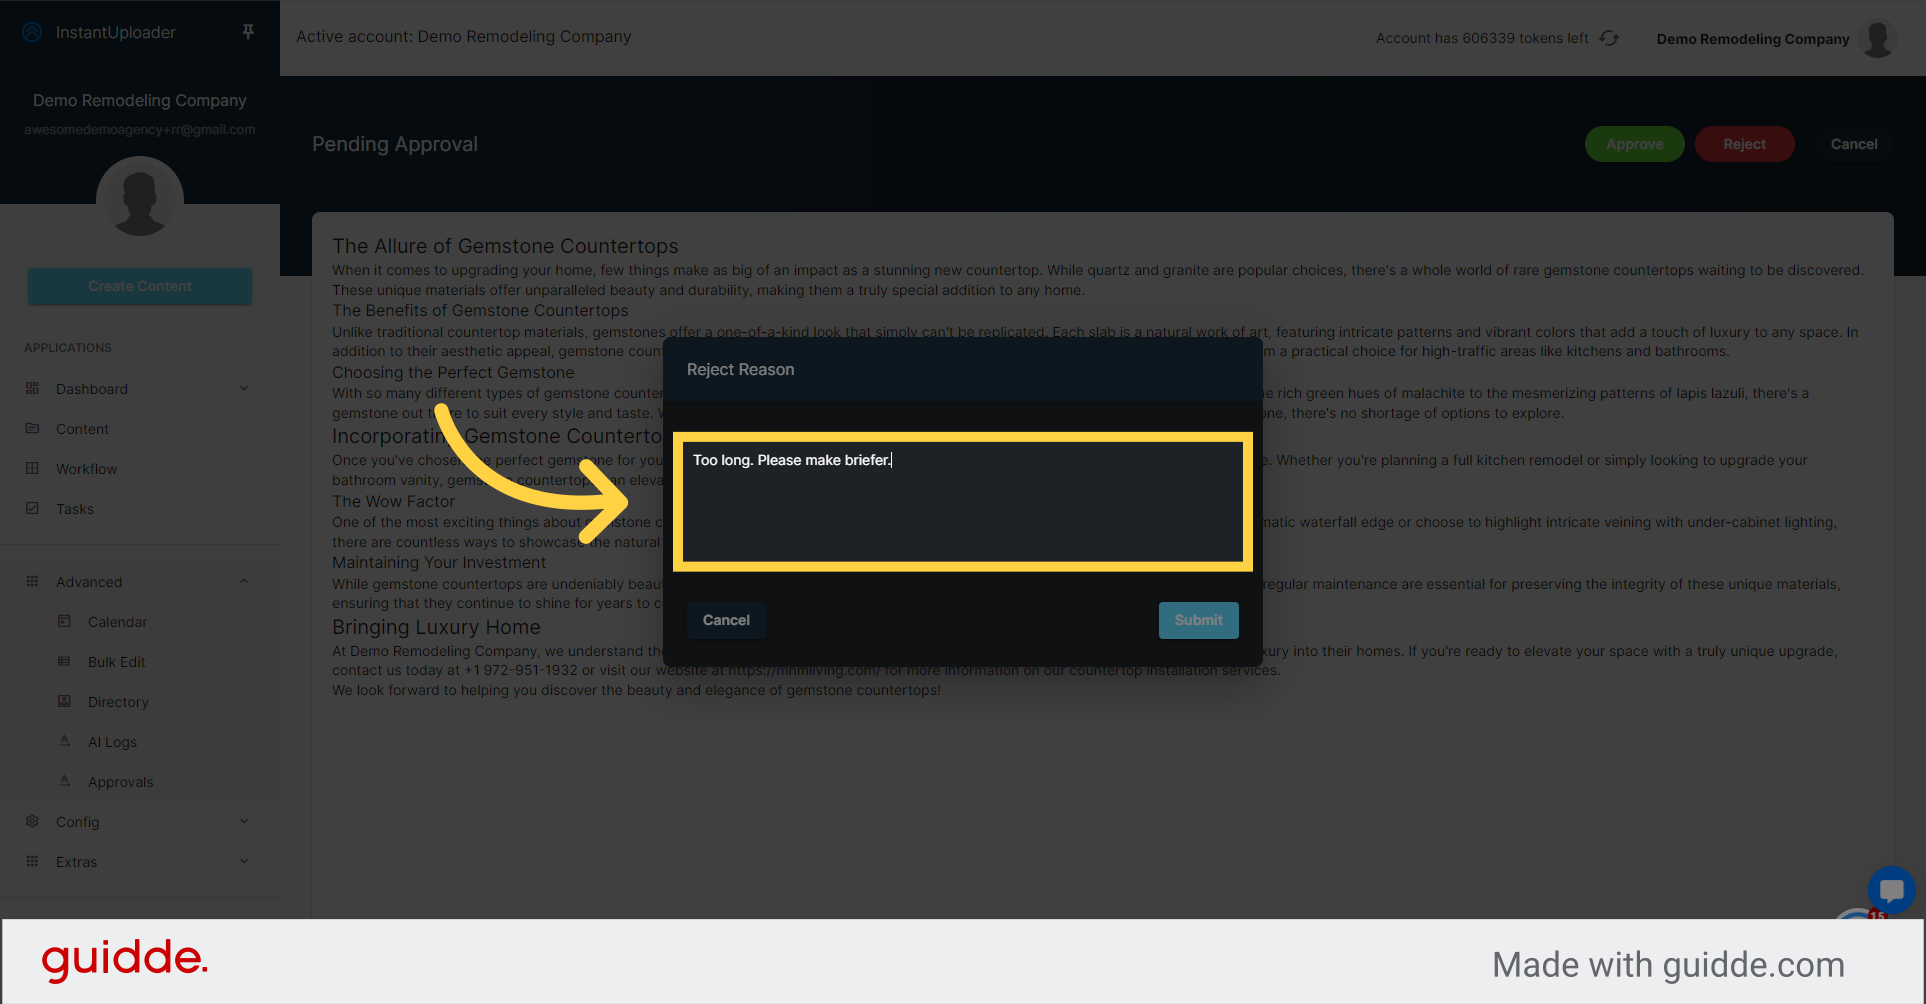
You'll be prompted to provide a reason for the rejection. Fill in the feedback in the provided field.
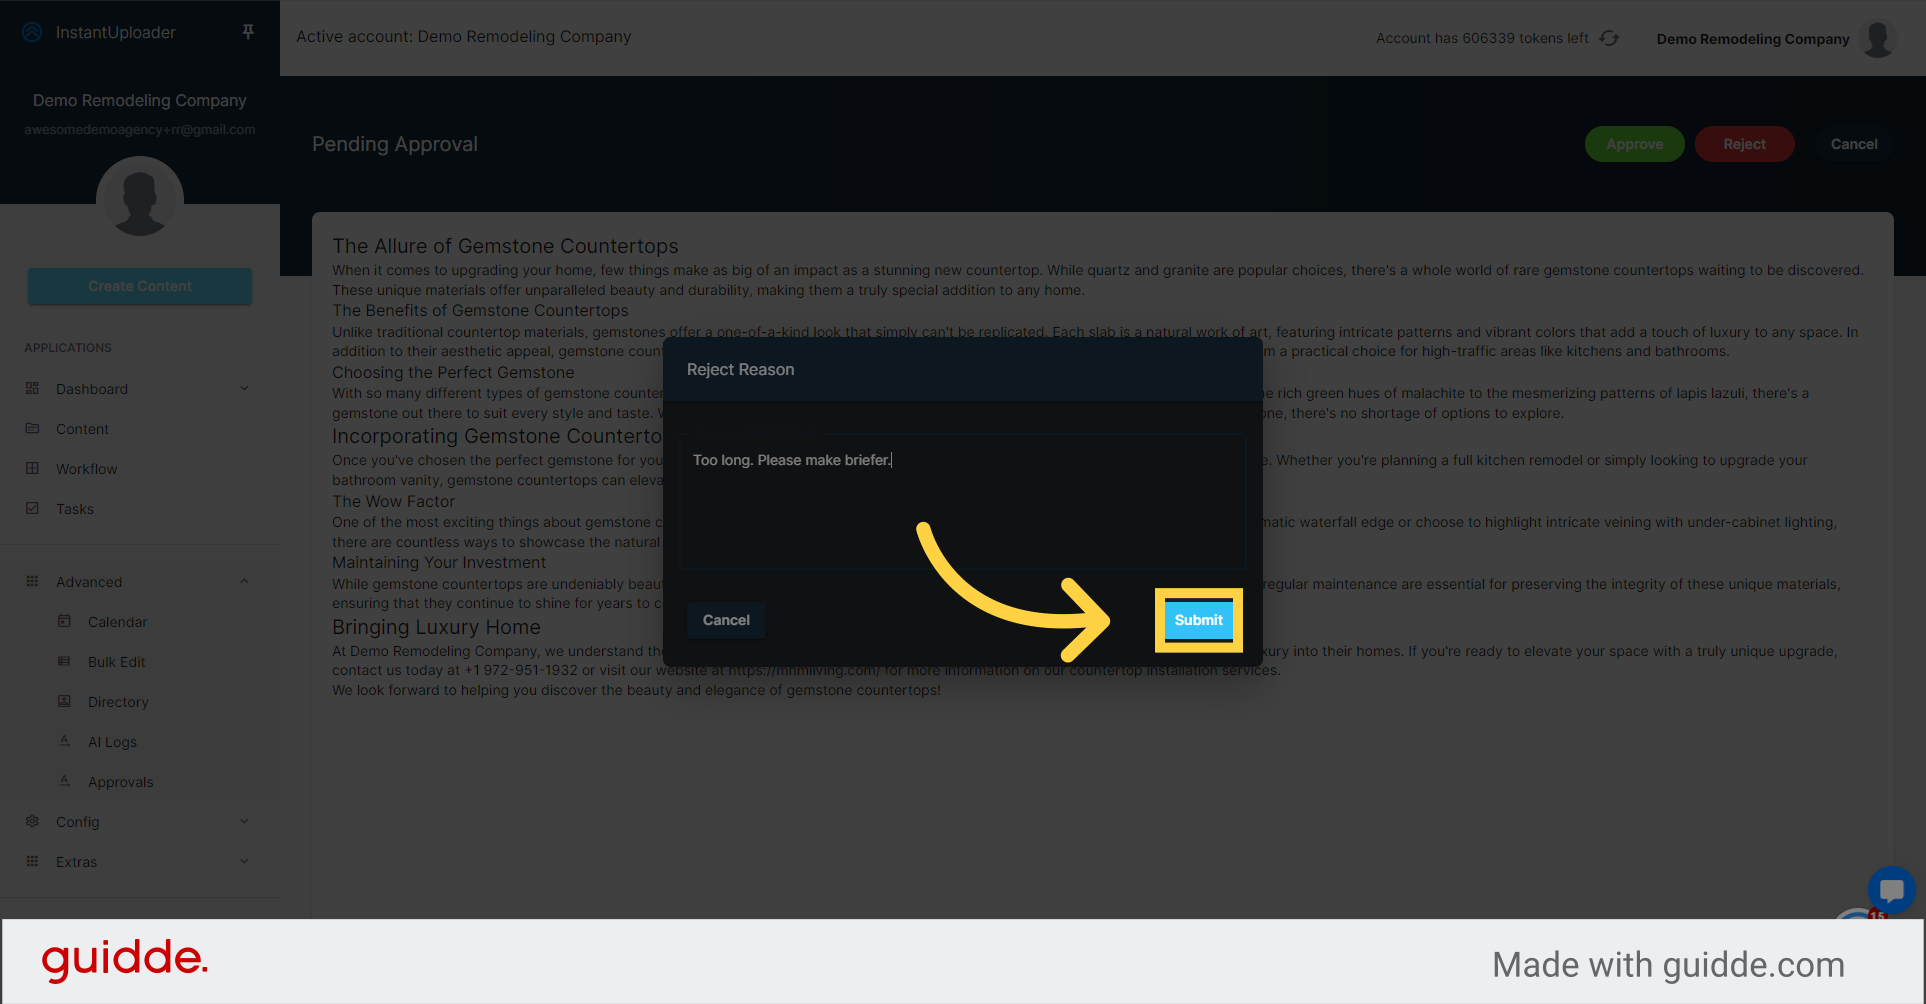
Click on the "Submit" button. This helps your team understand what changes are needed.
Now, let's head over to the "Automations" section.
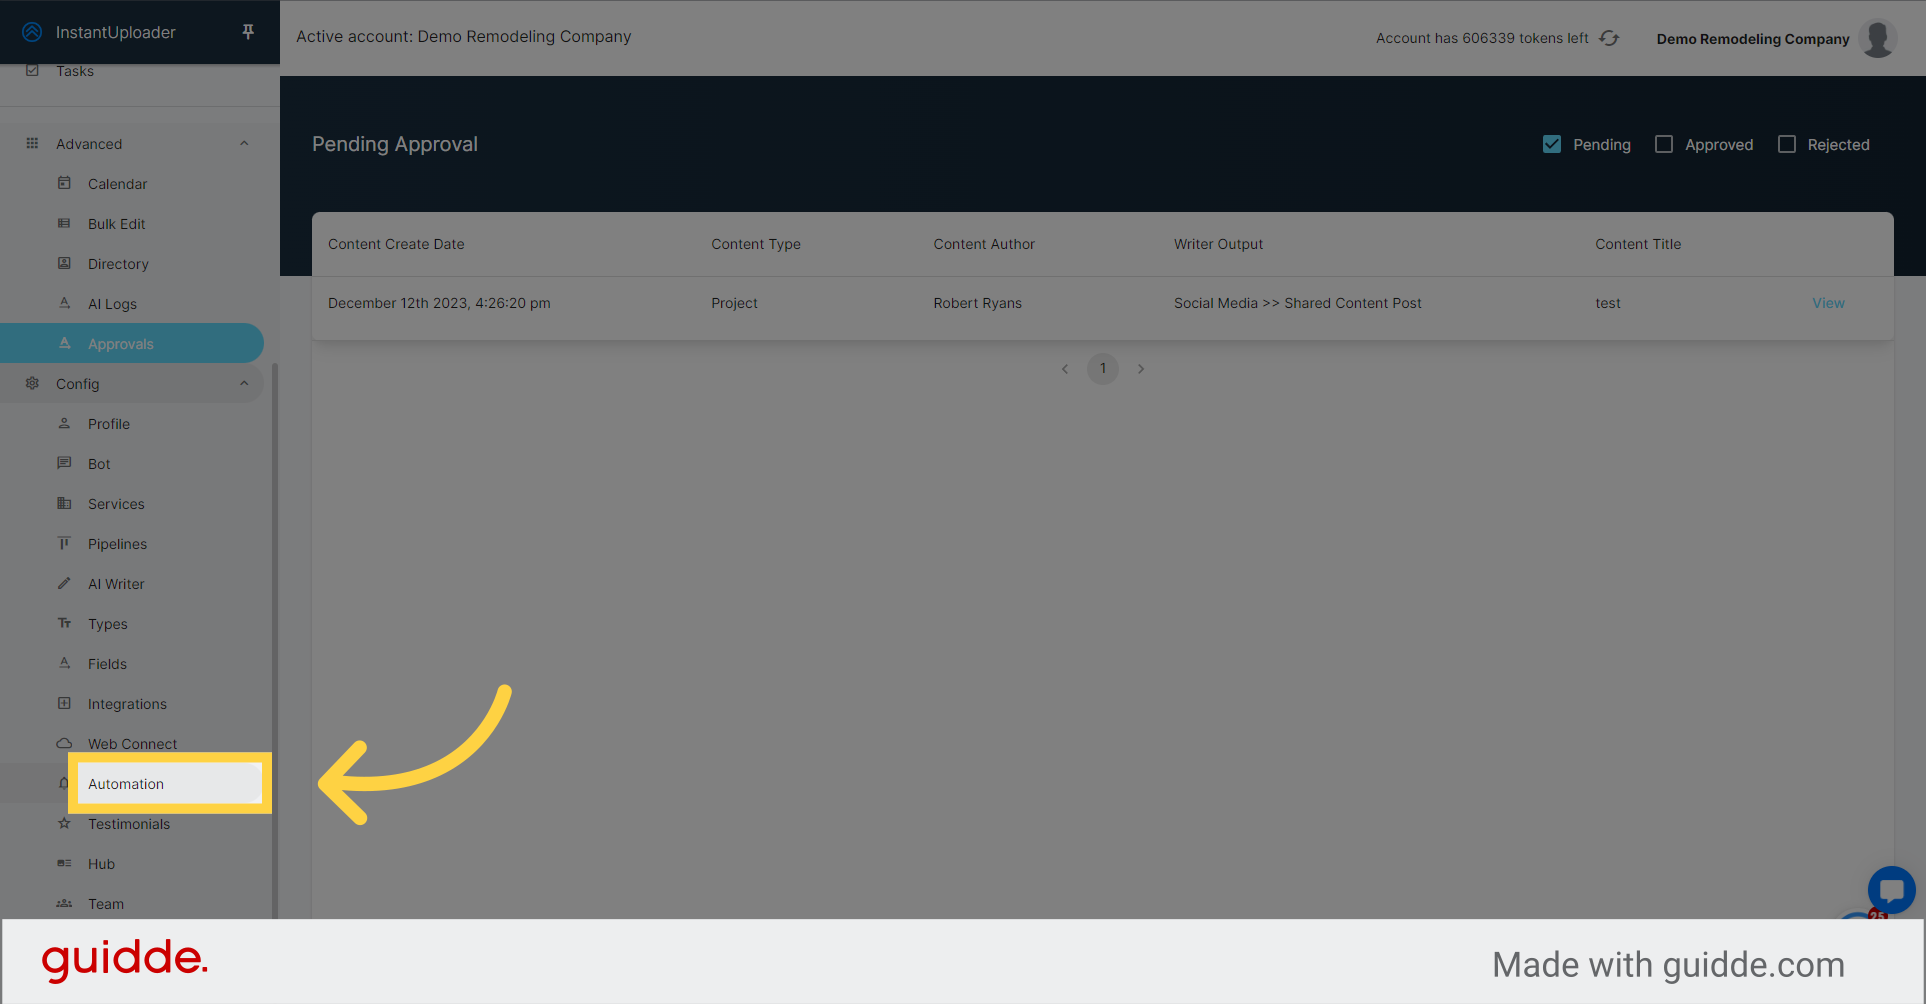
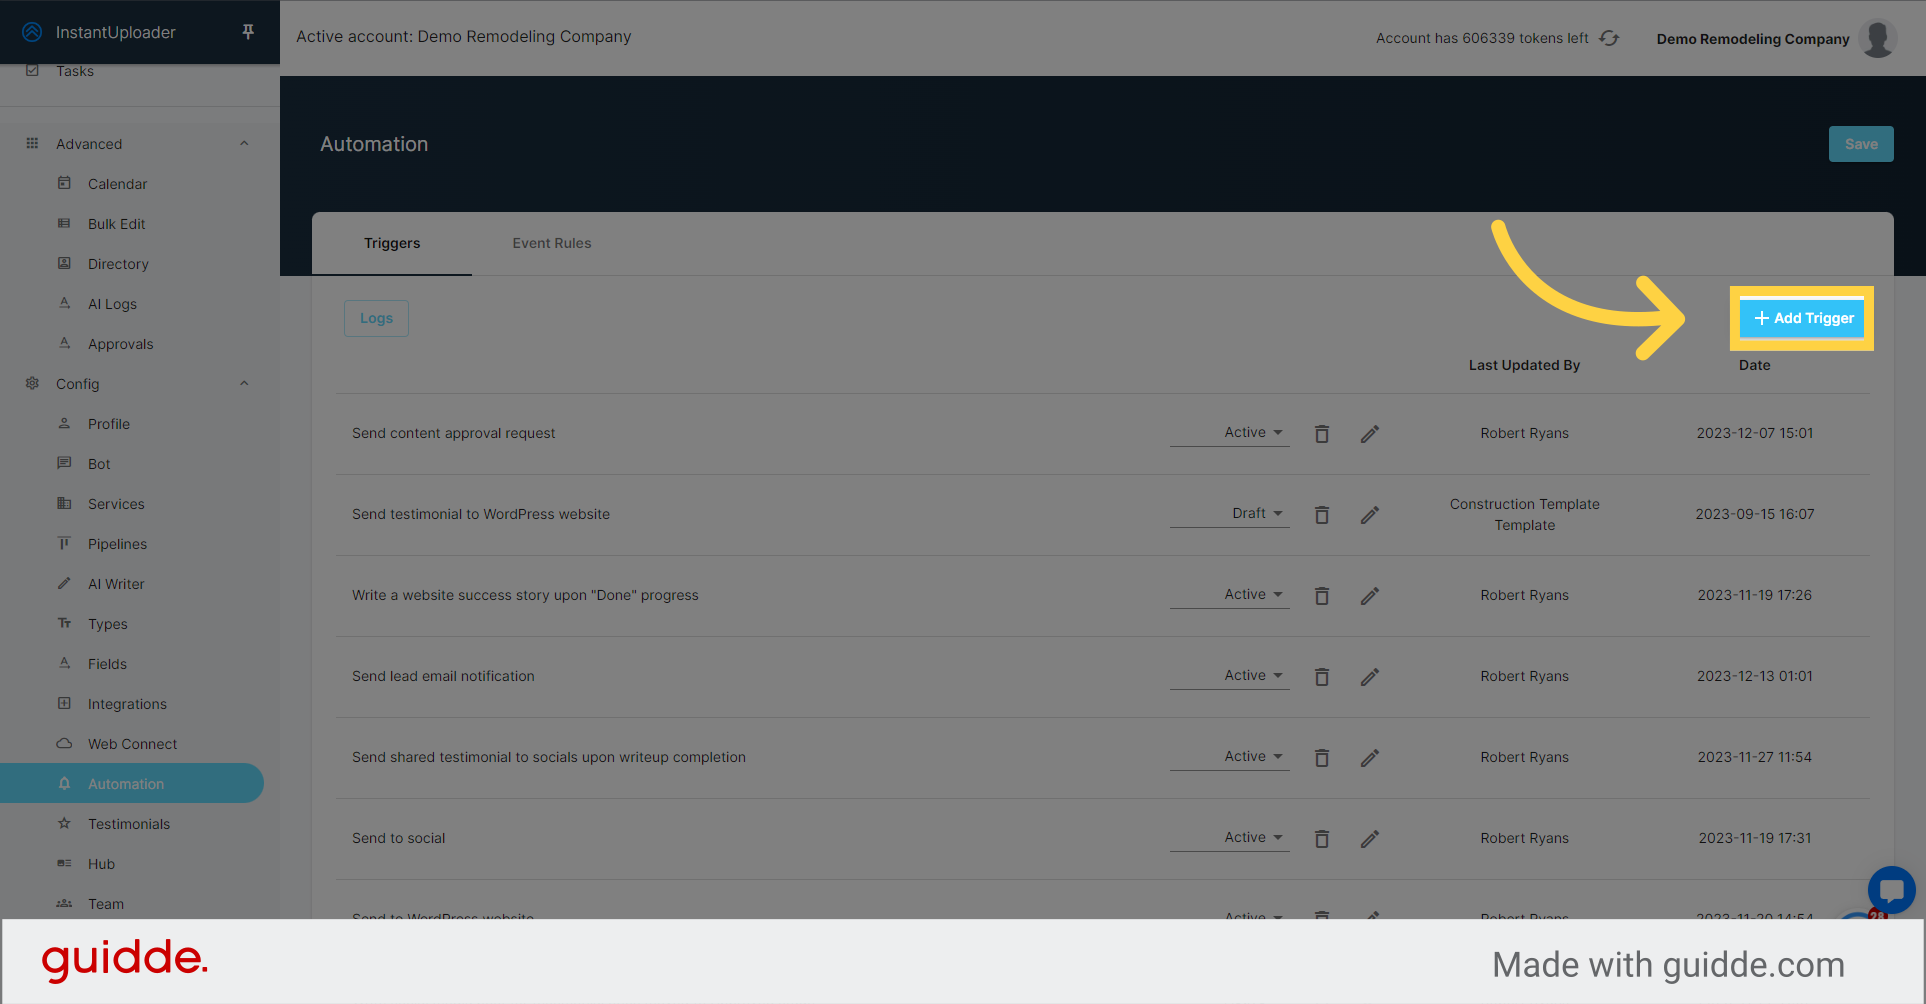
Here, you can set up rules to automate what happens after content is approved. Click on "Add Trigger" to create a new automation.
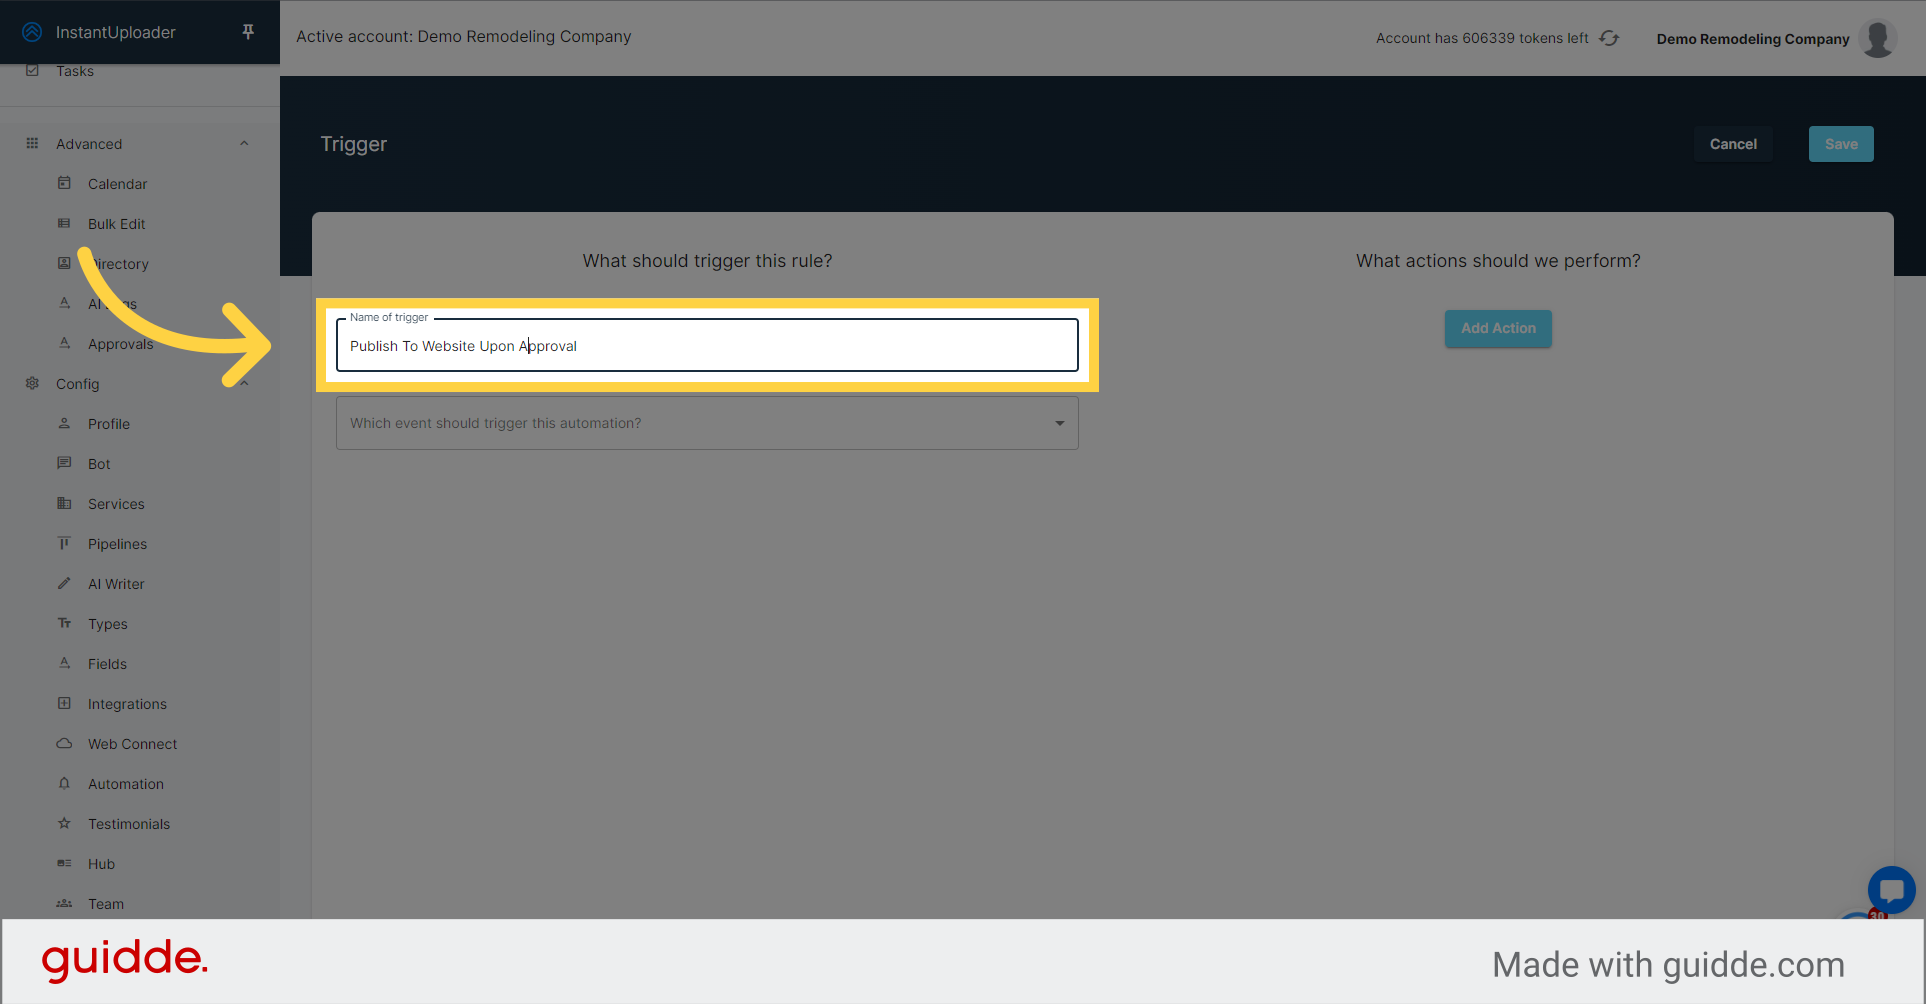
In the automation settings, you can specify actions such as "Publish to website upon approval." Let's name the trigger accordingly.
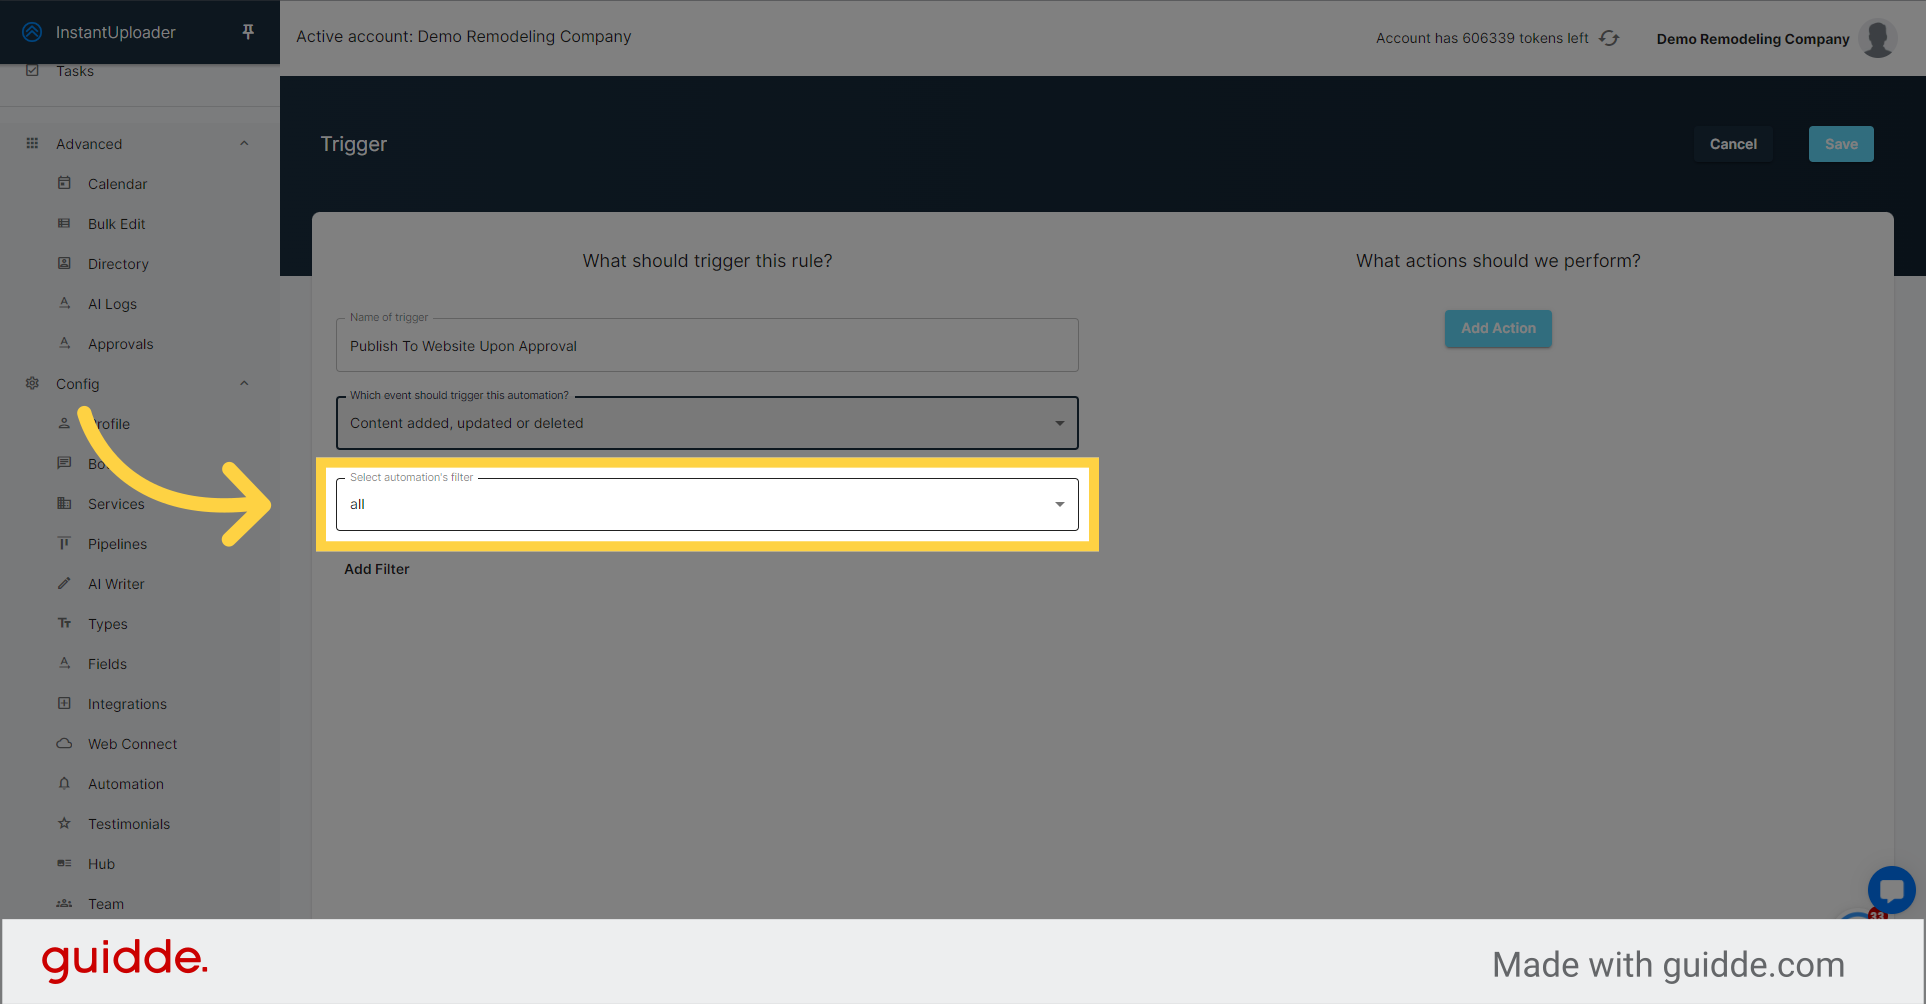
Select the Triggered Event type such as "Content Added, Updated, or Deleted"

Click on the "all" option.
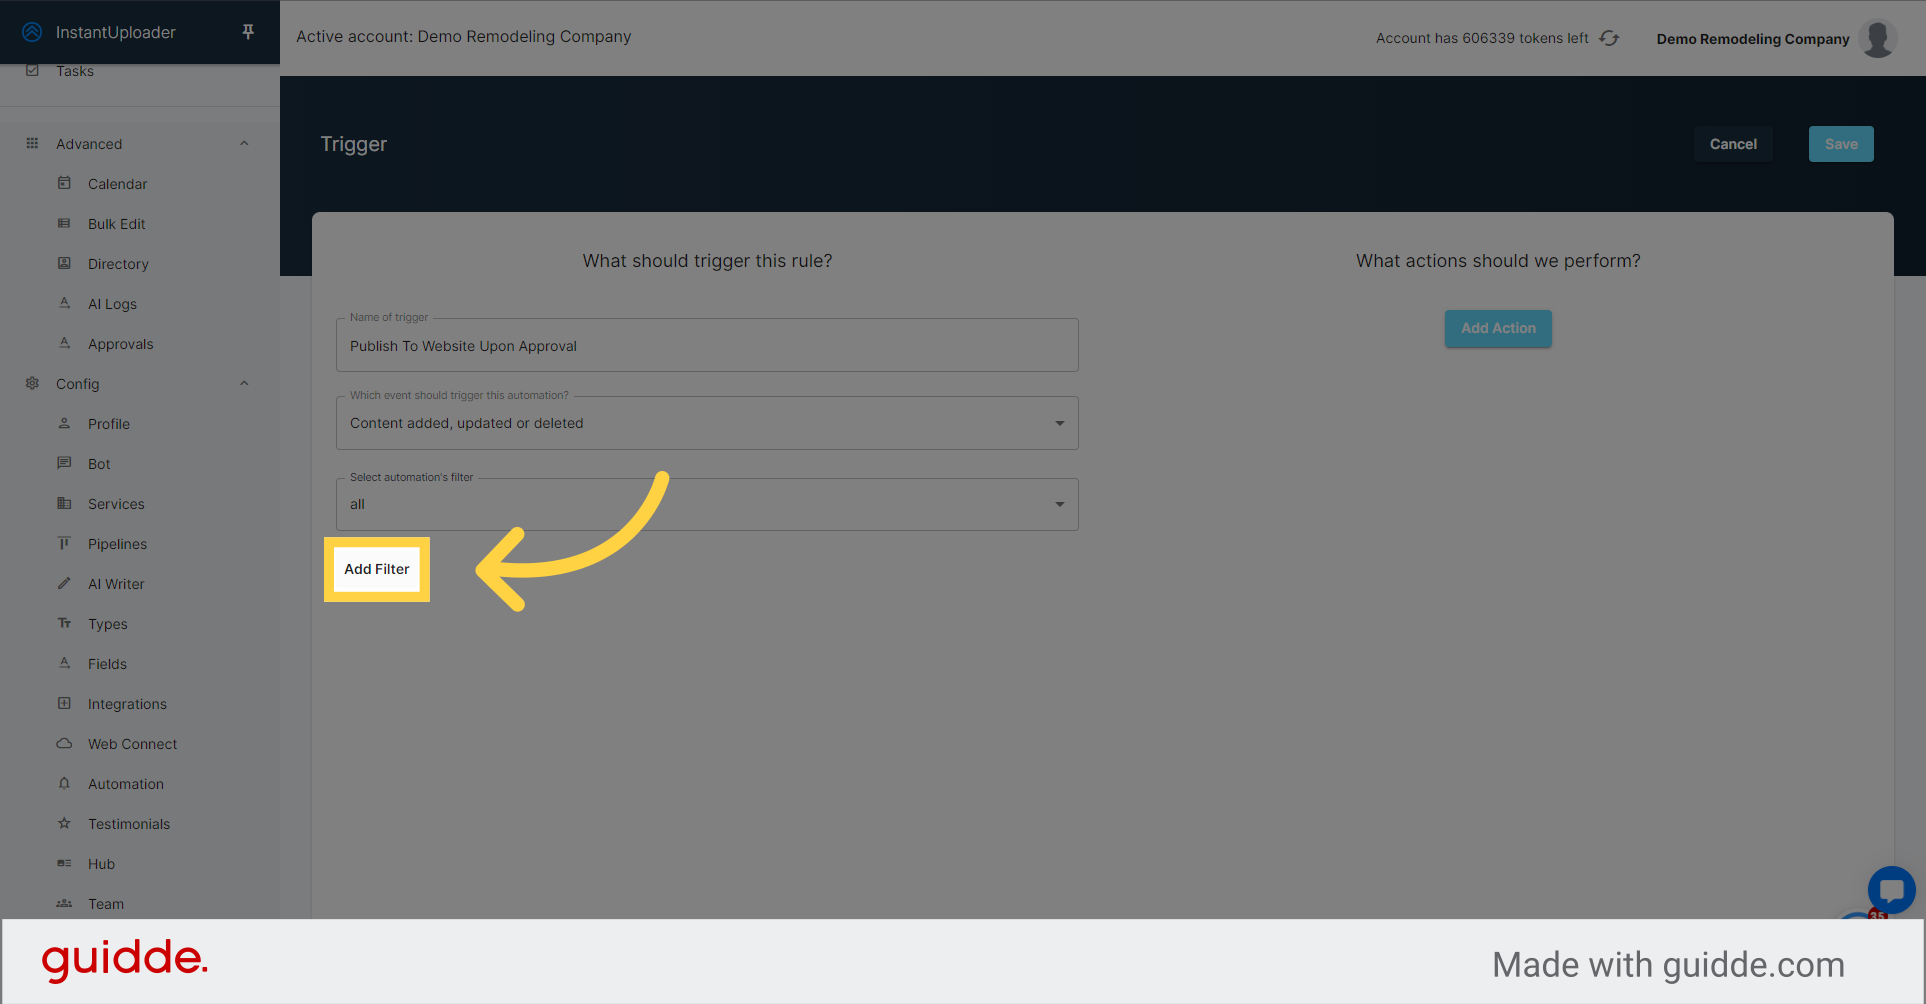
Click on the "Add Filter" button.
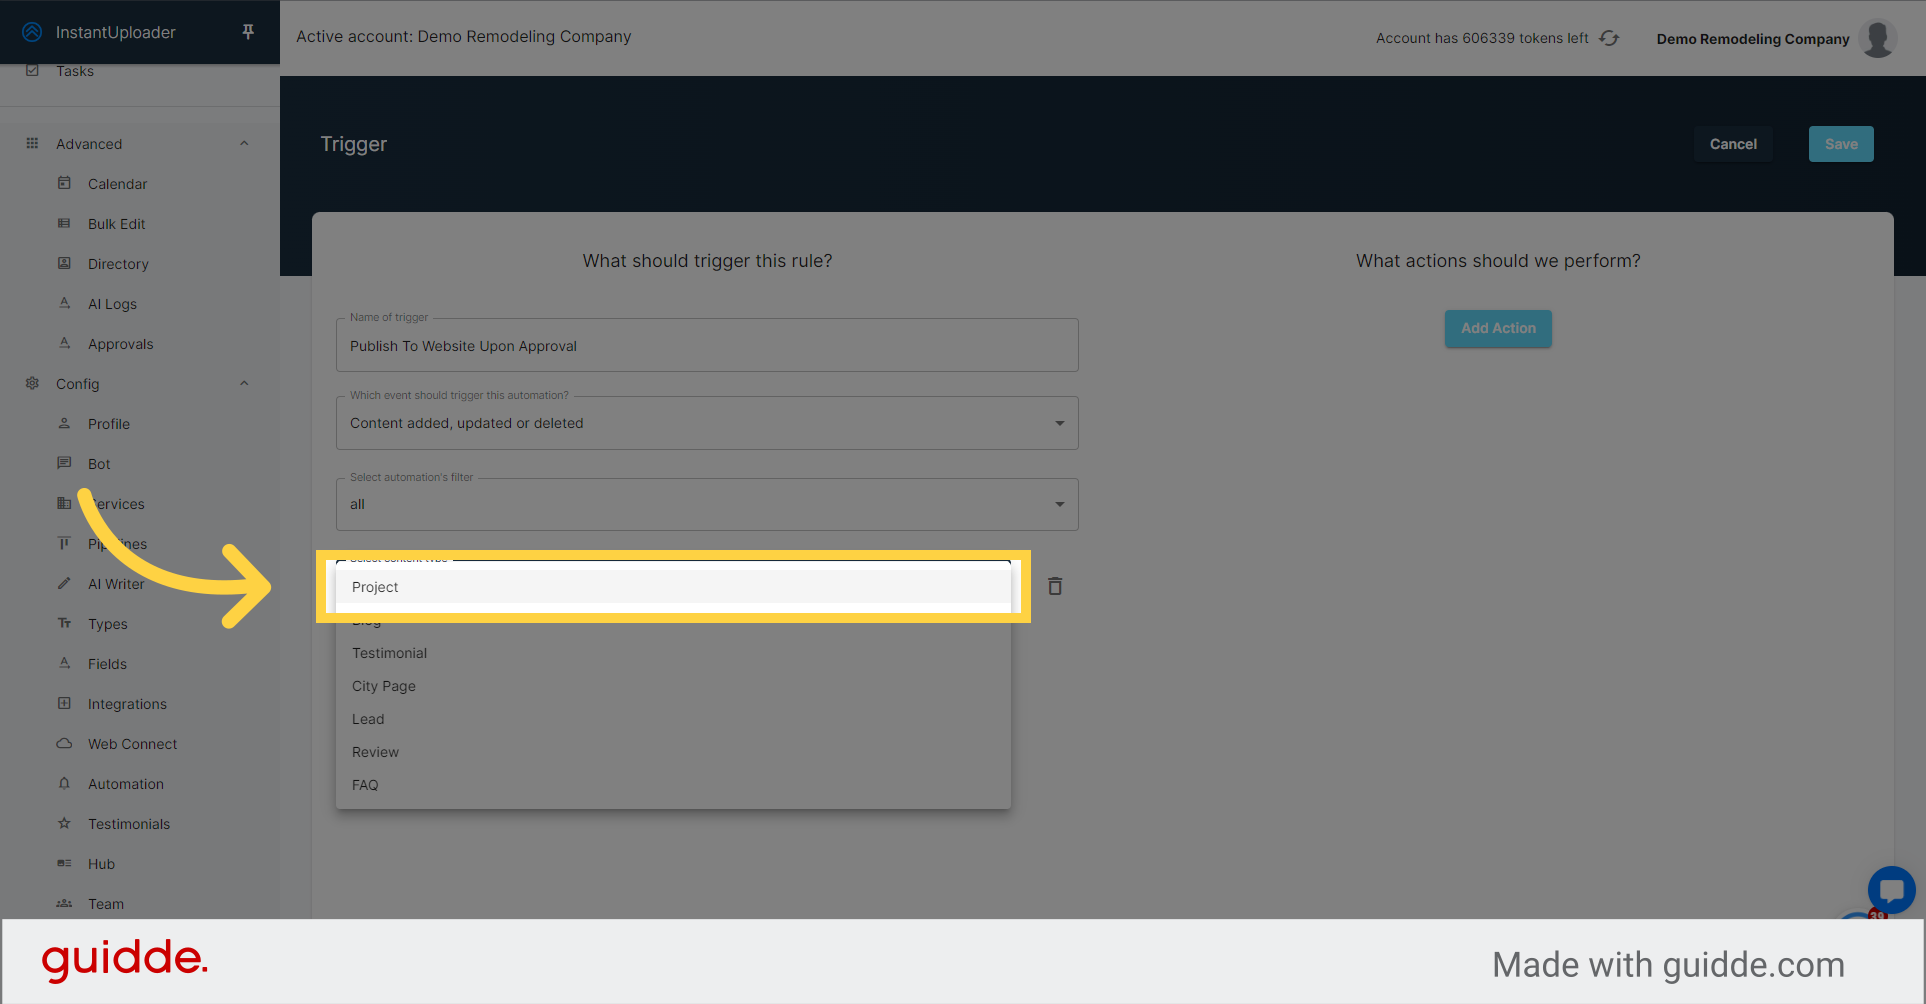
Choose the content type you're working with, for example, "Project."
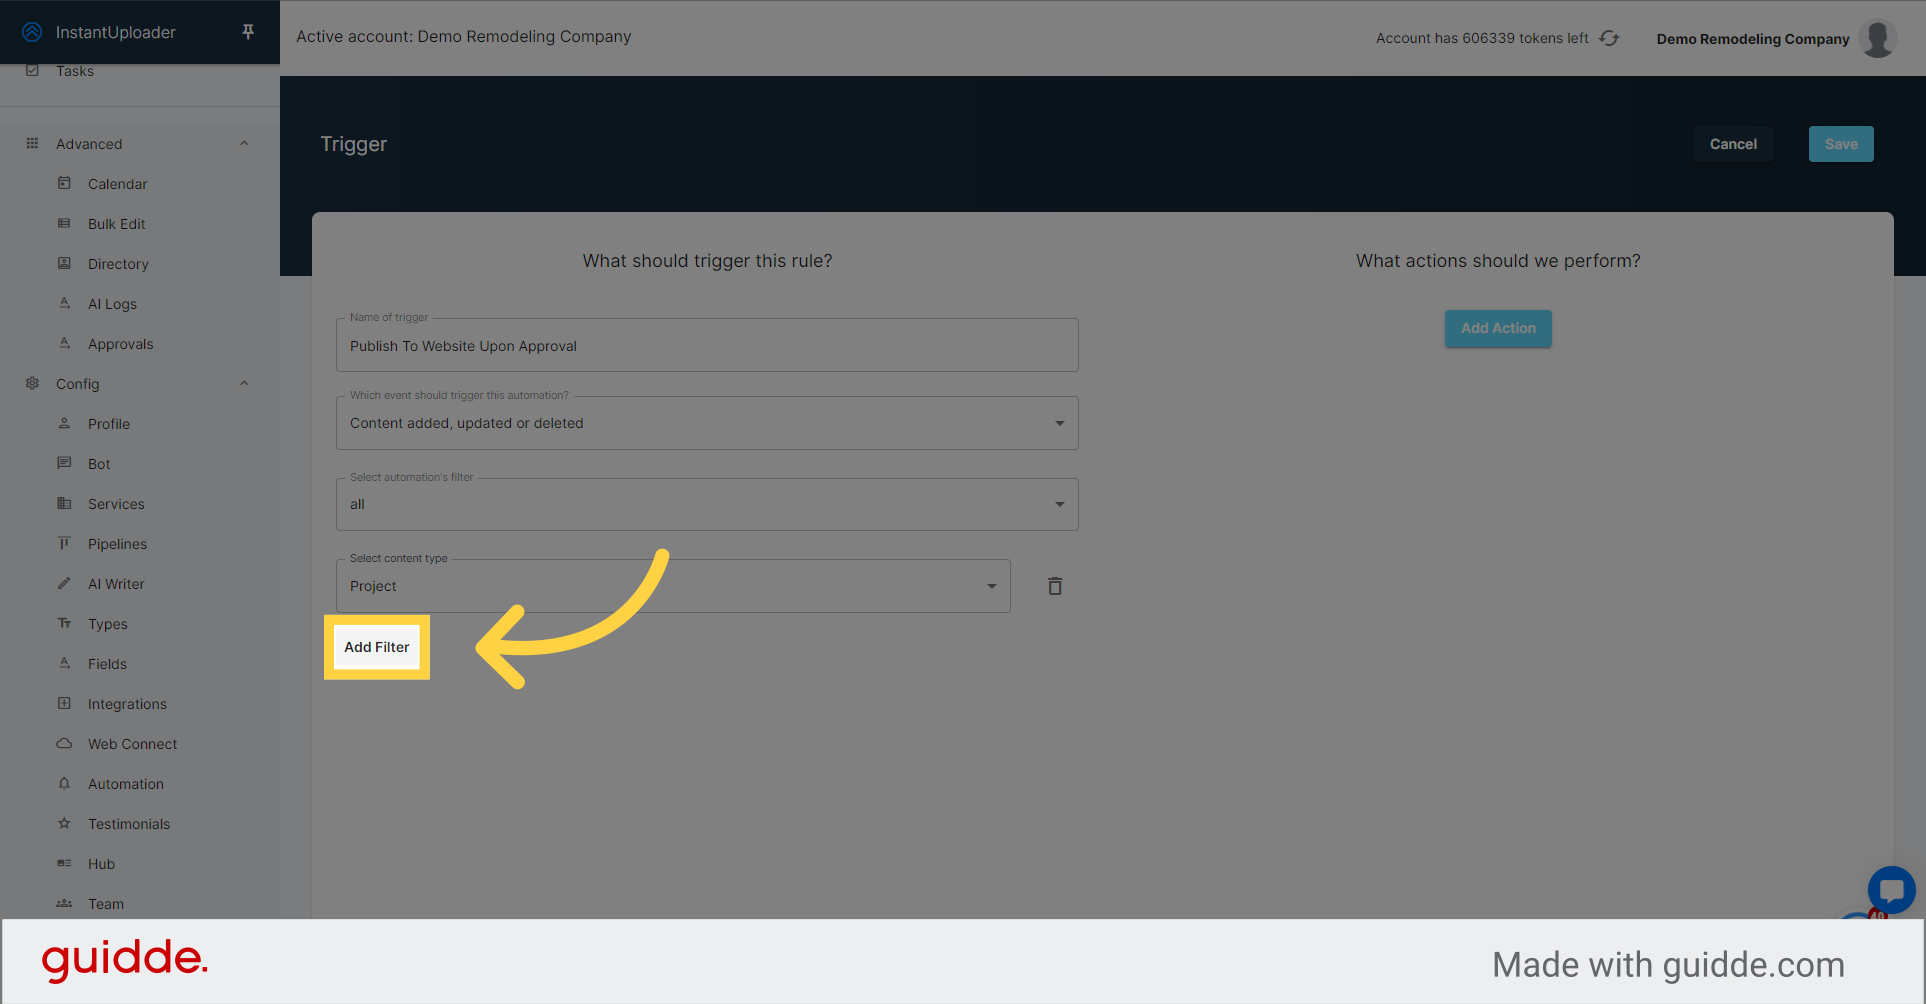
Click on the "Add Filter" button.
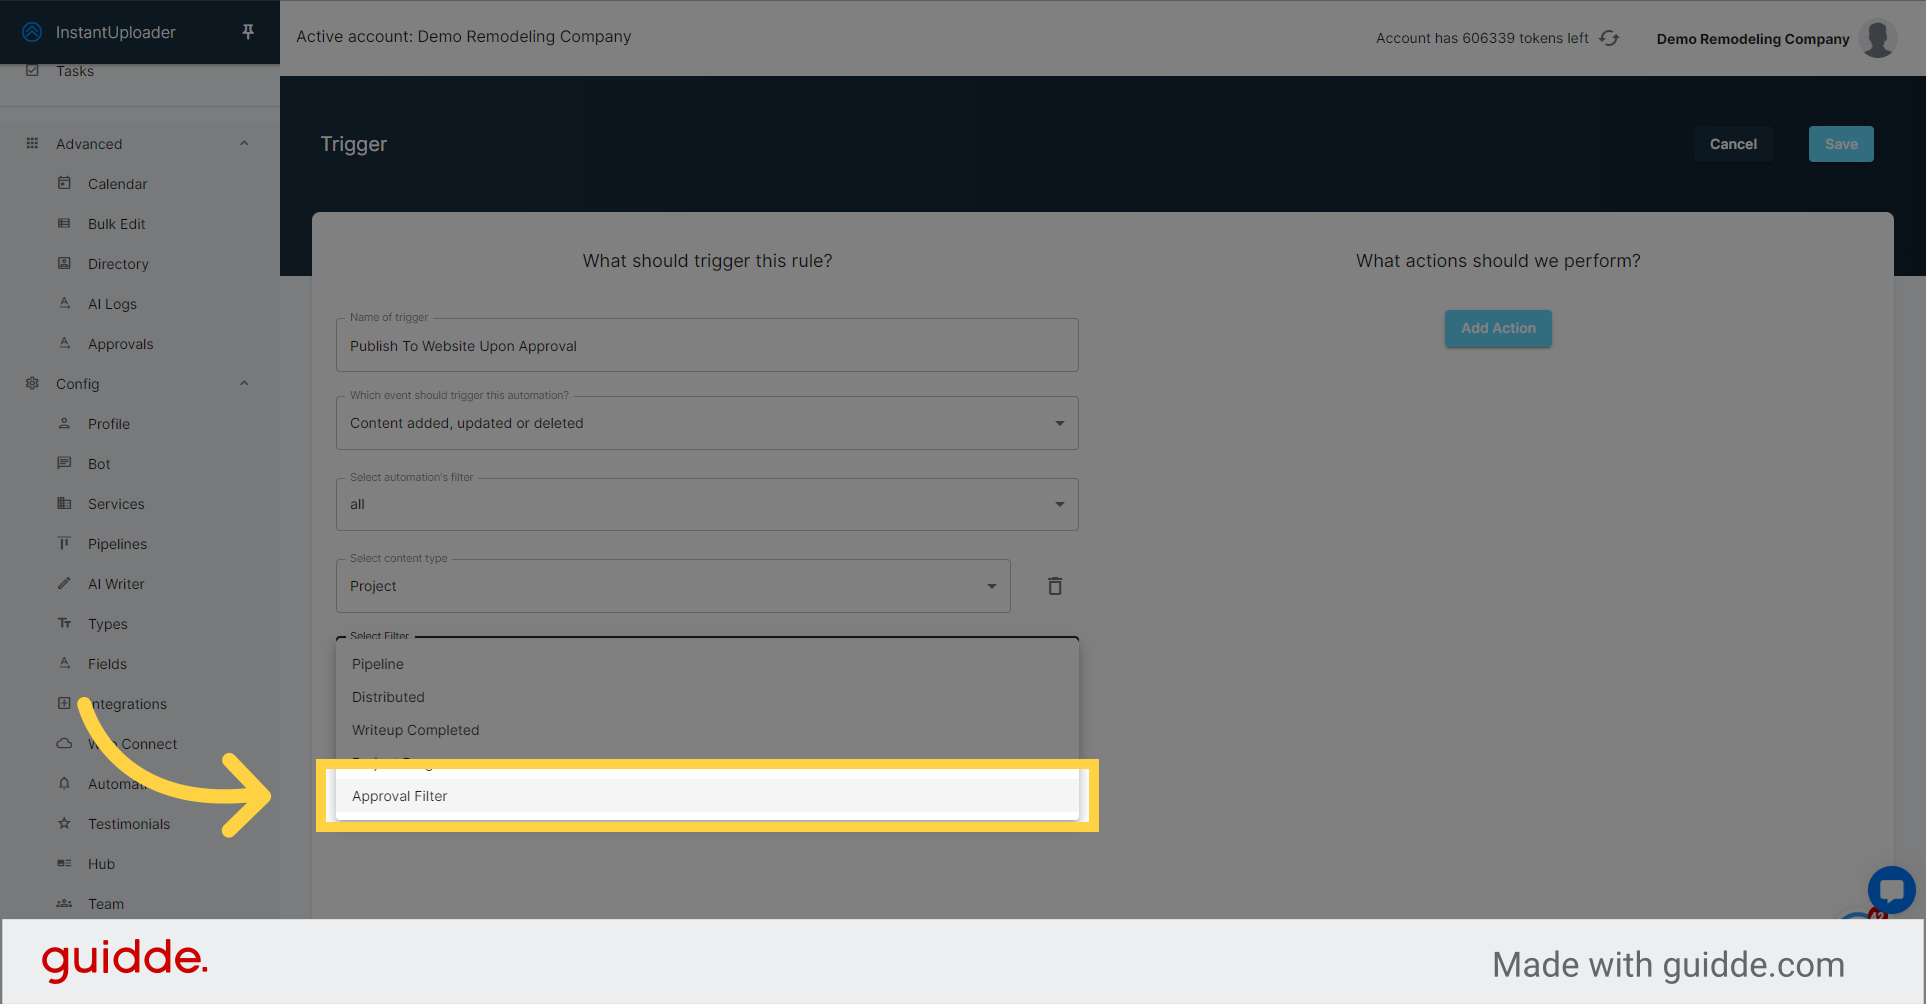
Select the "Approval Filter" option.
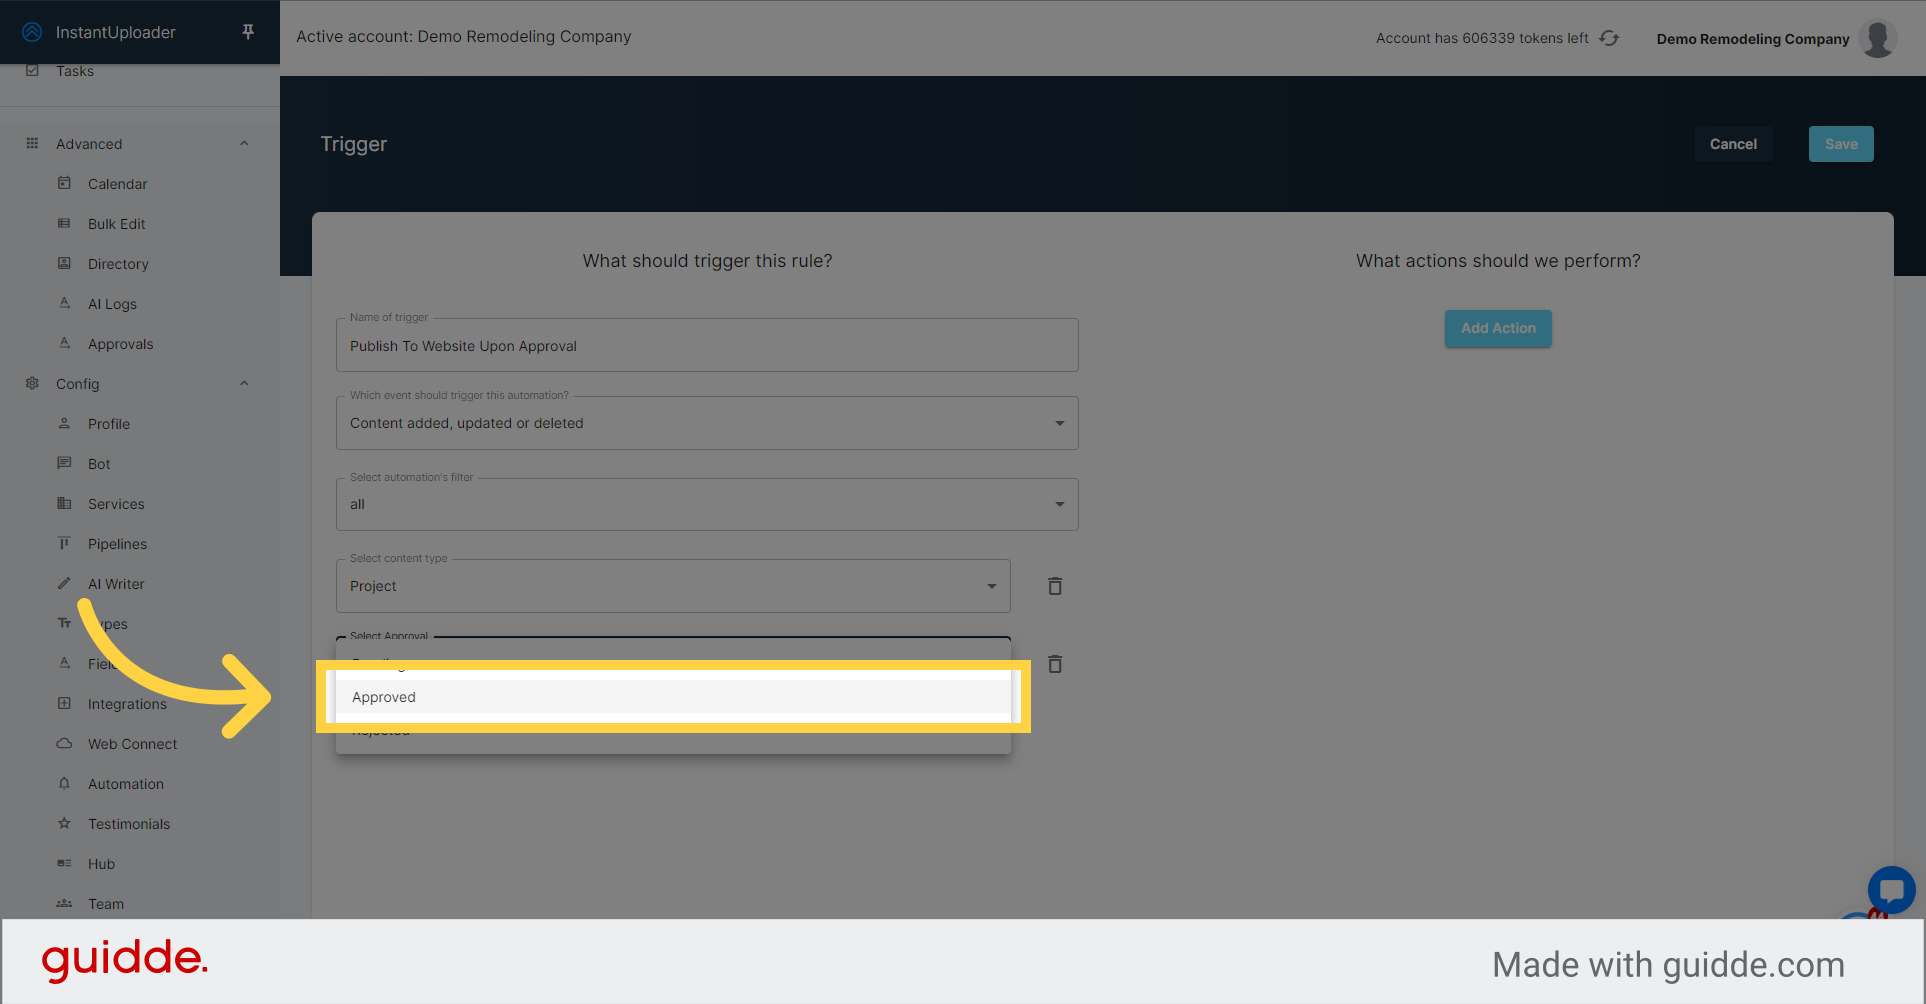
Then, set the "Approval Filter" to "Approved."
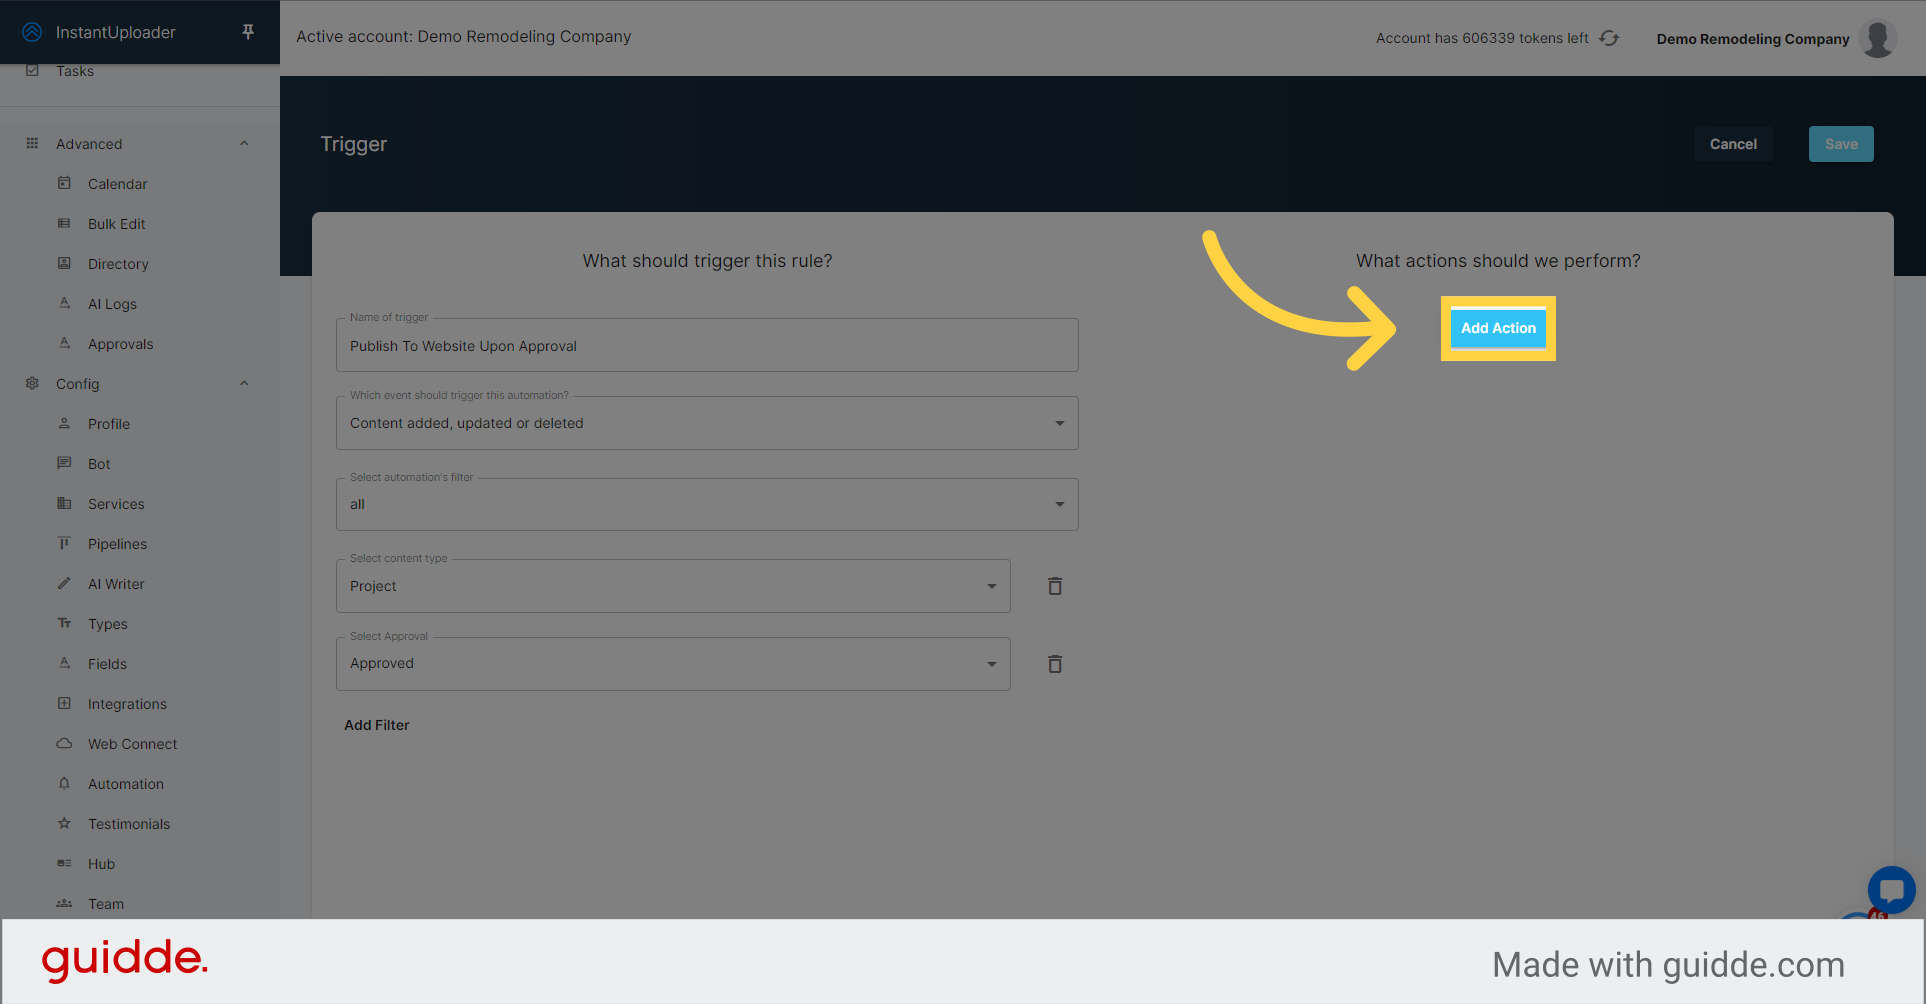
Click on the "Add Action" button.
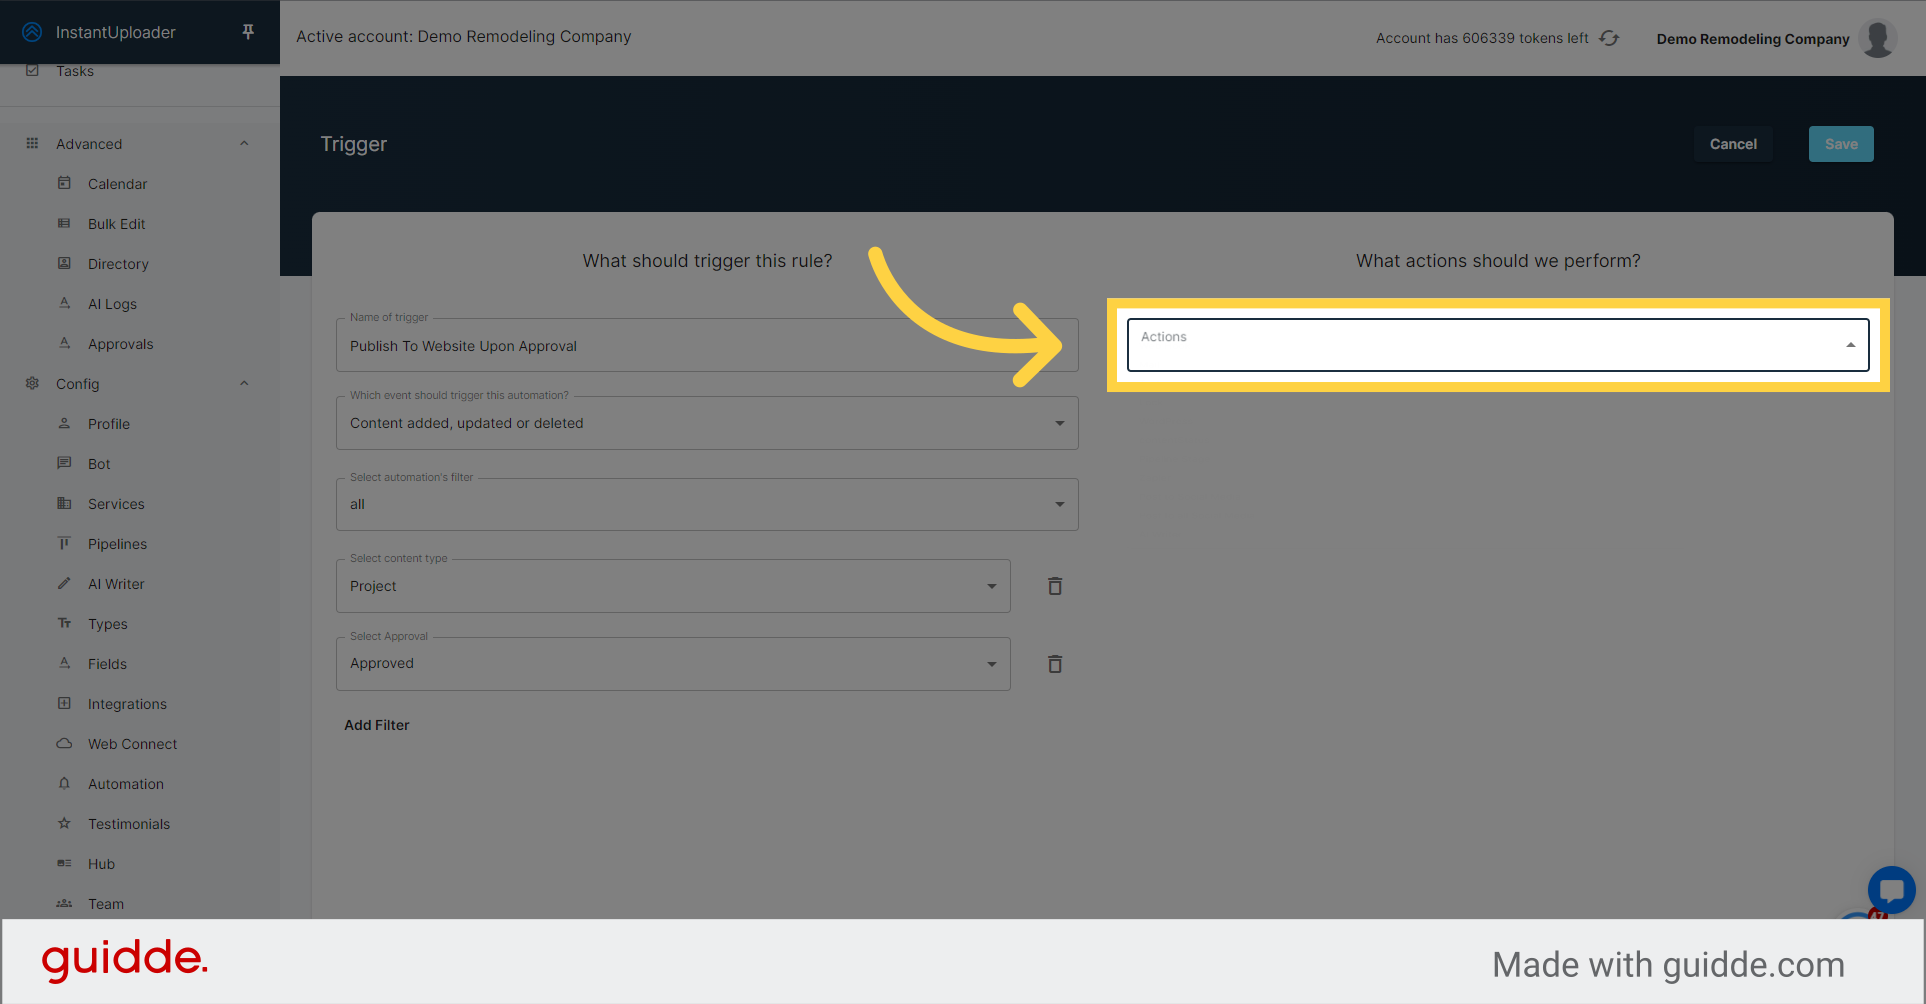
Click on the Actions dropdown
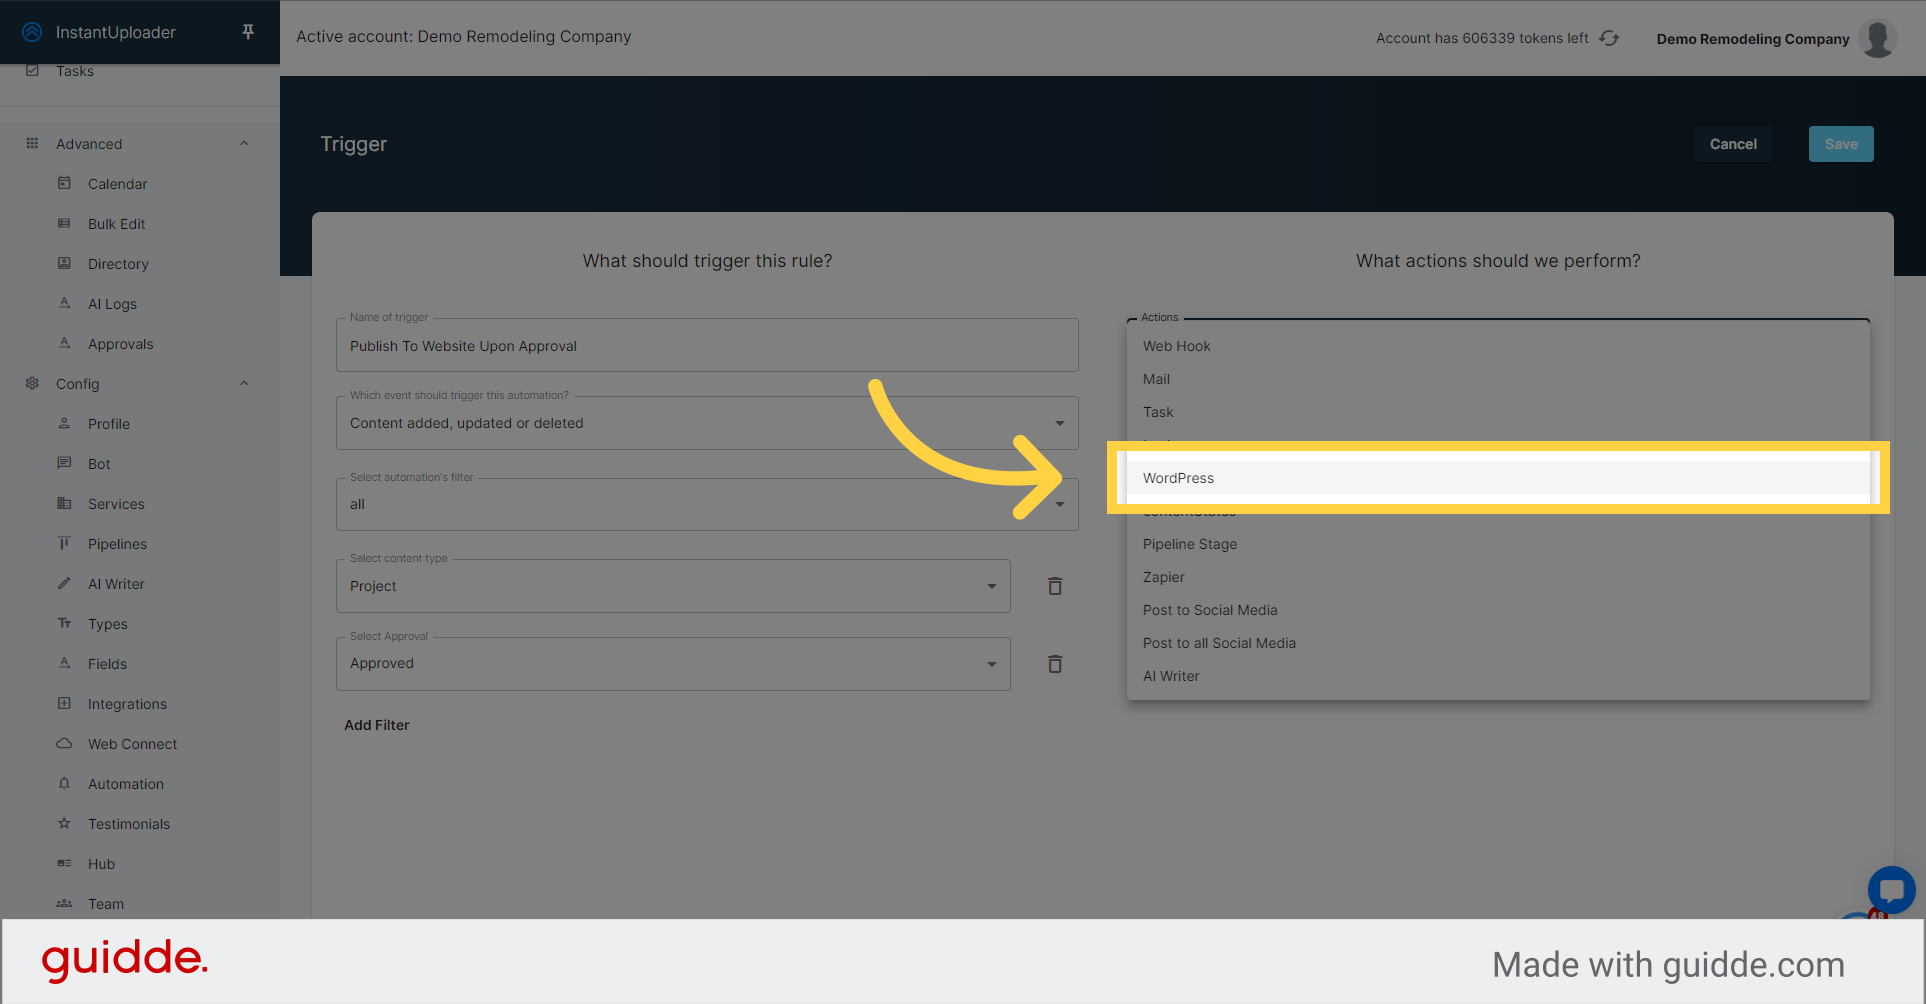
Decide where you want the approved content to go. For instance, if you want to post a success story to your WordPress website, select that as your action.
Select the website location
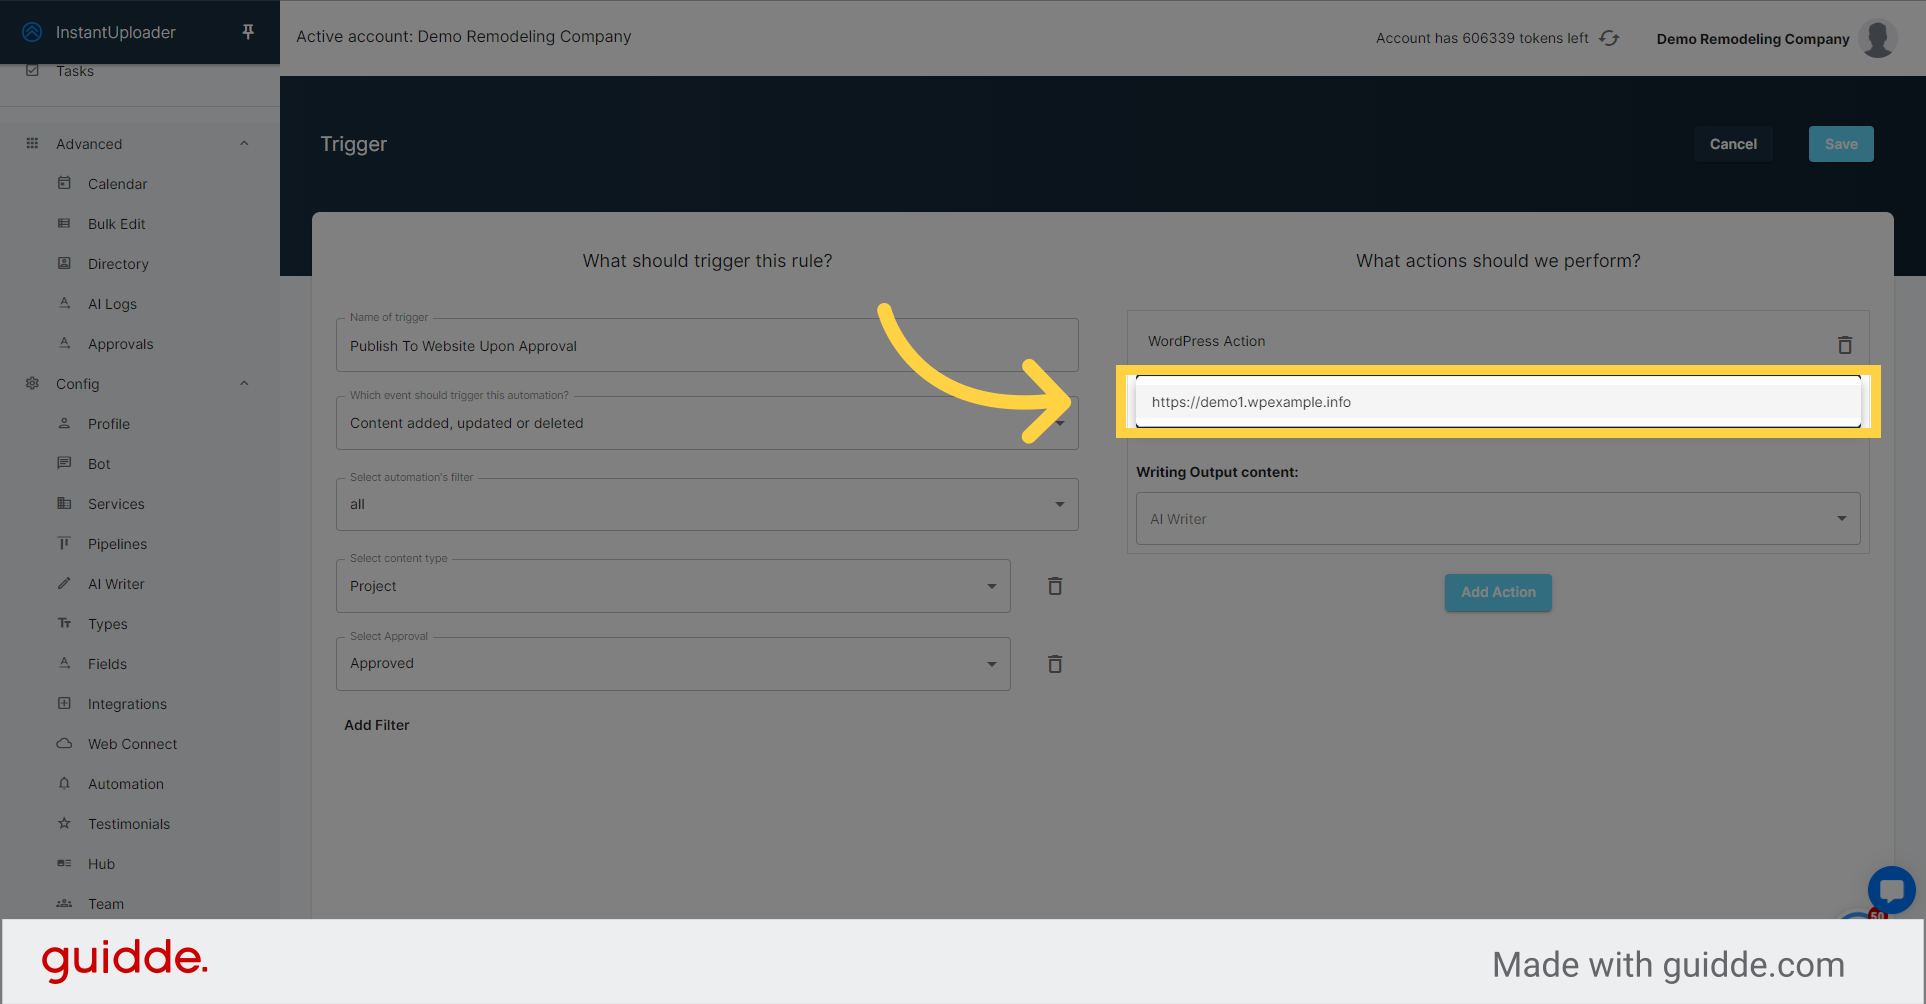
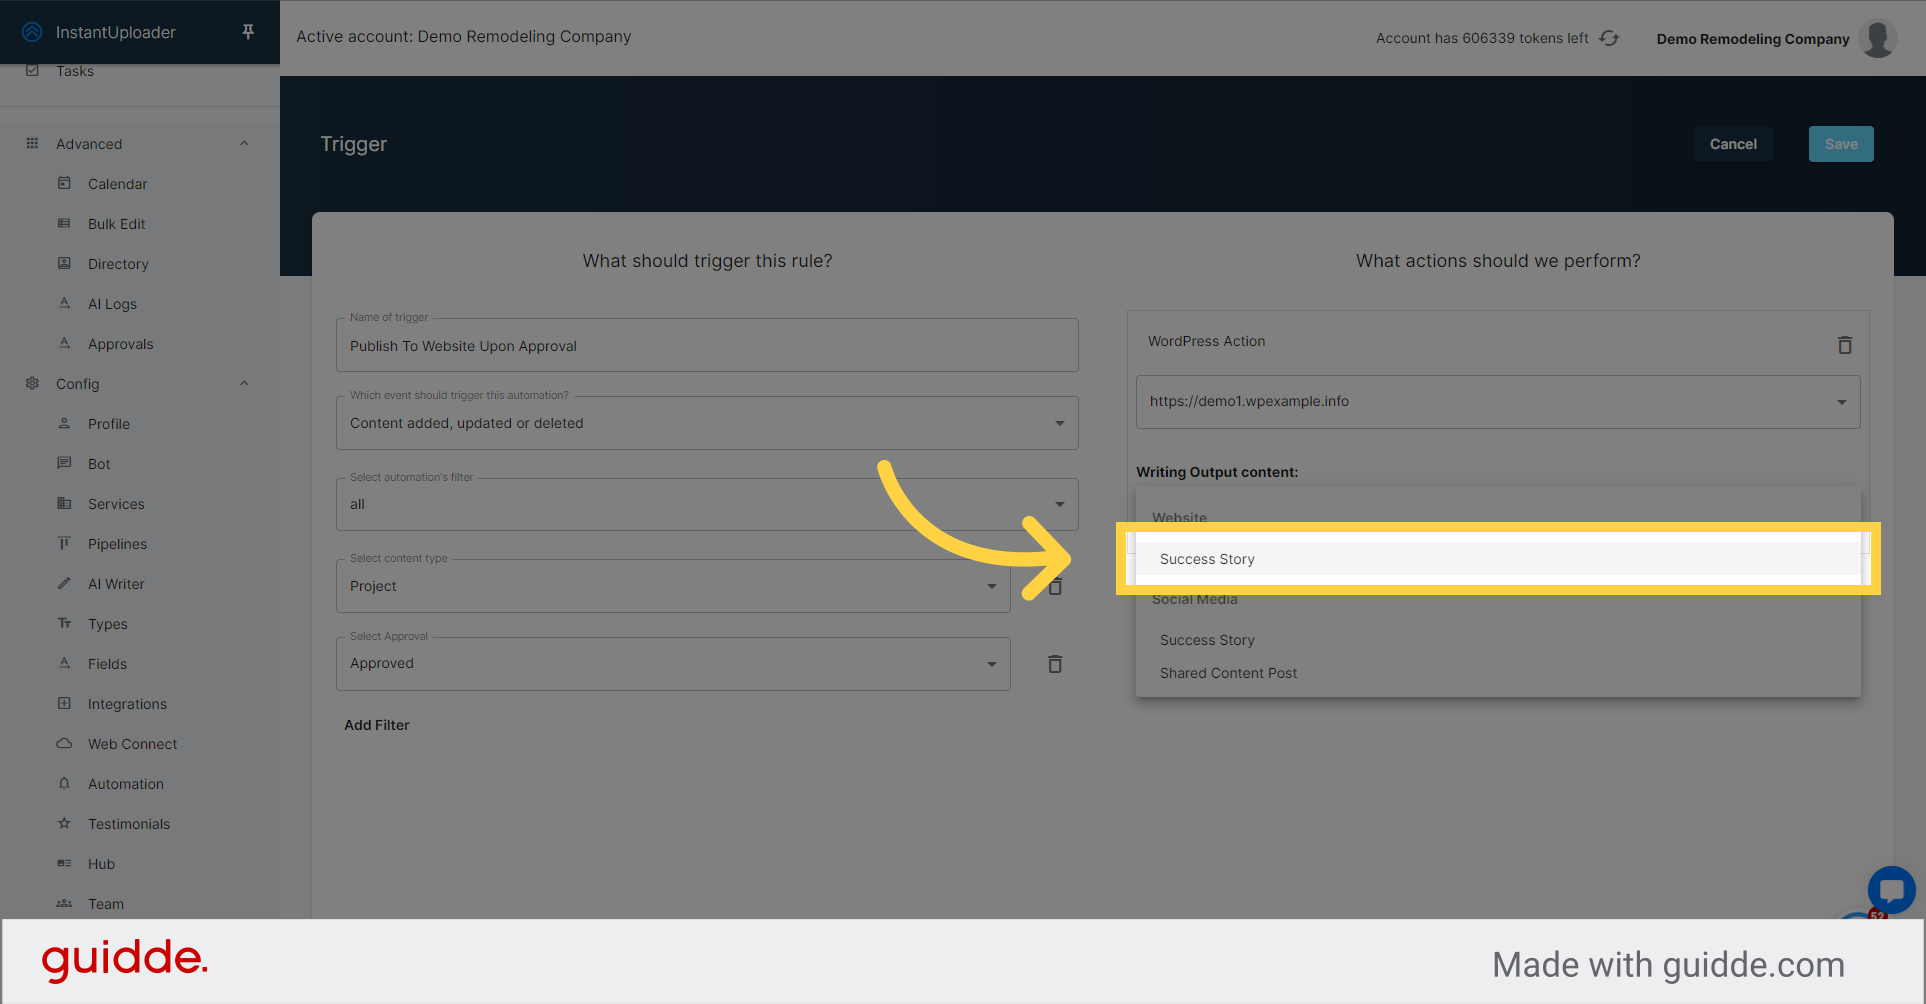
Select the Writing Output such as "Success Story"
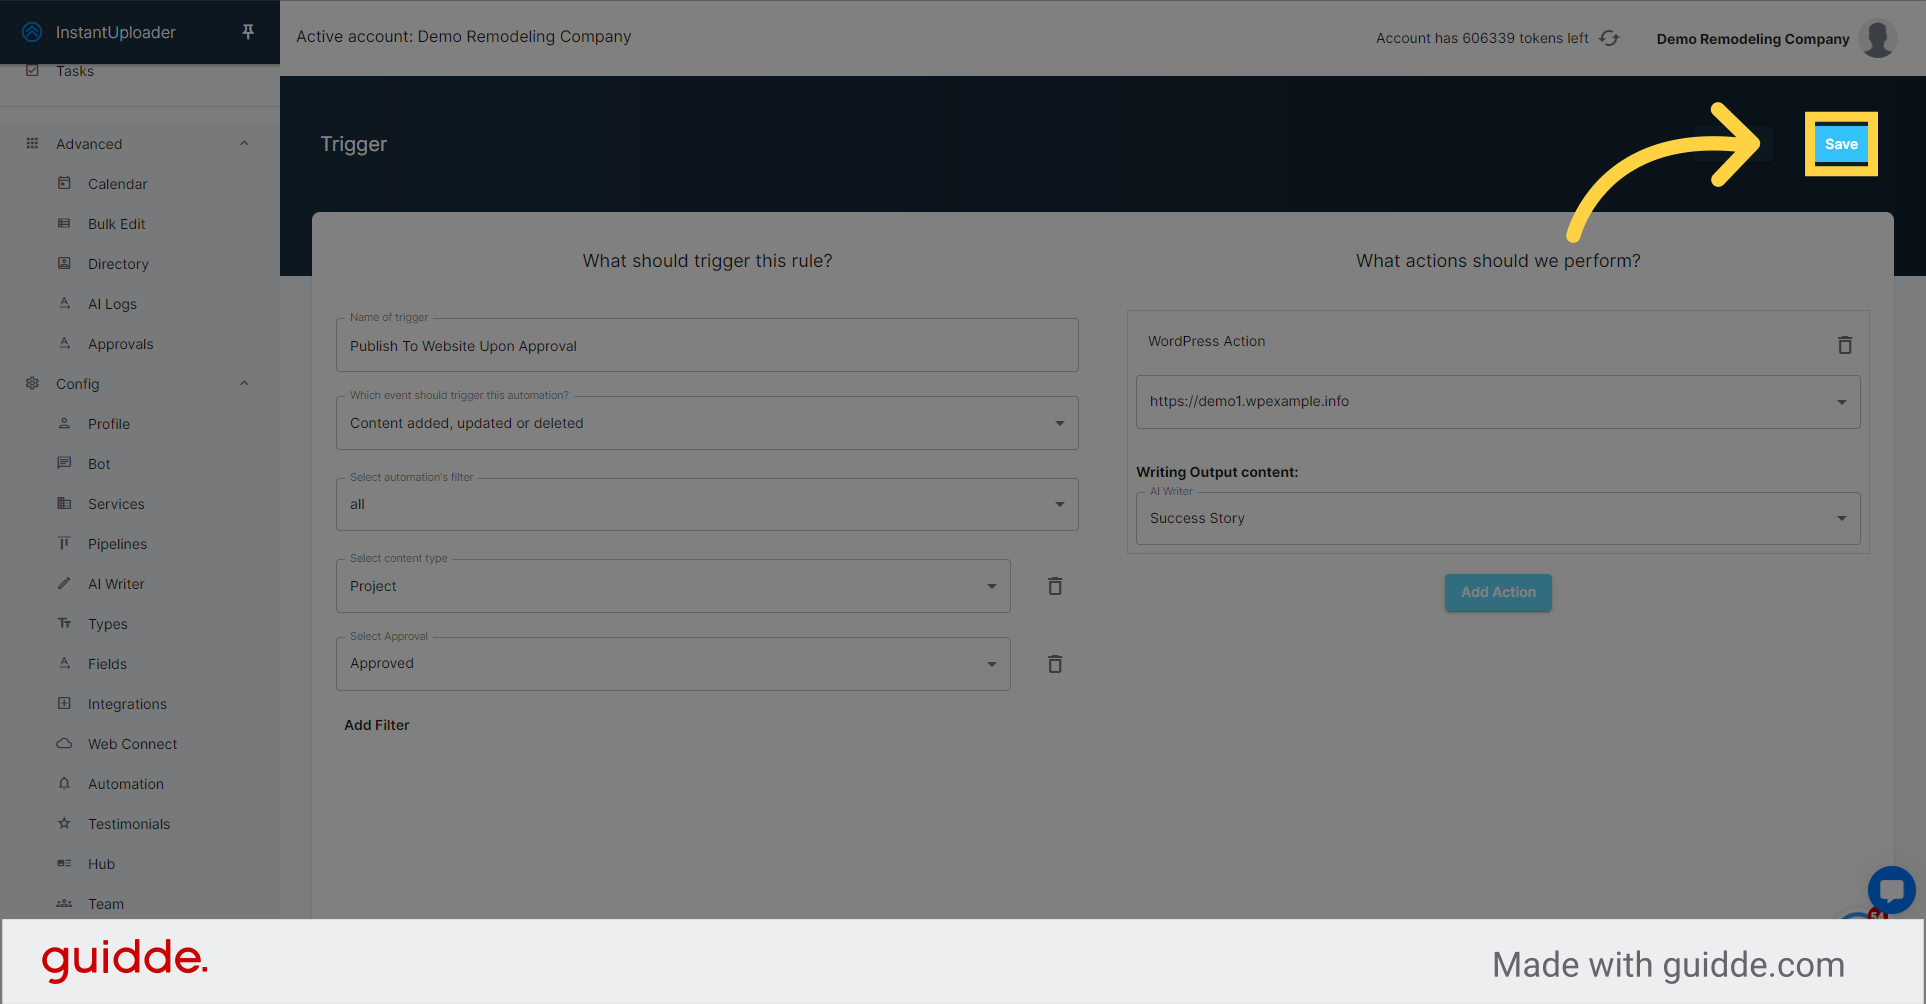
After setting up your automation, click "Save" to activate it. This will save you time and effort by automating the publishing process for approved content.
And that's it! You've successfully navigated the content approval process and set up automations to make your workflow more efficient. Remember, a smooth approval process keeps your content strategy on track and your platforms up-to-date with fresh, relevant content. Thanks for following along, and happy publishing!
