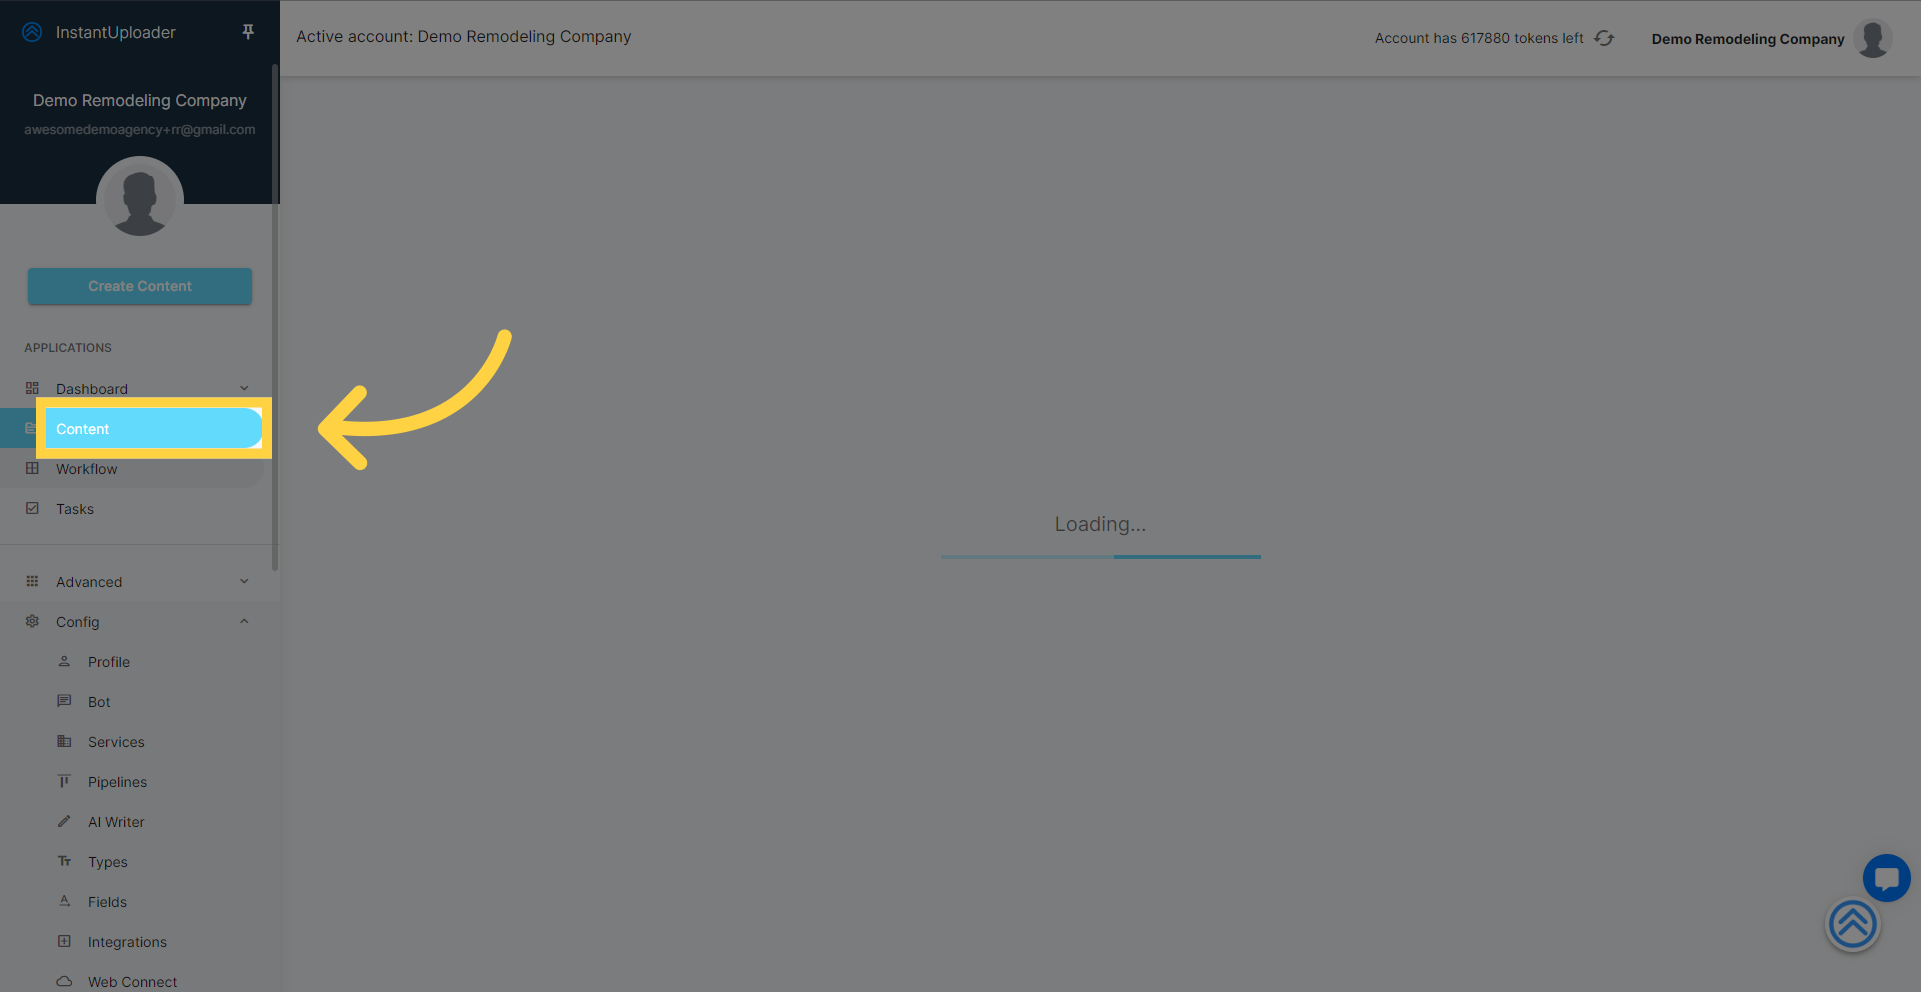
Locate and click on the "Content" option in the application's main menu.
In the Content section, find and click on the "Create Content" button to move forward with creating a new lead.

Click on the dropdown labeled "Content Types."
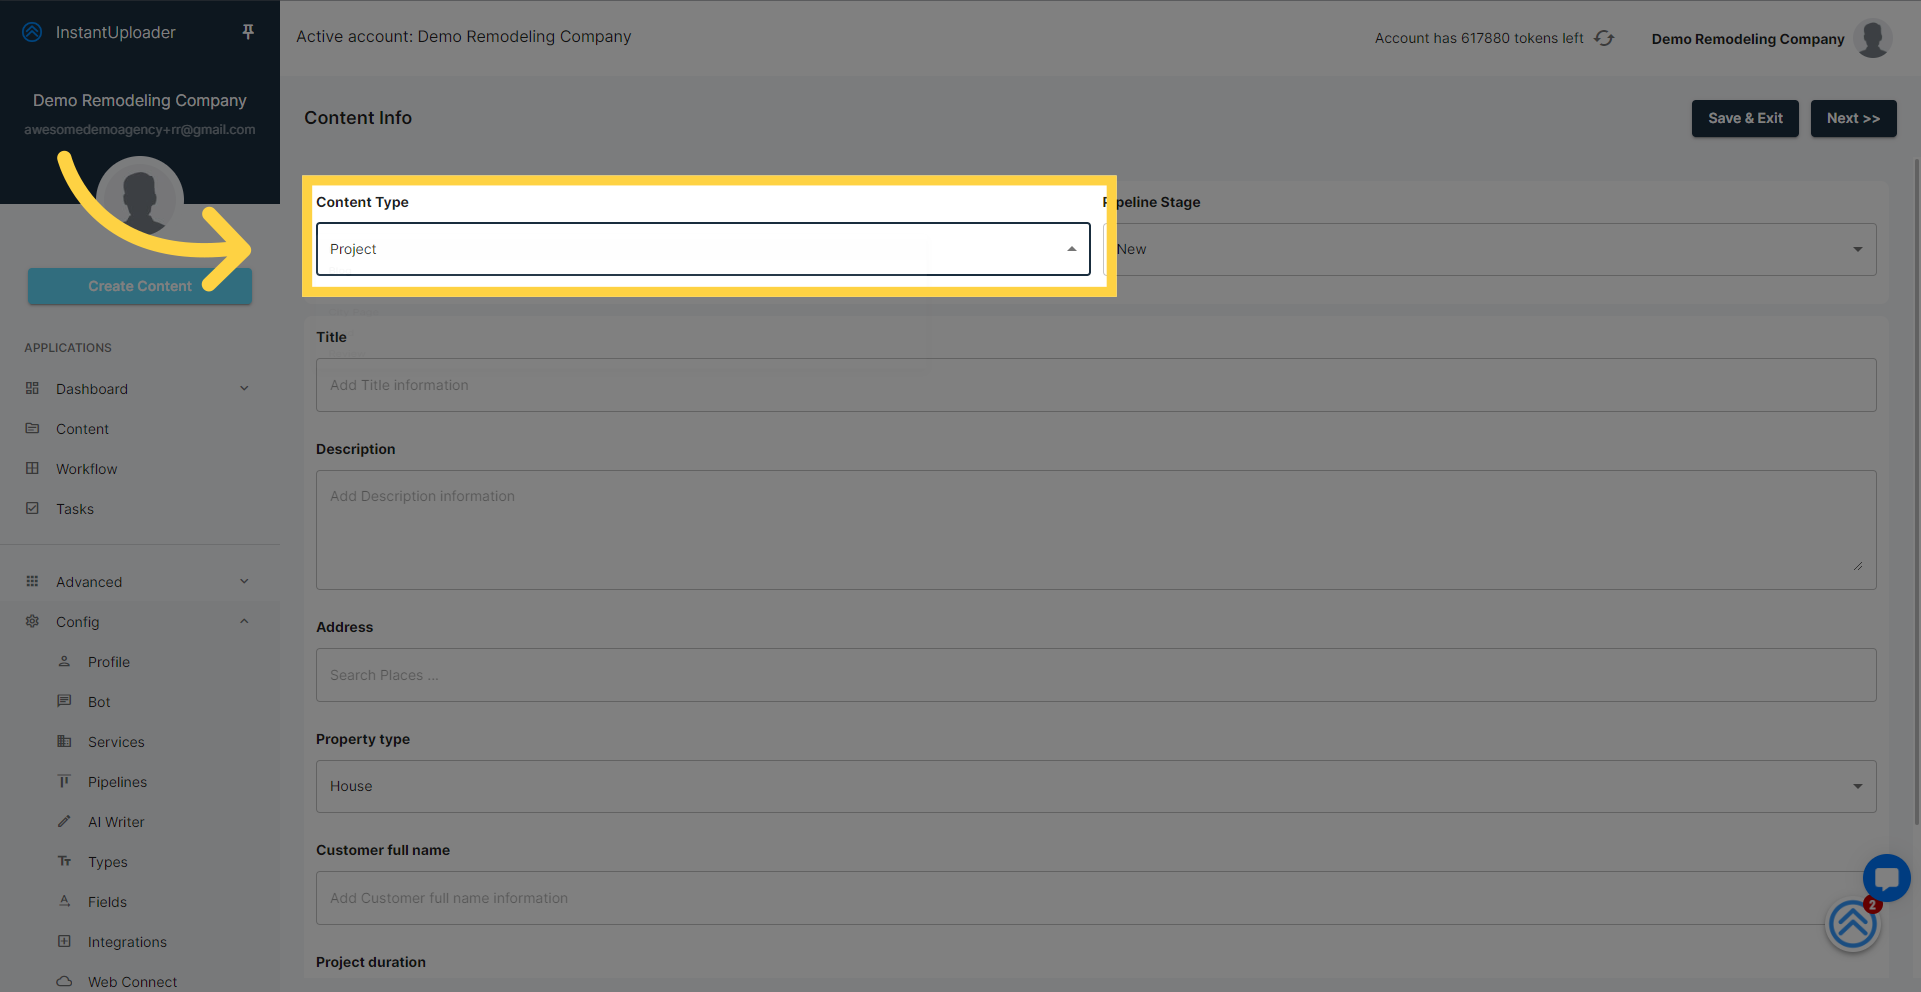
In the expanded content type options, identify and click on the "Lead" option to designate the type of content you're creating.

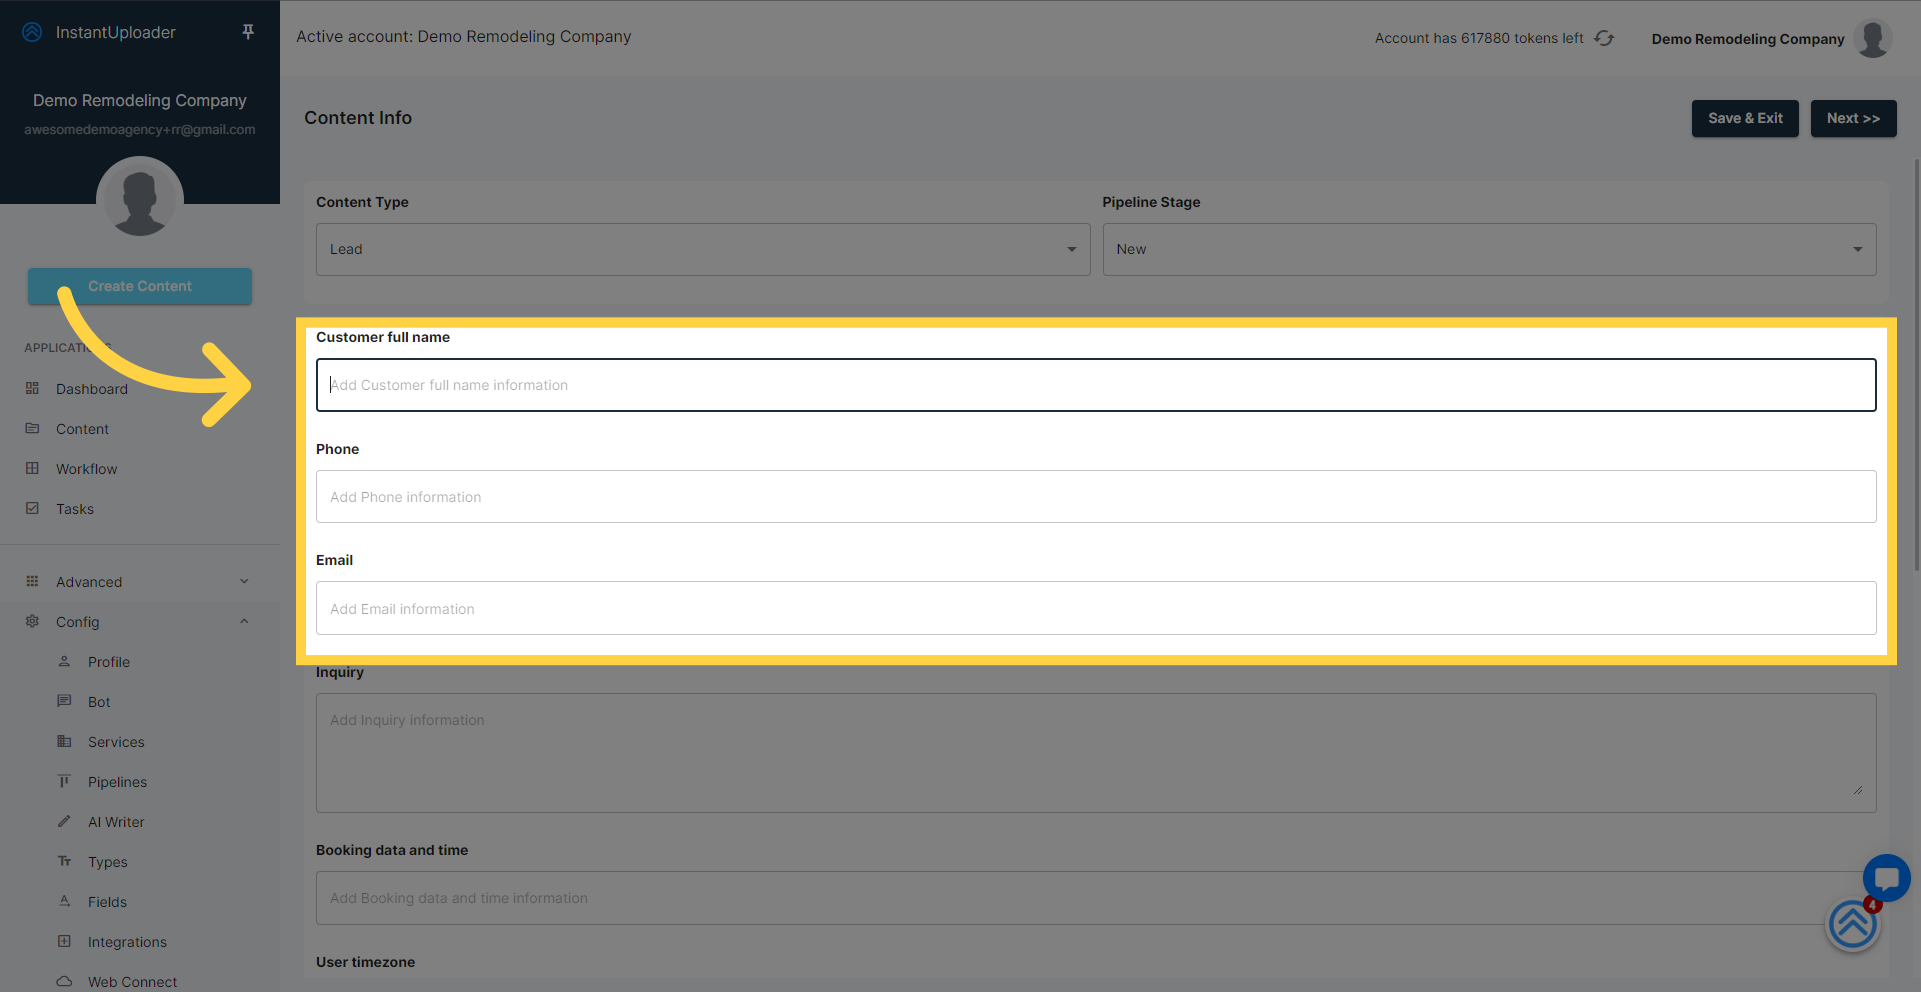
Proceed to enter details relevant to the test lead, such as name, phone number, and a working email address, in the designated fields.
After filling out the necessary information for the test lead, click the "Save & Exit" button to save the lead and exit the creation process.
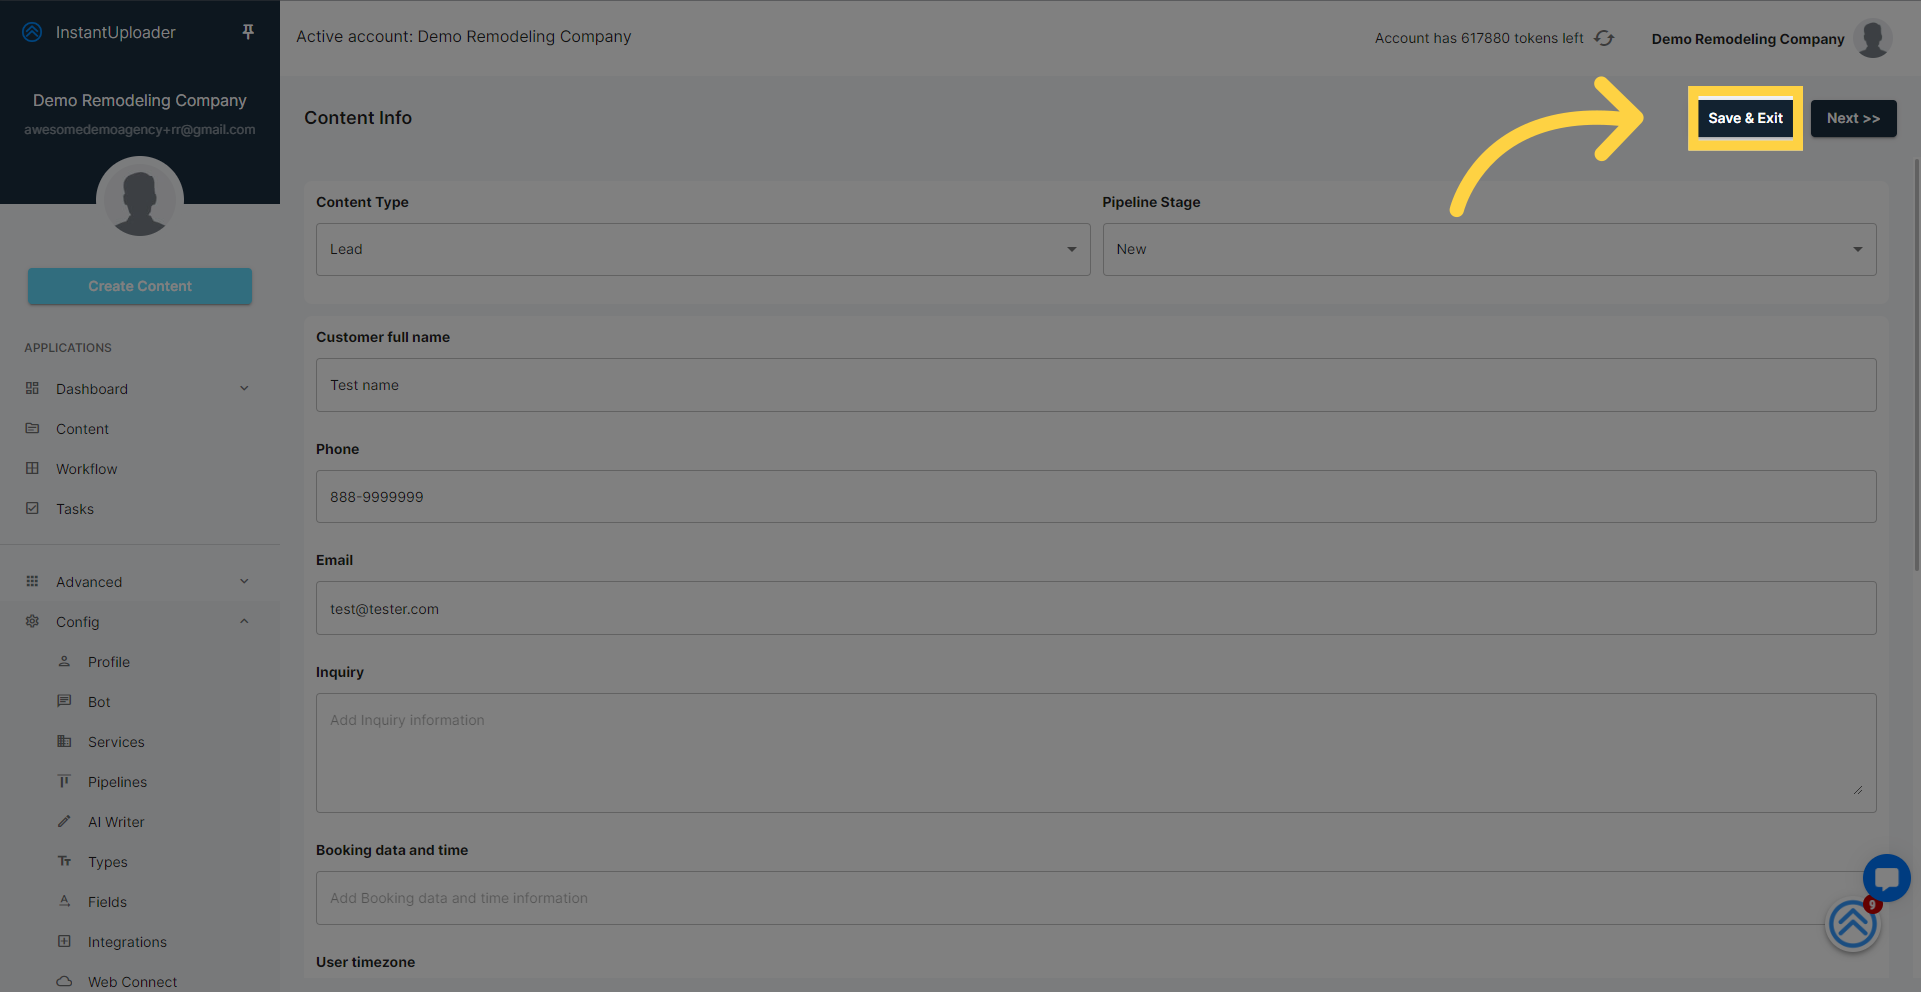
By following these steps, you will have created a test lead that you can use to test email automation workflows or CRM integrations. Ensure that all entered information is suitable for your testing purposes.
