Welcome to our guide on getting your team started with our mobile app. As the account owner, you already have everything you need to begin. Now, let's make it just as easy for your entire team to get on board, whether they have existing accounts or not.
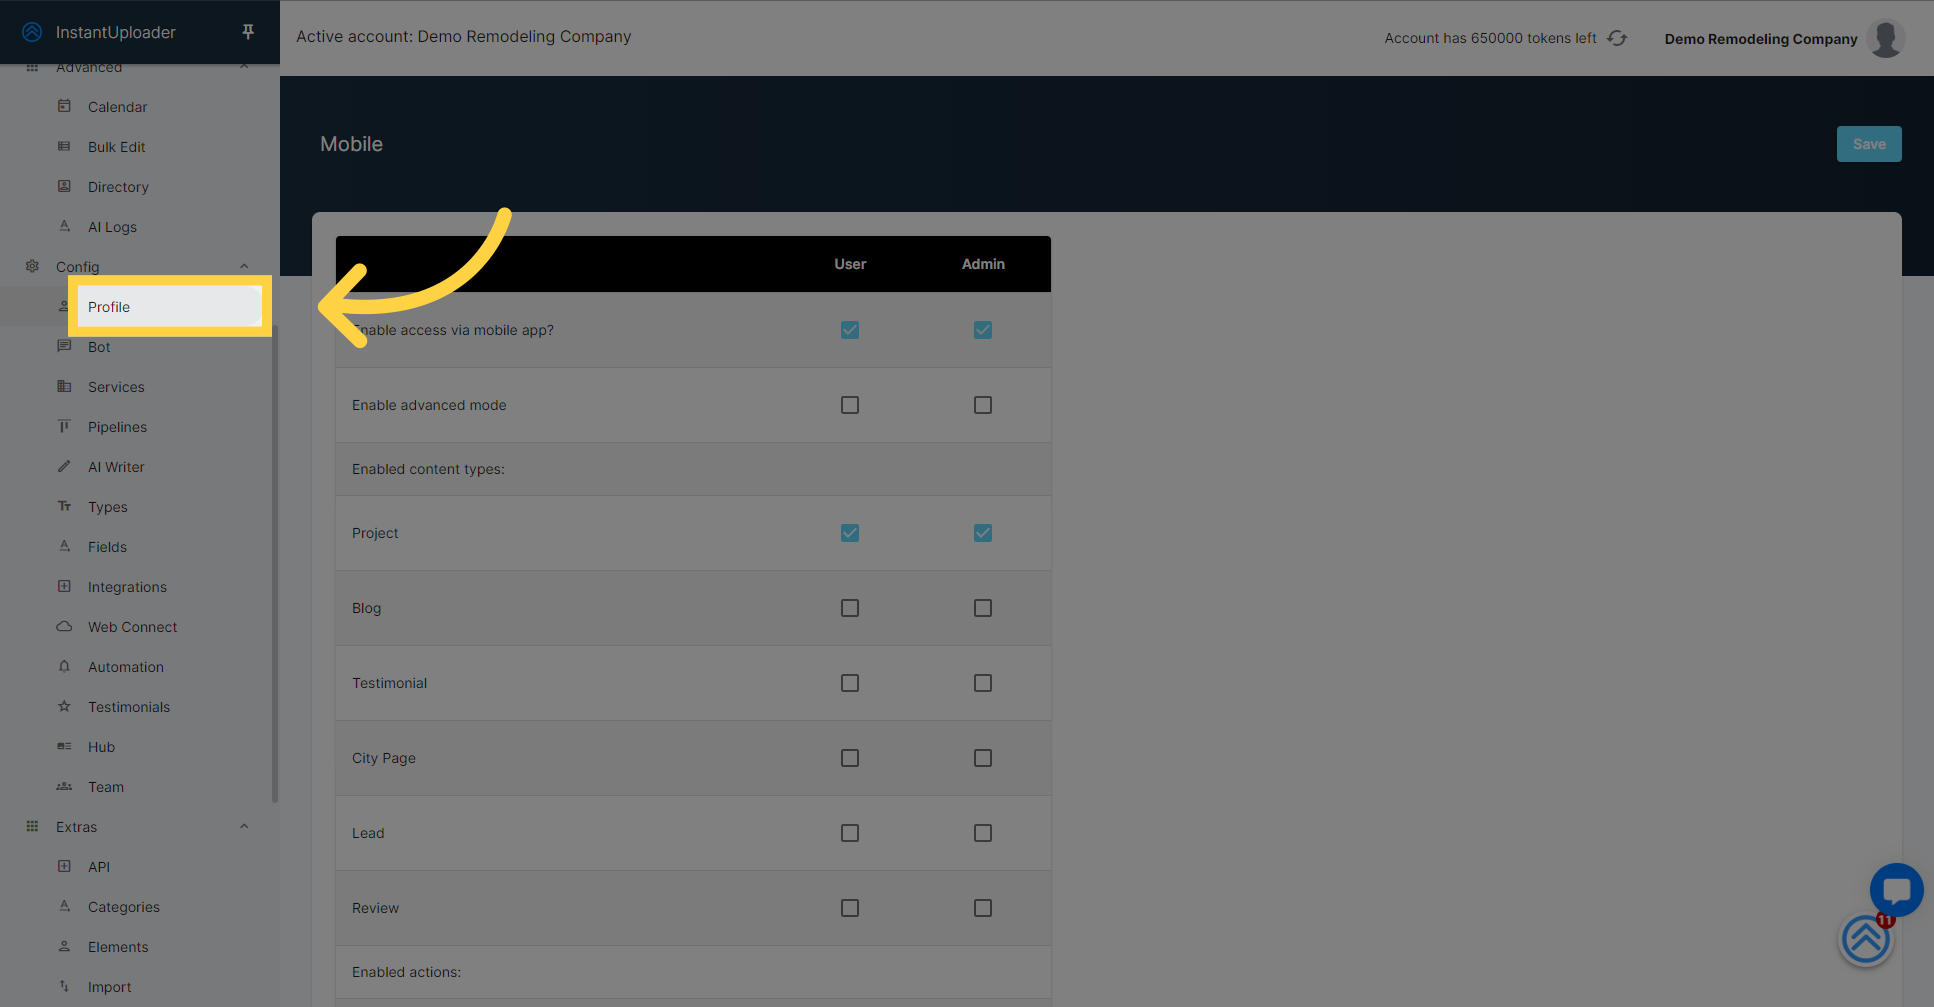
Head over to the Profile screen, where you'll be able to get a magic link to share with your team for easy app installation and setup.
Once you're on the Profile screen, click the "Invite Code" tab to access the Magic Link.
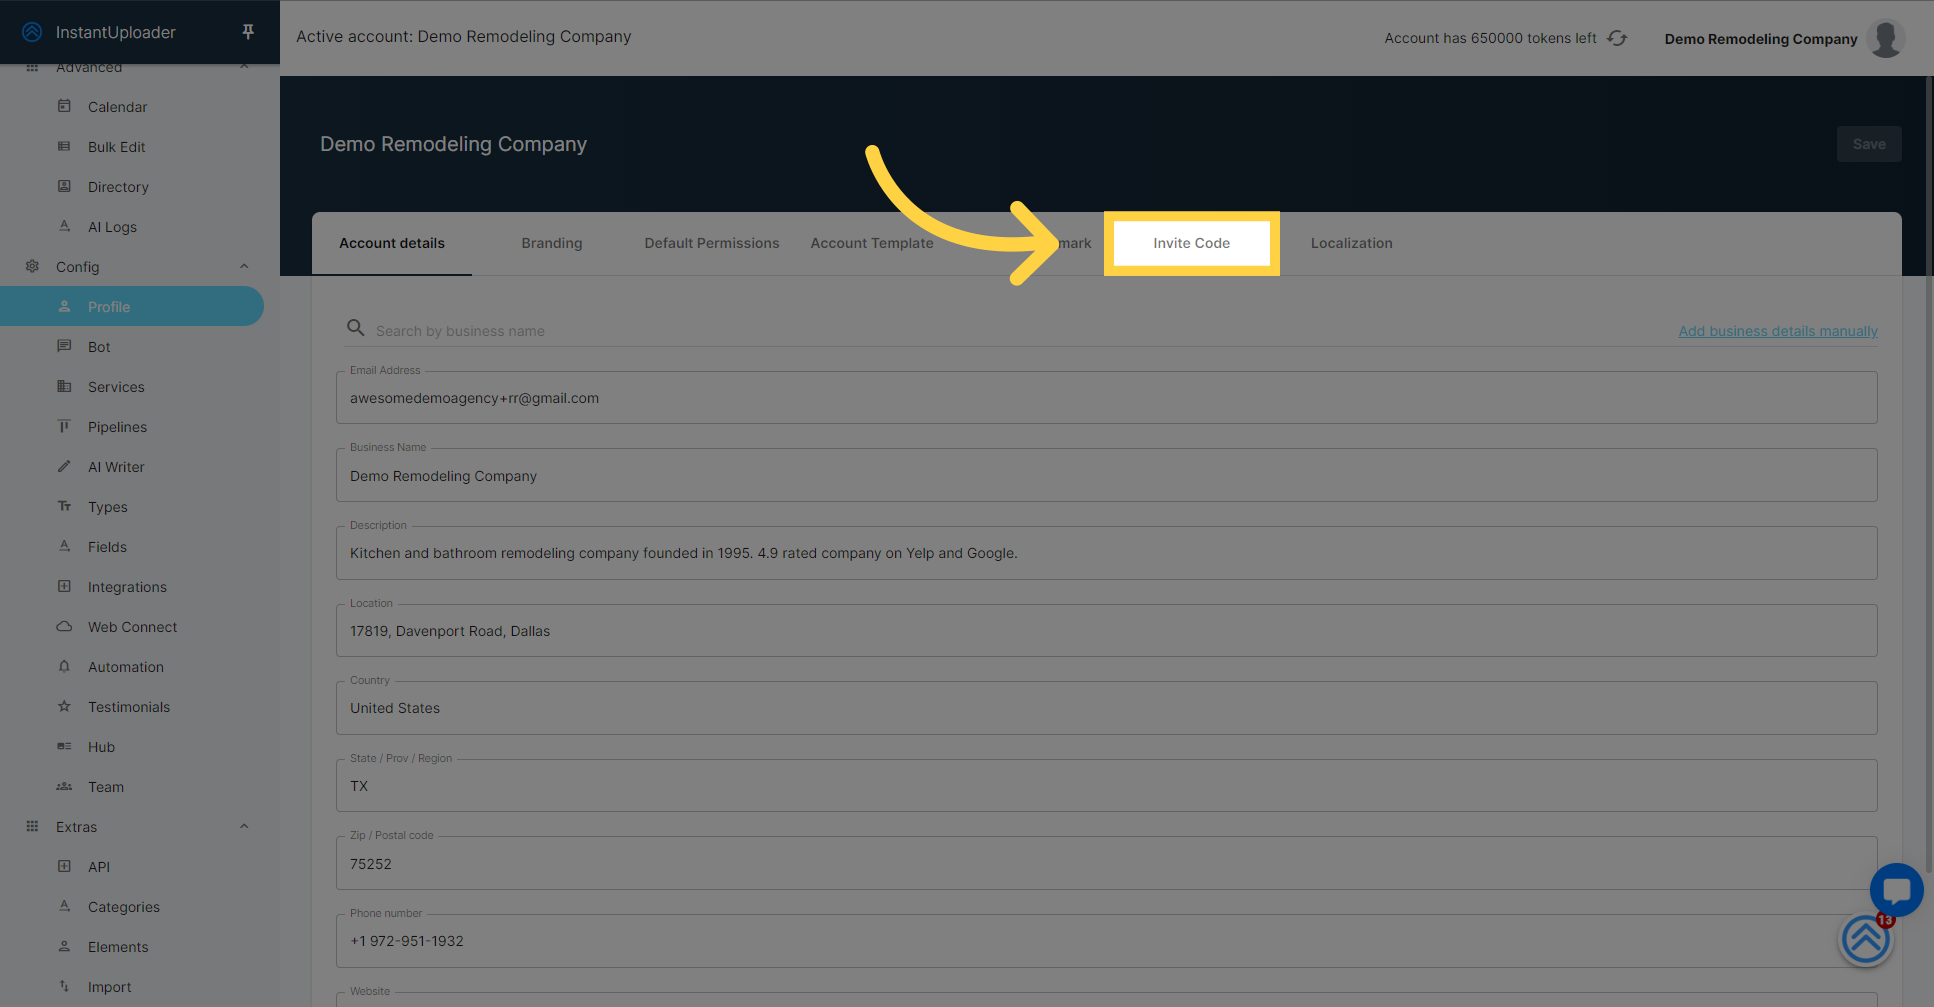
In the "Invite URL for mobile" section, you'll find the Magic Link. Go ahead and copy it; this is what you'll share with your team for a smooth onboarding experience.

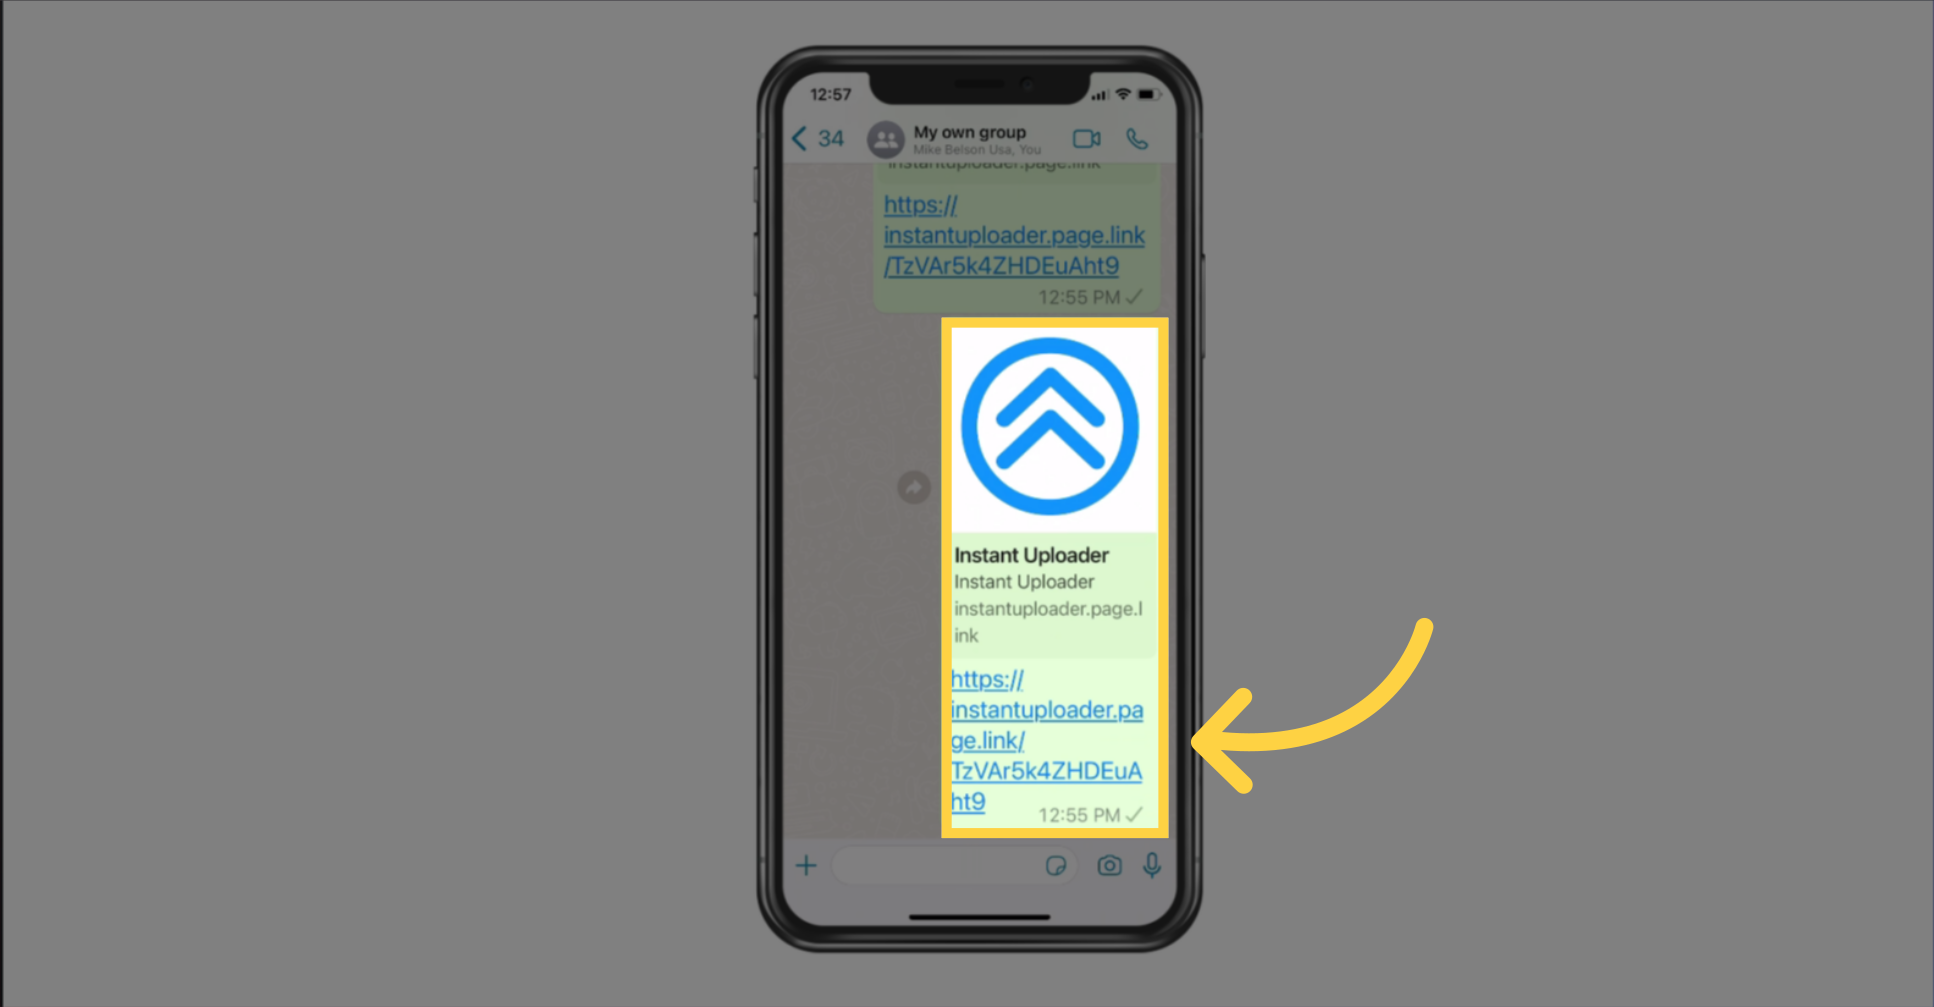
To make things super simple, I'm going to copy this magic link and send it to my mobile phone. And guess what? You can do the same for your entire team! Just send them the link, and they'll be able to set up the app on their phones without any hassle.
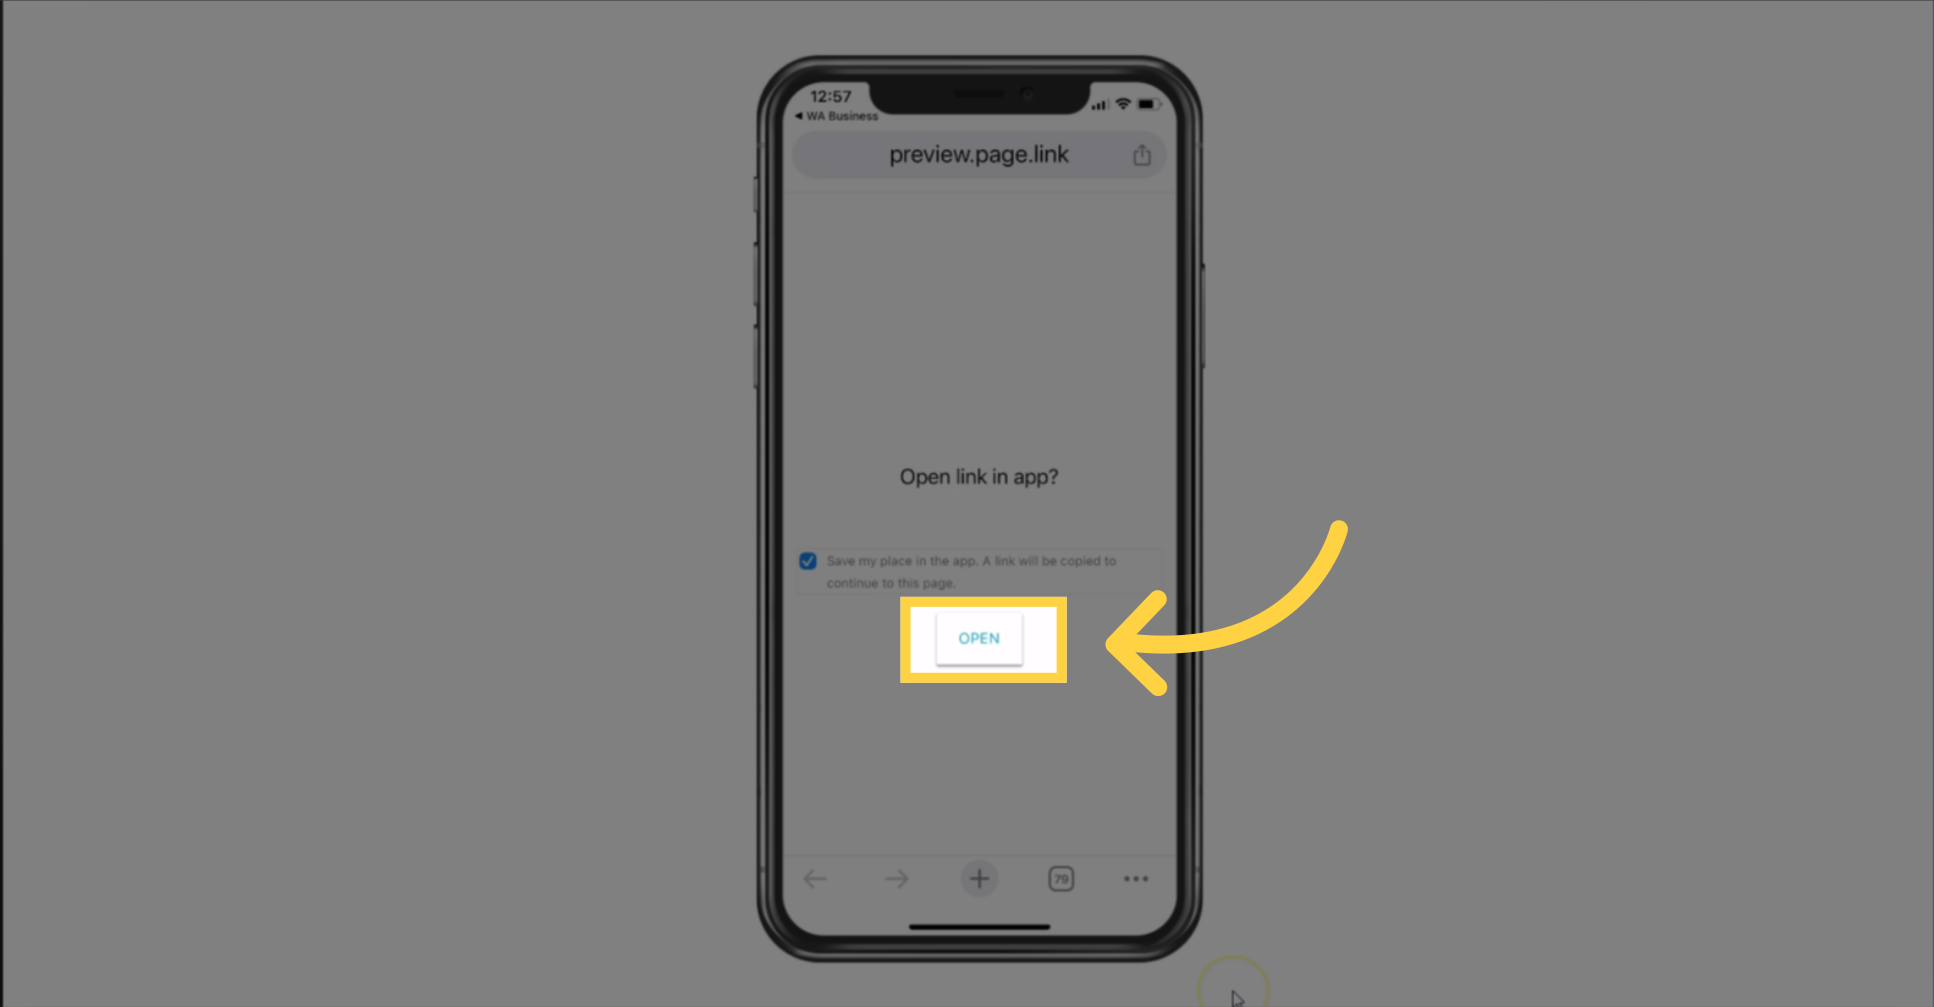
When a team member clicks on the Magic Link, a prompt may appear asking "Open link in app?" At this point, they should click the "Open" button to continue.
The Magic Link will direct each team member to the Play Store or App Store, depending on their device. From there, they can download the 'Instant Uploader' mobile app. Once the app appears, they should tap 'Install' and then 'Open' to begin the setup process.

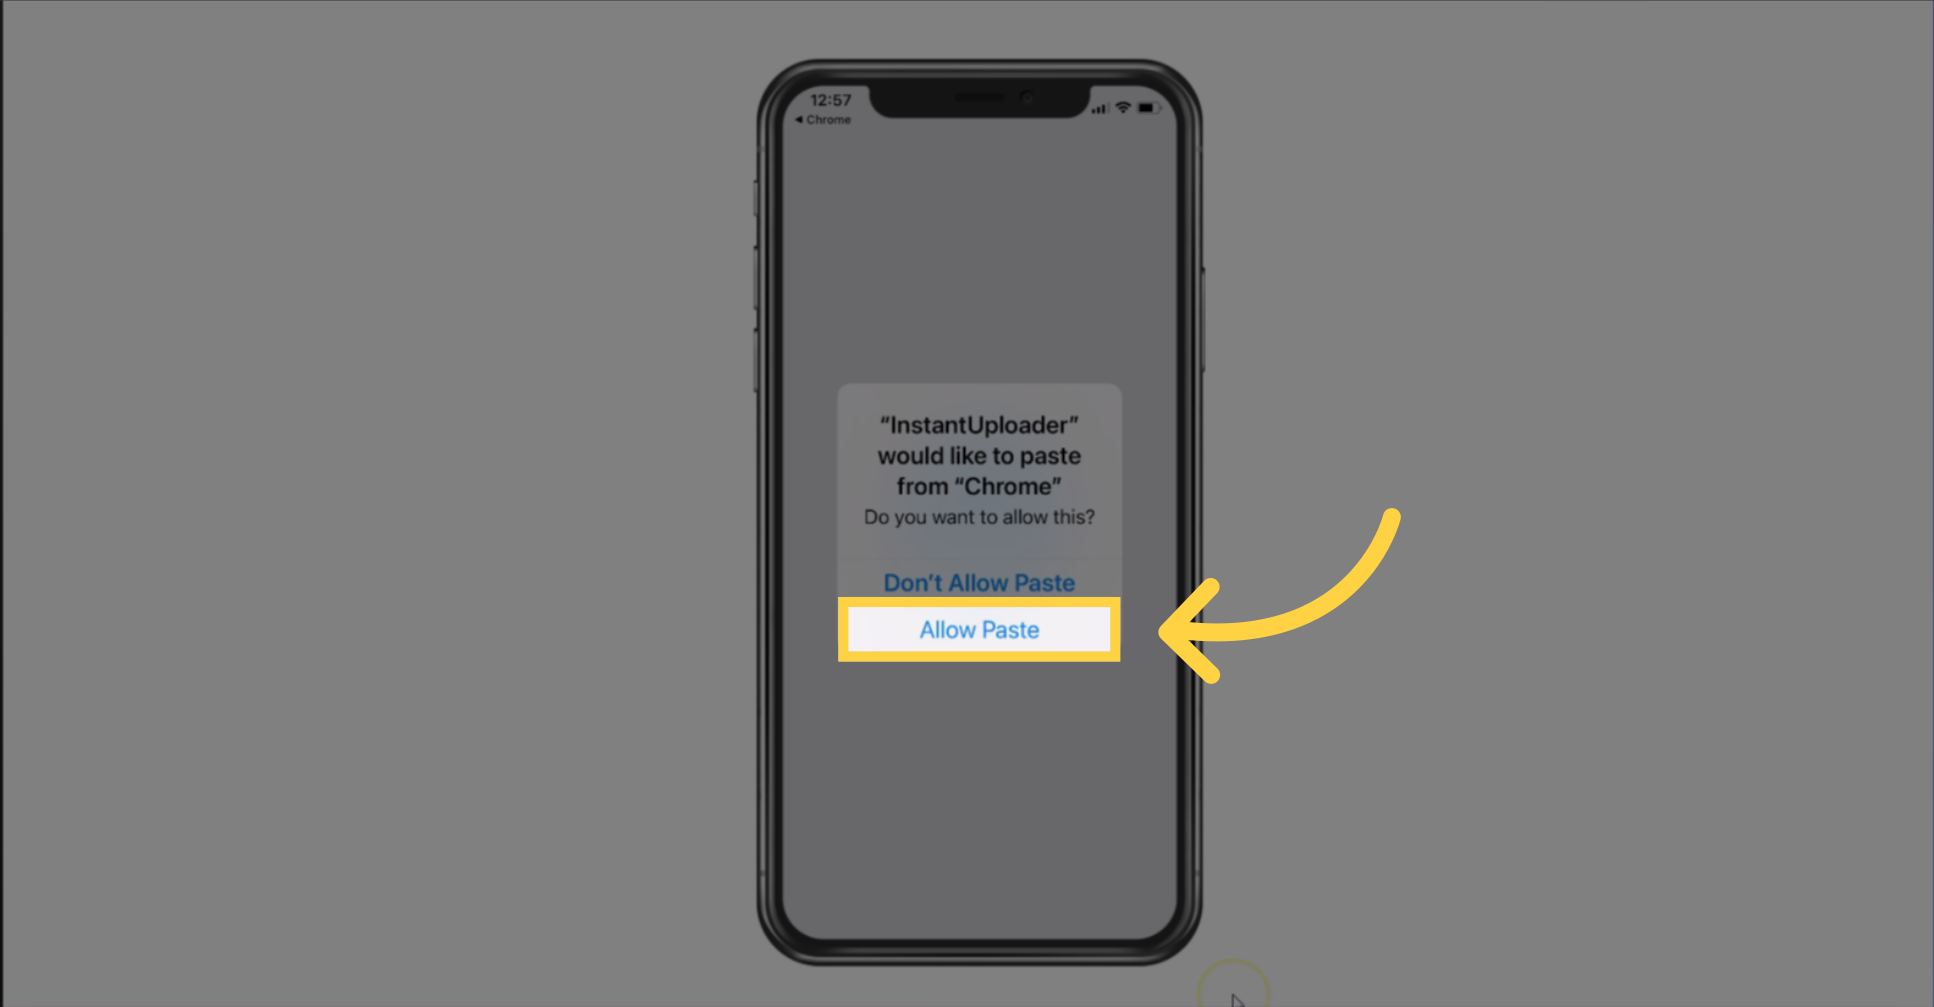
Upon opening the app, users will see a prompt to allow the app to paste from the browser. They should tap "Allow Paste" to autofill the invite code. If this doesn't work, users will need the invite code, which you, as the account owner, can provide from the "Invite Code" tab on your Profile screen.
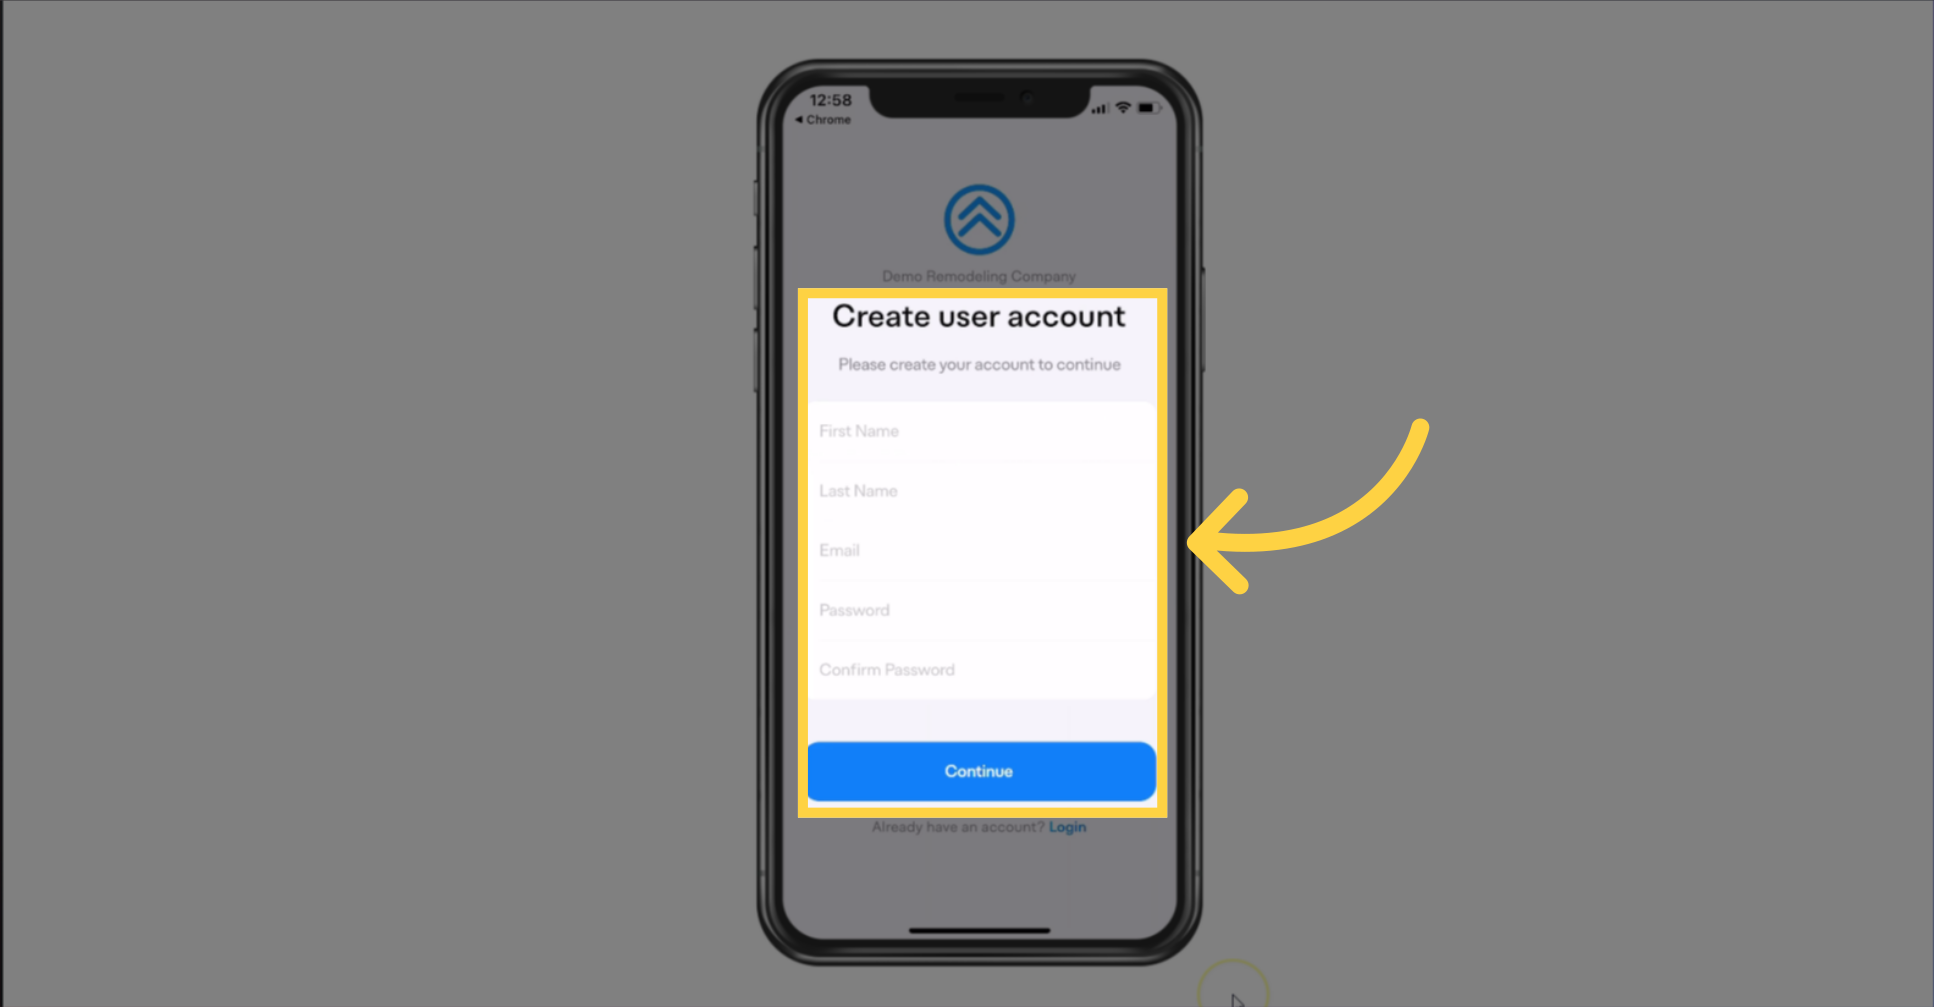
Next, team members will create their user accounts, automatically gaining User role access to the business account. They'll need to enter their first name, last name, email, and choose a password to complete the setup.
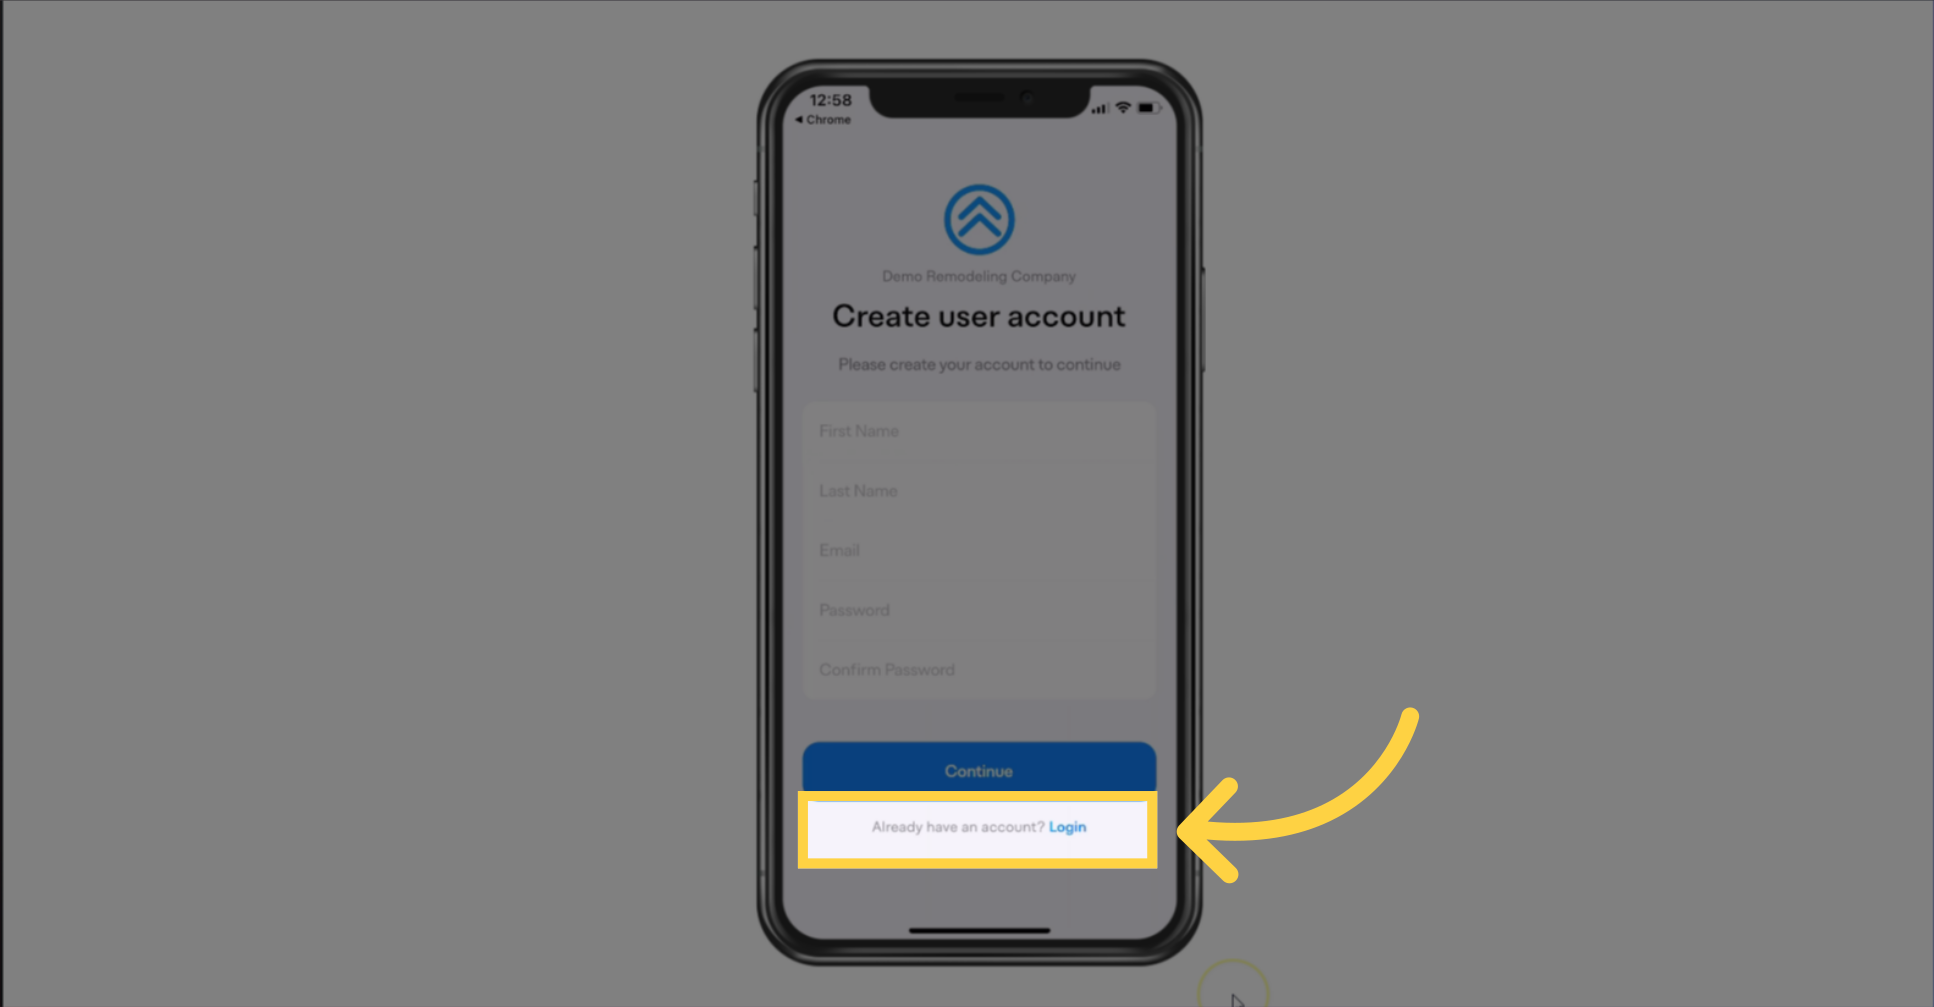
If a team member already has an account, they should click the "Login" button located at the bottom of the screen, where it prompts "Already have an account?" This will allow them to bypass the account creation process and directly log in.
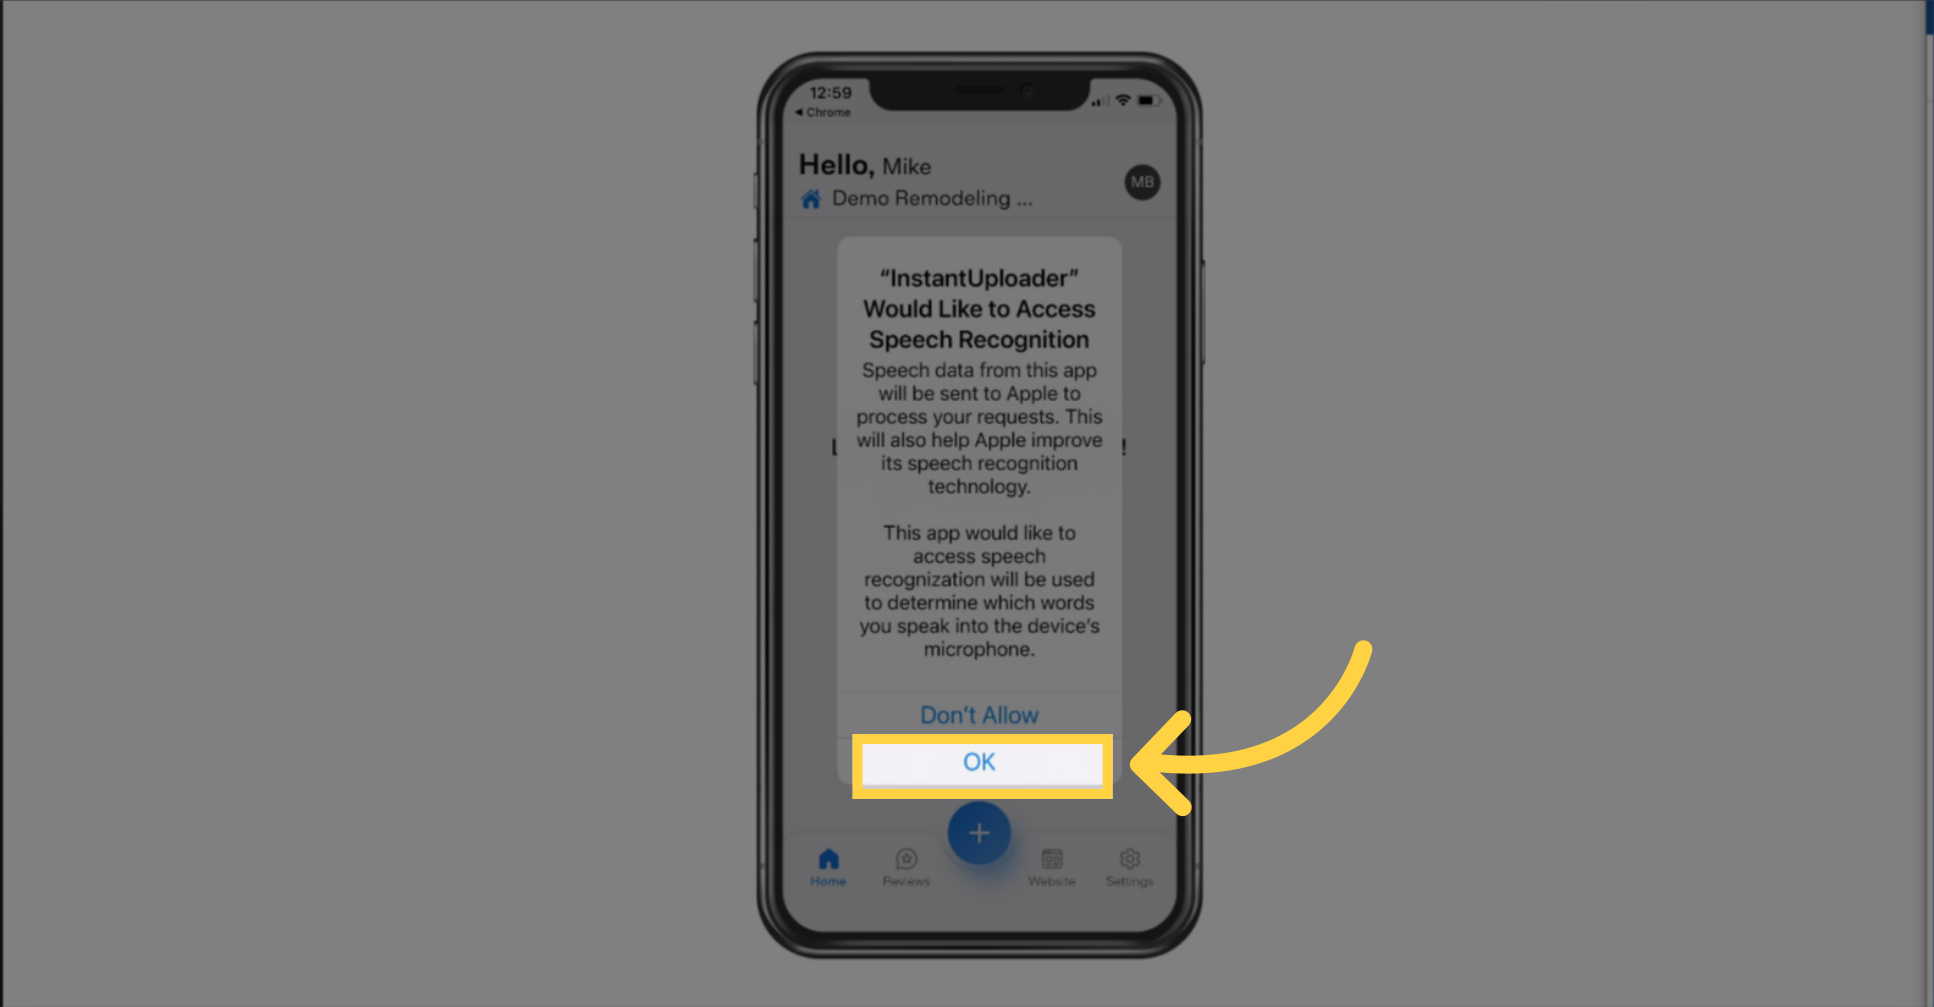
Upon initial login, users will be prompted to grant a series of permissions. It's essential to allow all to ensure the app functions correctly. The first permission request will be for speech recognition, which users should enable to facilitate the recording of voice notes and utilize speech-to-text features within the app.
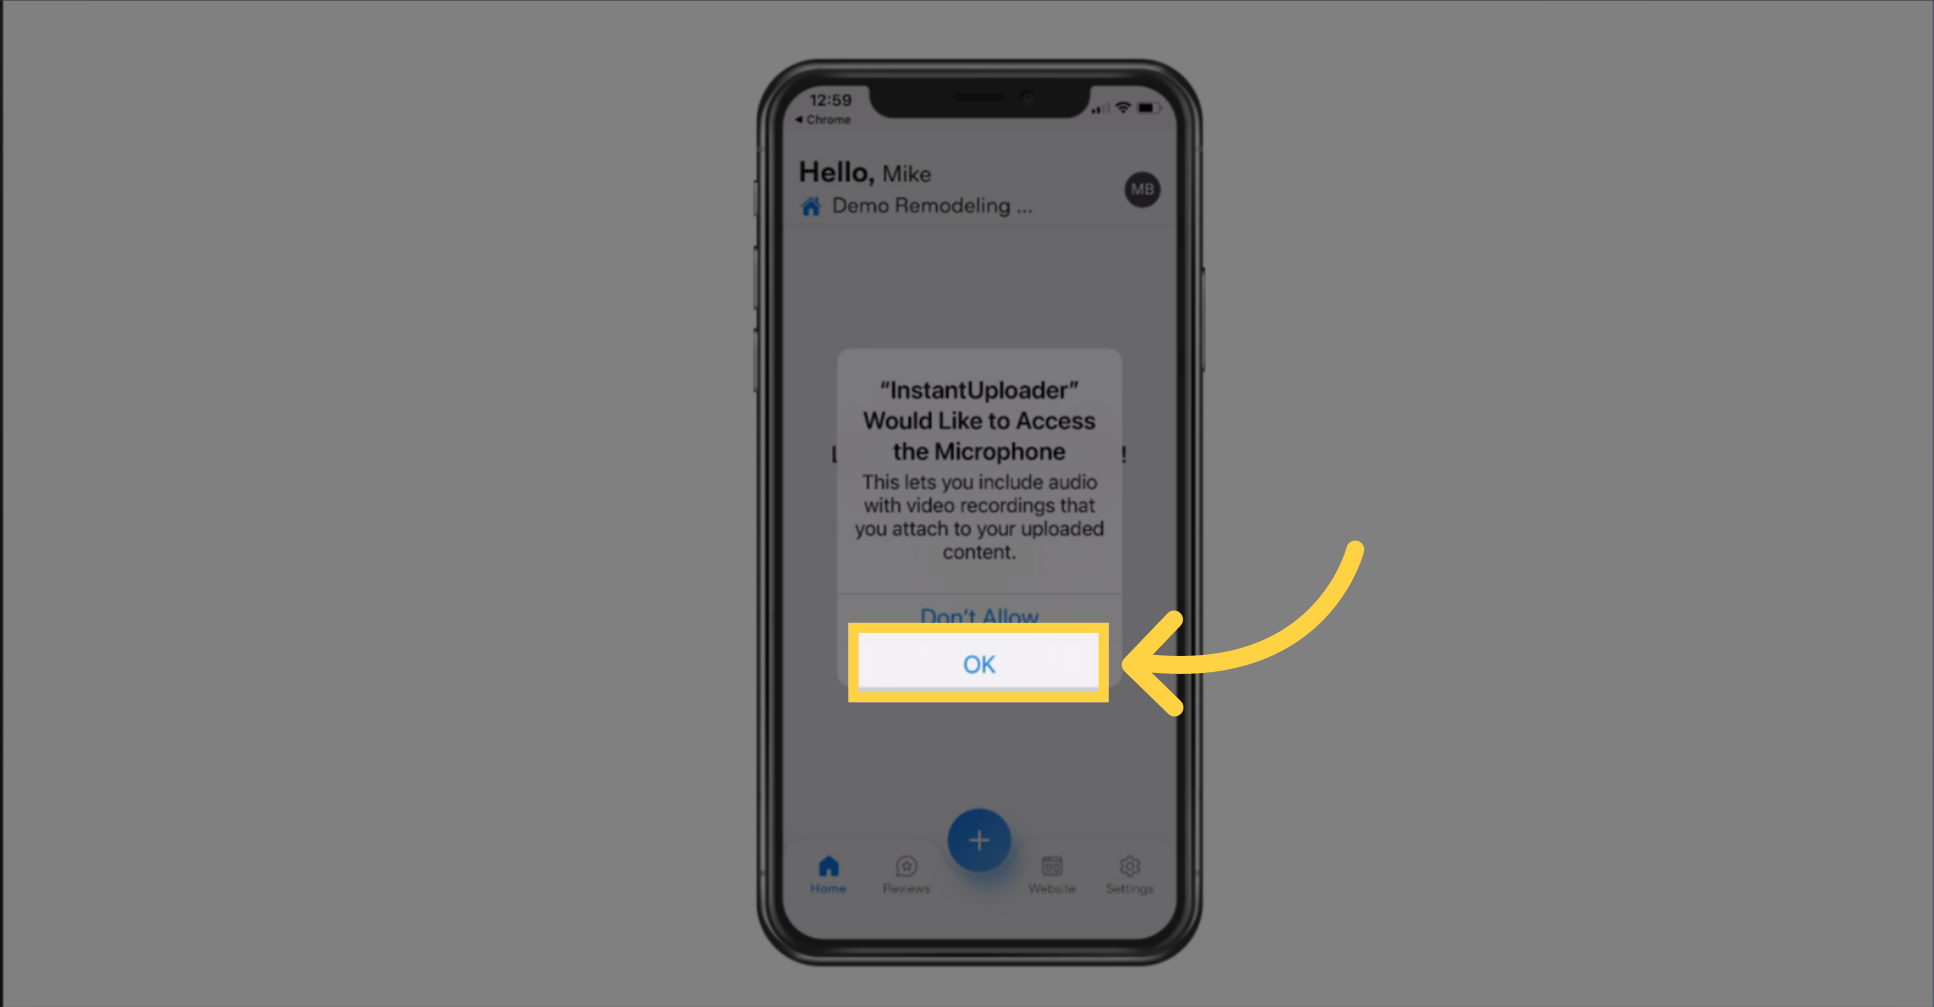
In the following screen, users will be prompted to grant access to the microphone. By clicking "OK," they will enable the app to record voice notes and capture video with sound, which is crucial for documenting their projects effectively.
To launch your first project, simply tap the Plus button. This action sets the stage for your project's documentation.

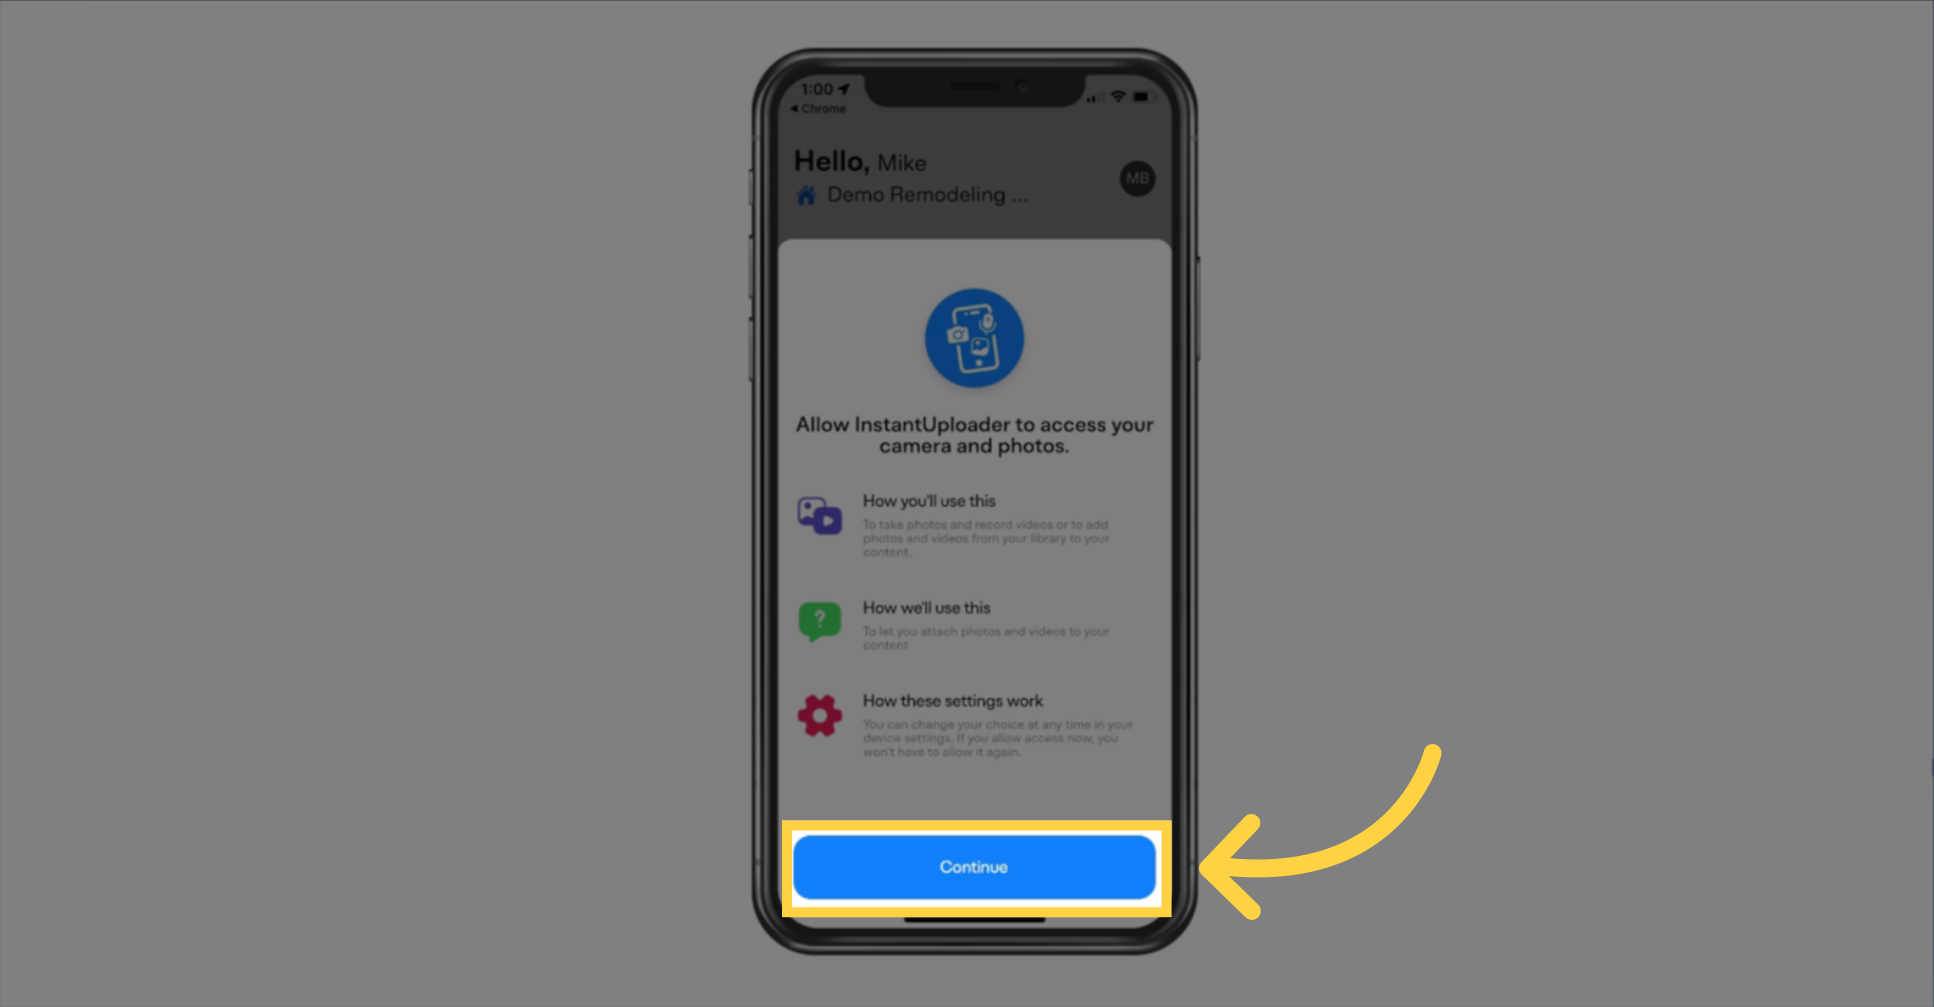
Now, let's quickly sort out permissions. You'll need to allow camera and photo access to add visuals to your projects. Adjust these settings anytime in your device preferences. Grant them once, and you're all set—no further prompts. Hit 'Continue,' and we'll move on to the next permissions.
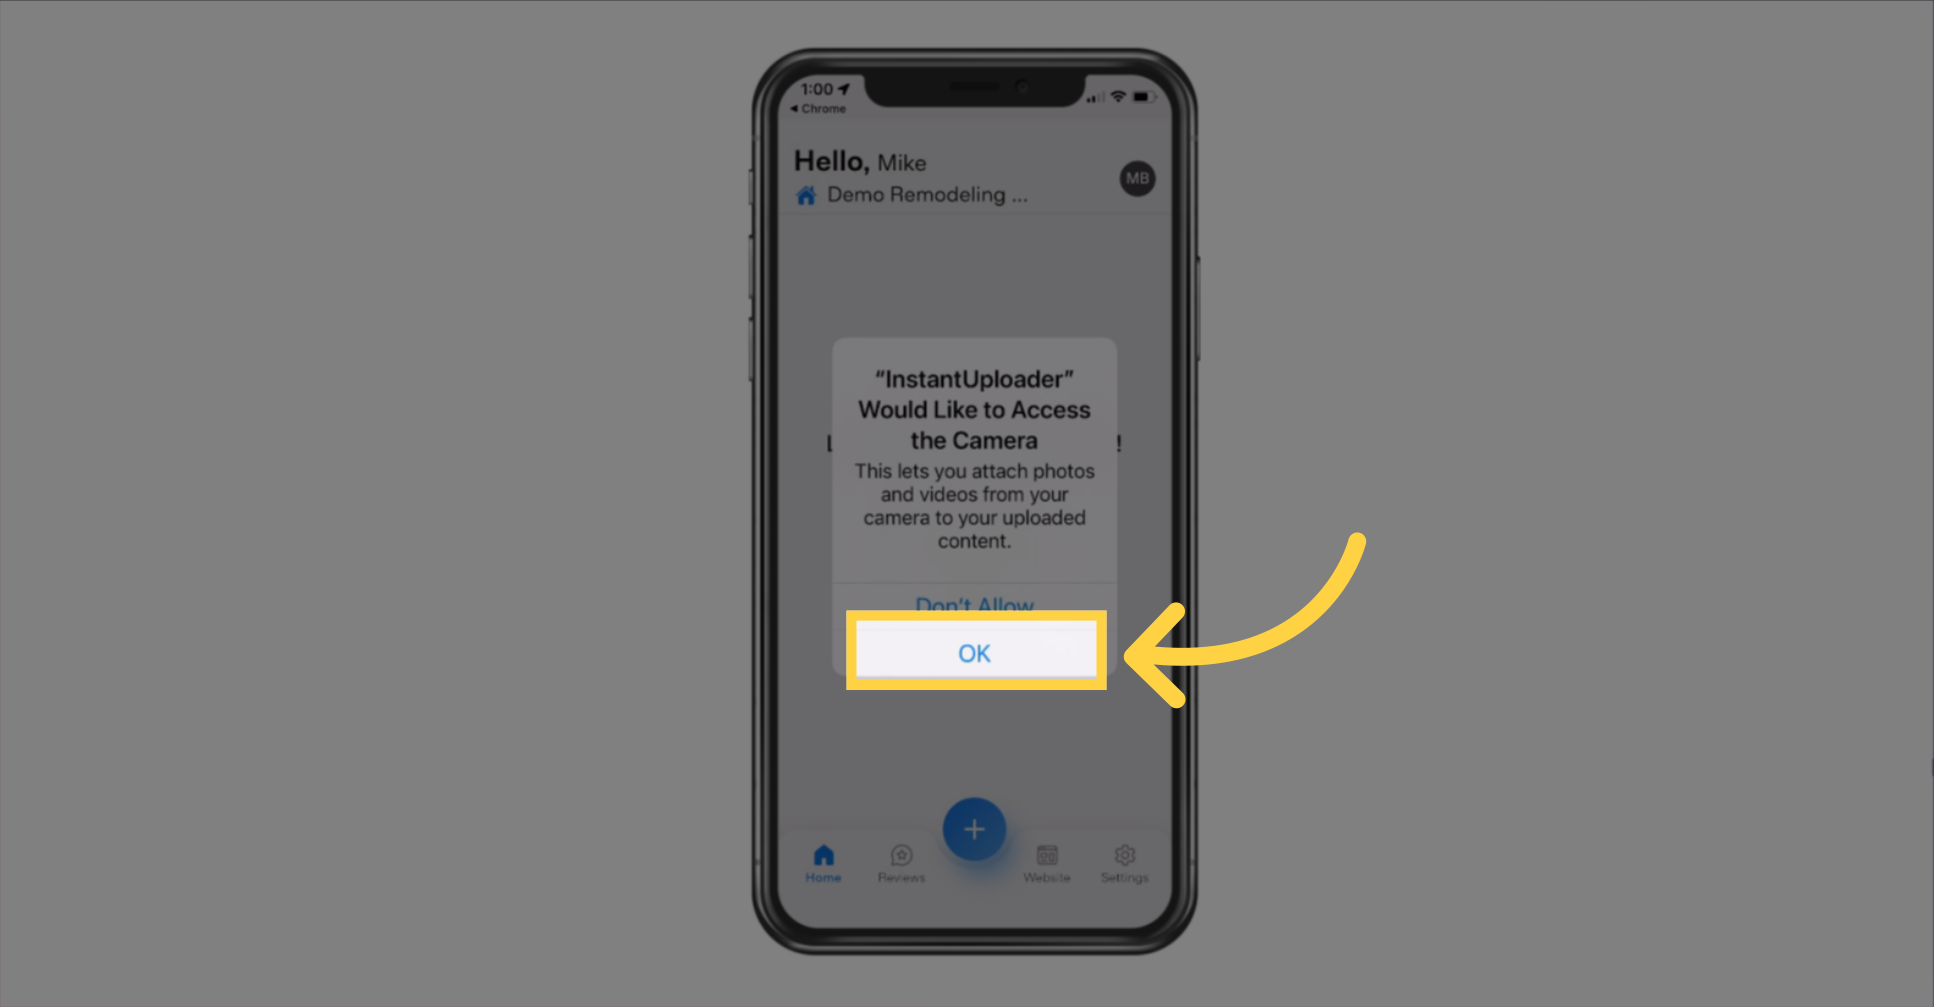
A permission screen will appear asking for access to your camera. To proceed, simply click "OK" to grant this access, allowing you to capture photos and videos directly within the app.
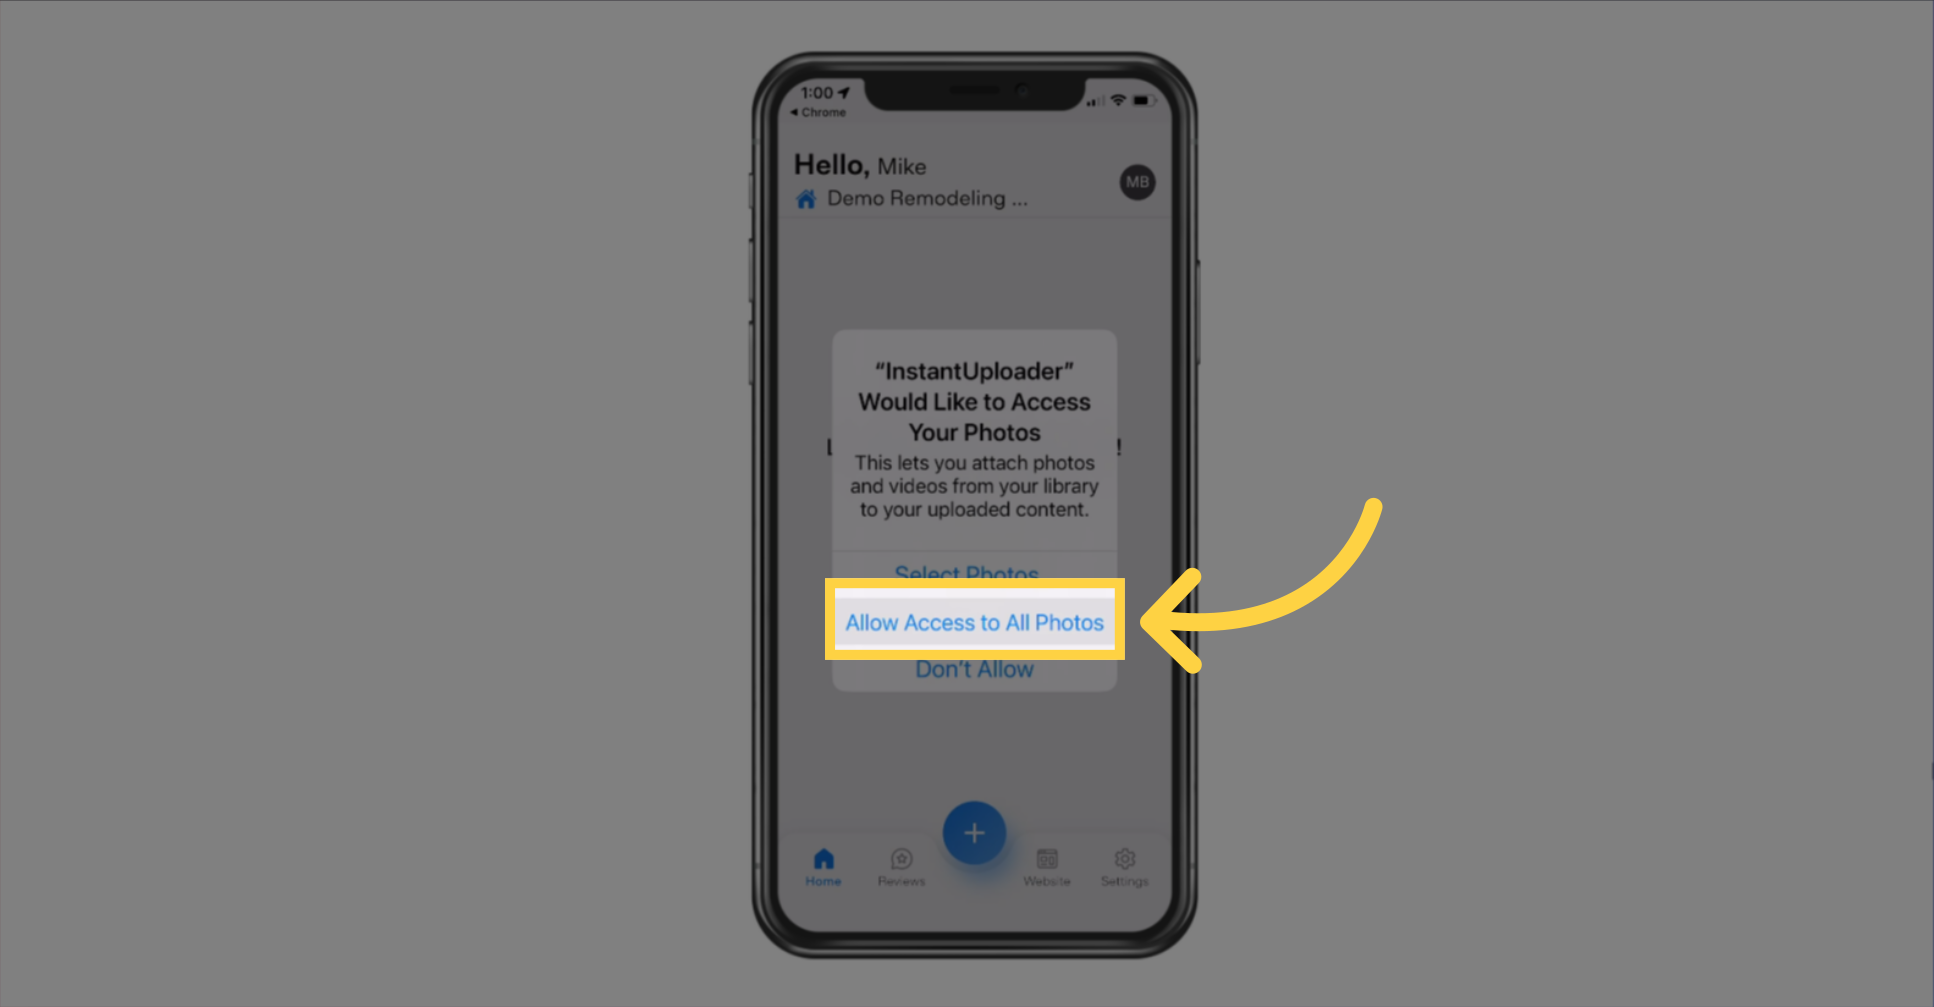
When prompted with 'the app would like access to your photos,' choose 'Allow Access to All Photos.' This ensures you can use any image from your library for project updates.
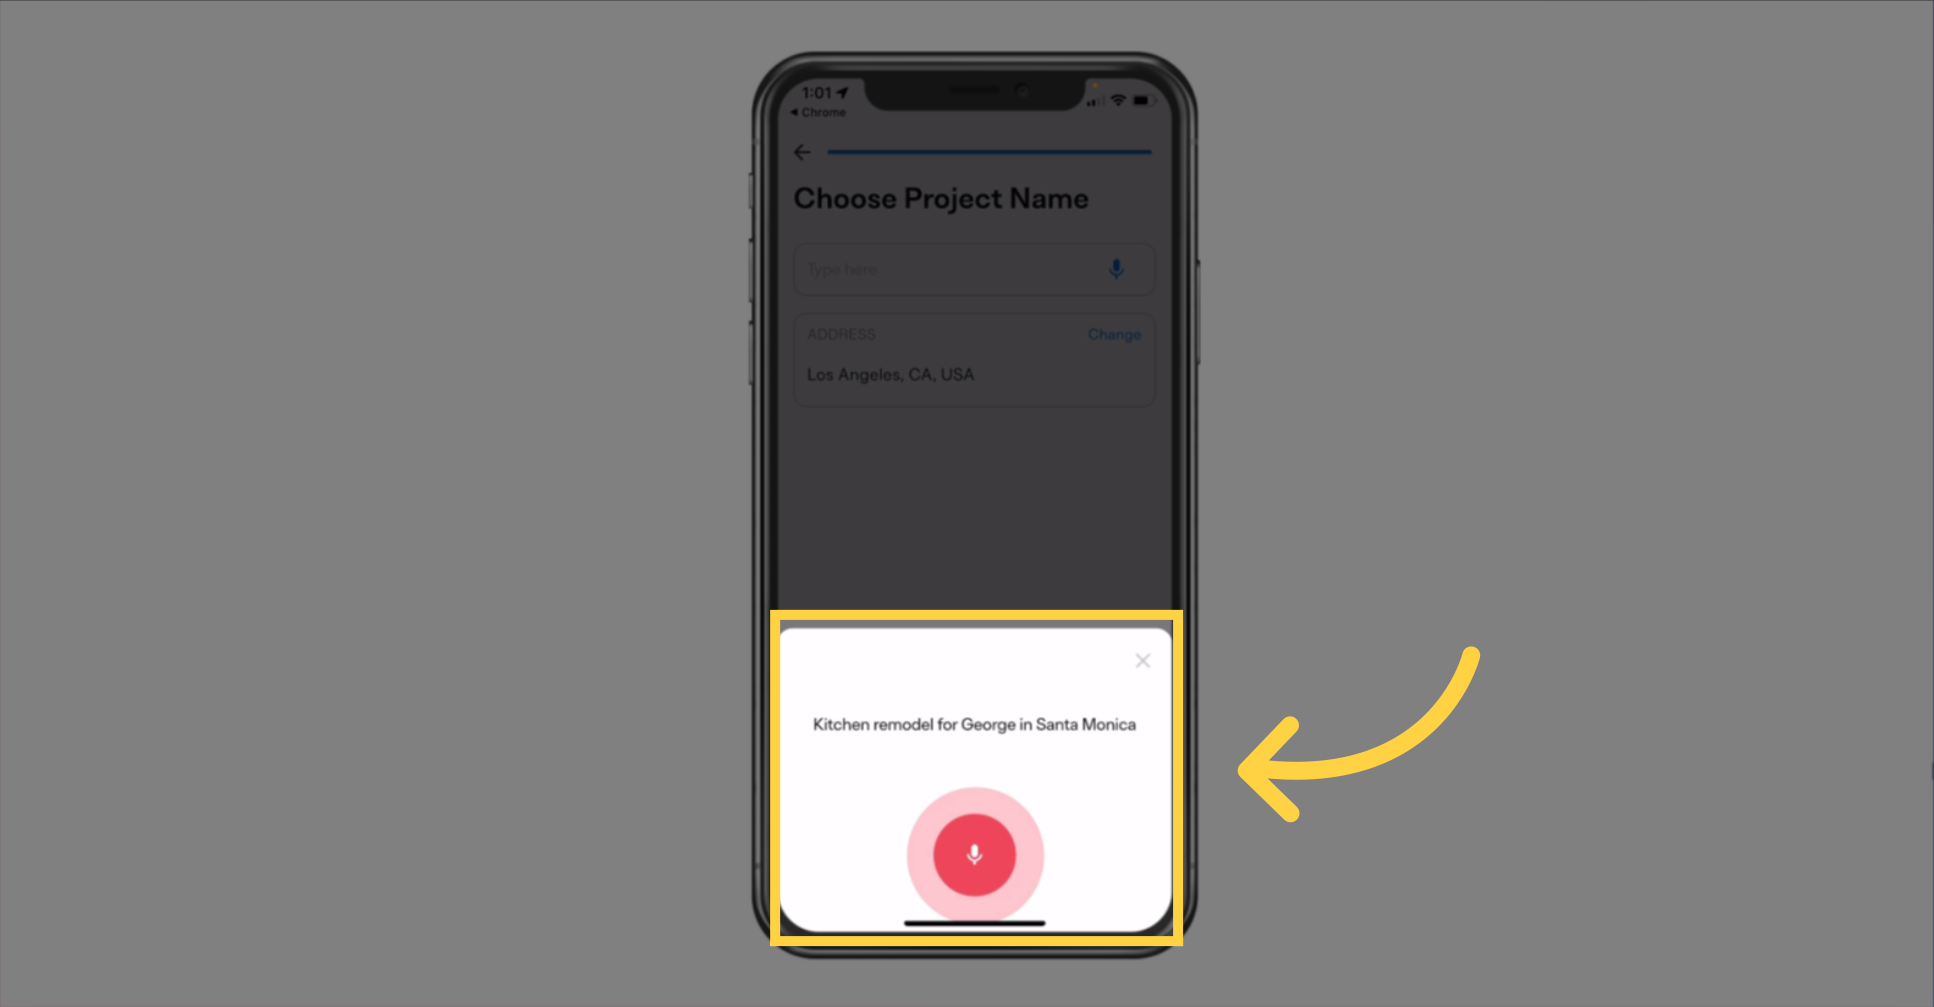
Time to name your project. You can type it in or, for convenience, tap the microphone button to record the name.

For a smooth experience, use voice input to name your project. Choose a name that makes it easy to identify, like the service provided, client's name, and city. For example, say "Kitchen Remodel for George in Santa Monica," then tap the mic button to finish recording the name.
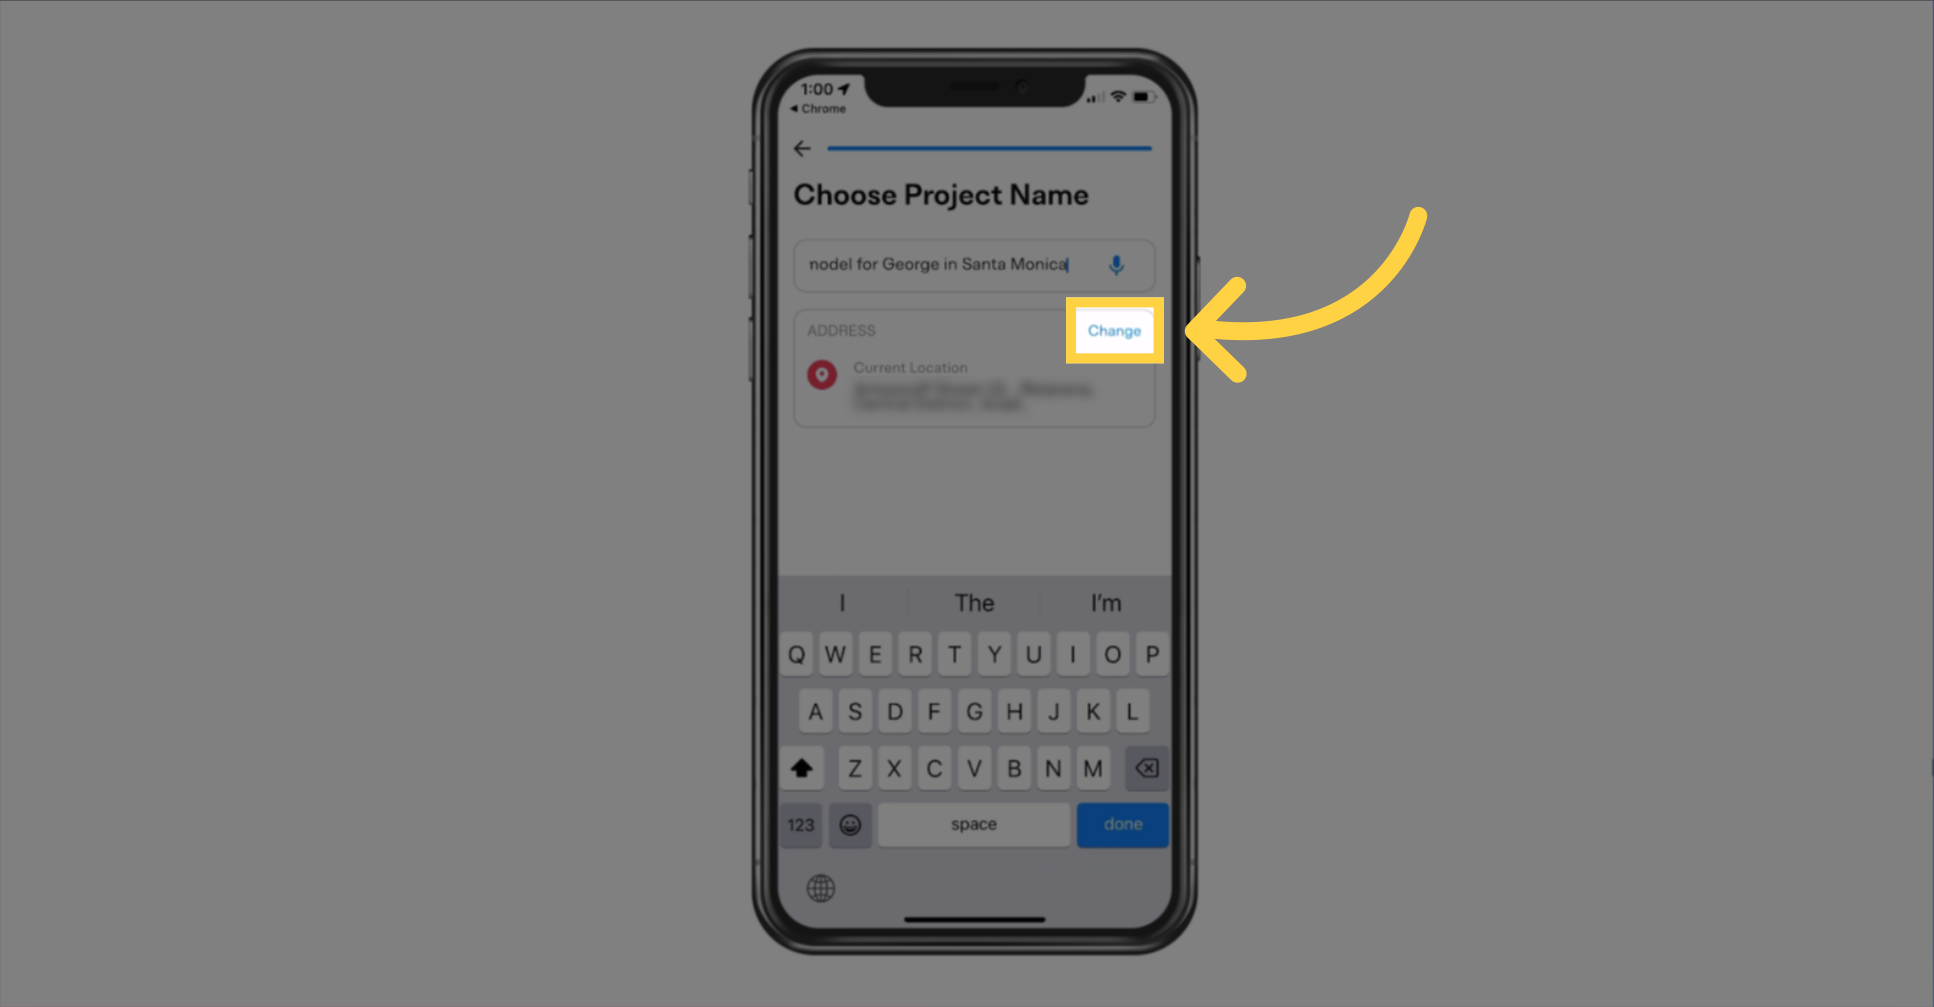
The app automatically sets the project address to your current location for convenience. If the project is at a different location, simply click "Change" in the address field to enter the correct address. This ensures your project details are accurate and tied to the right place.
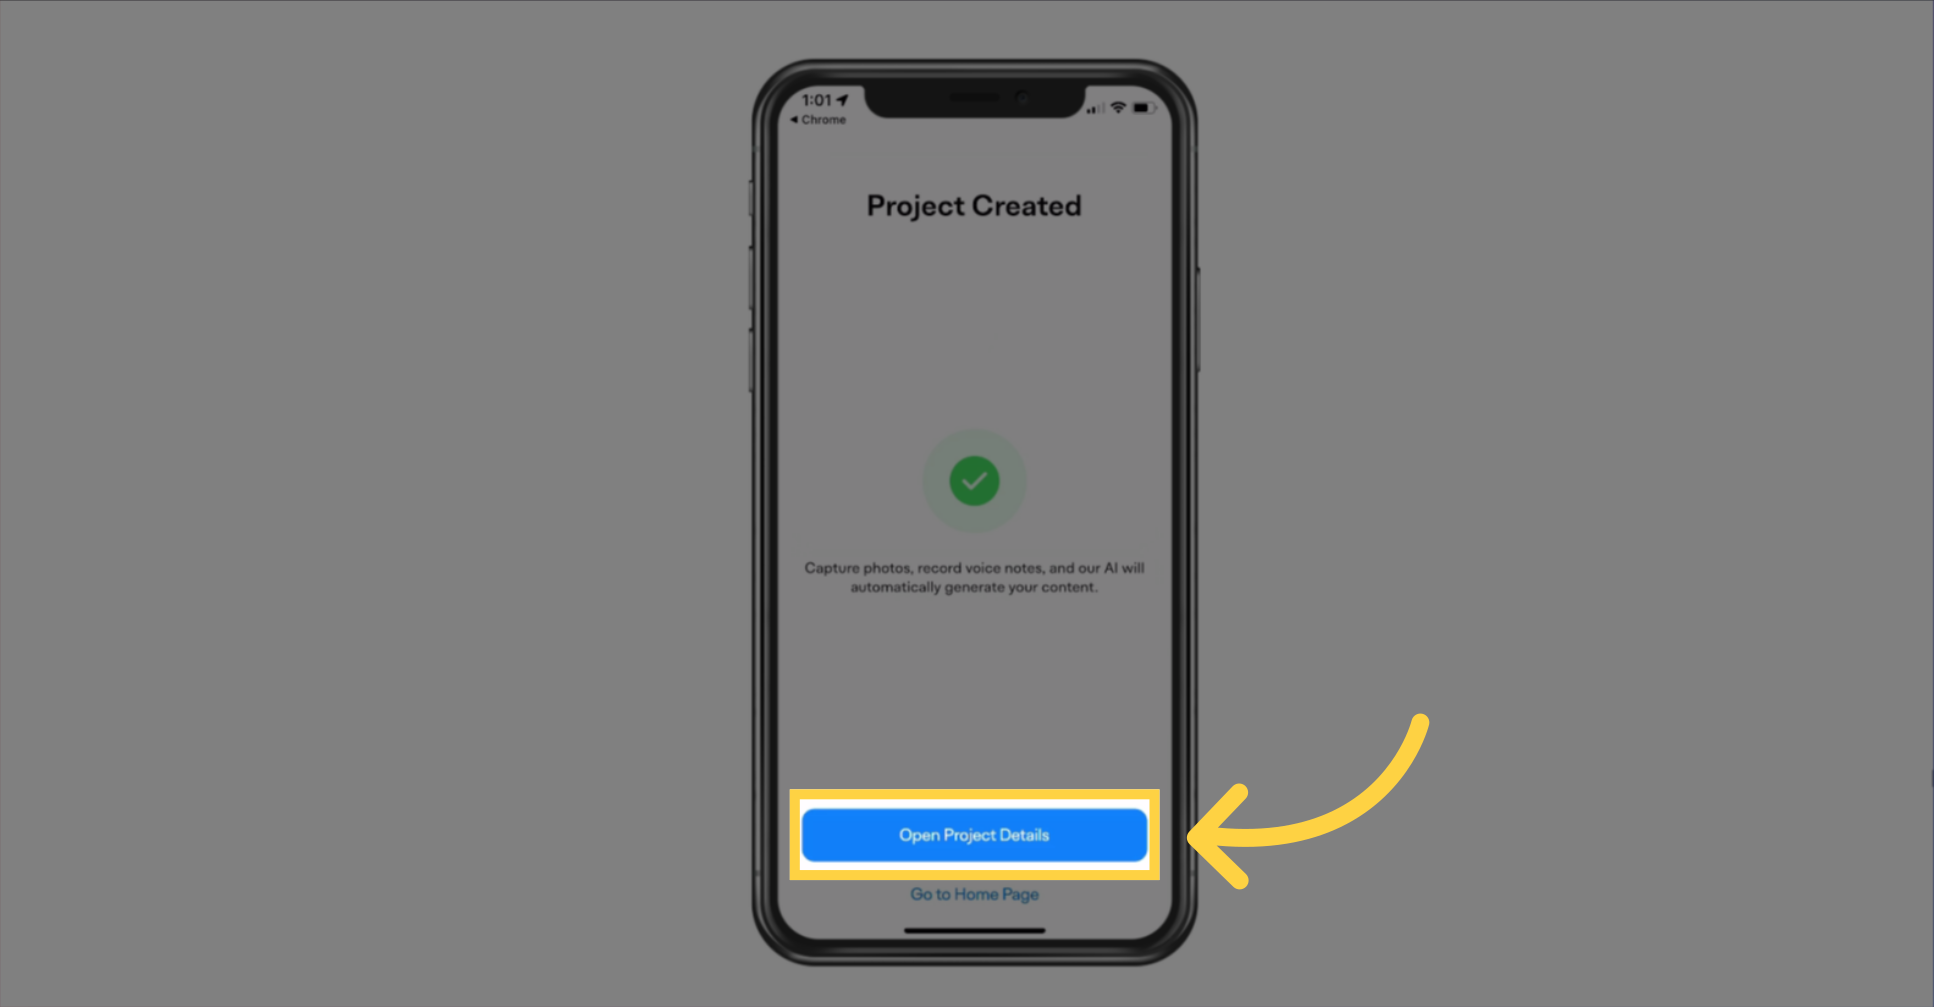
Once the address is set, you'll be prompted to start capturing content. Click "Open Project Details" to begin adding photos and voice notes to your project.
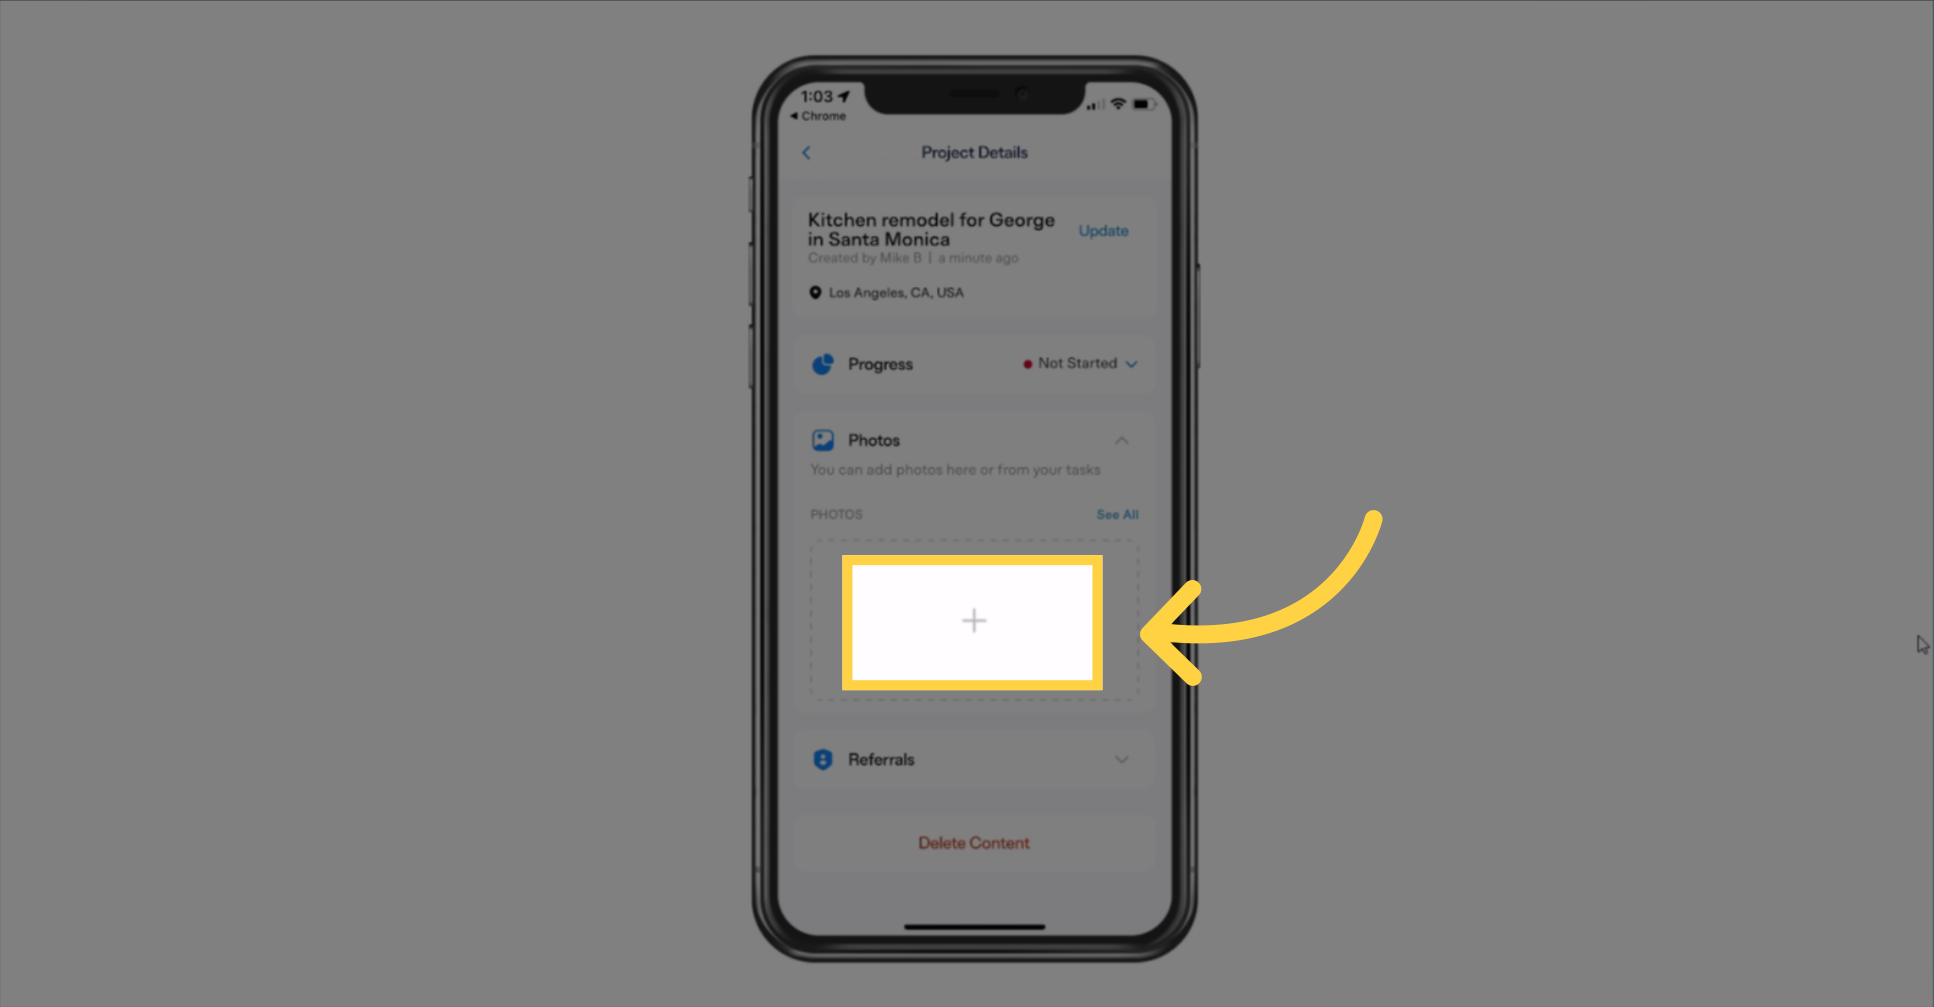
On the Project Details screen, tap the plus button within the Photos section to start adding your first project images.
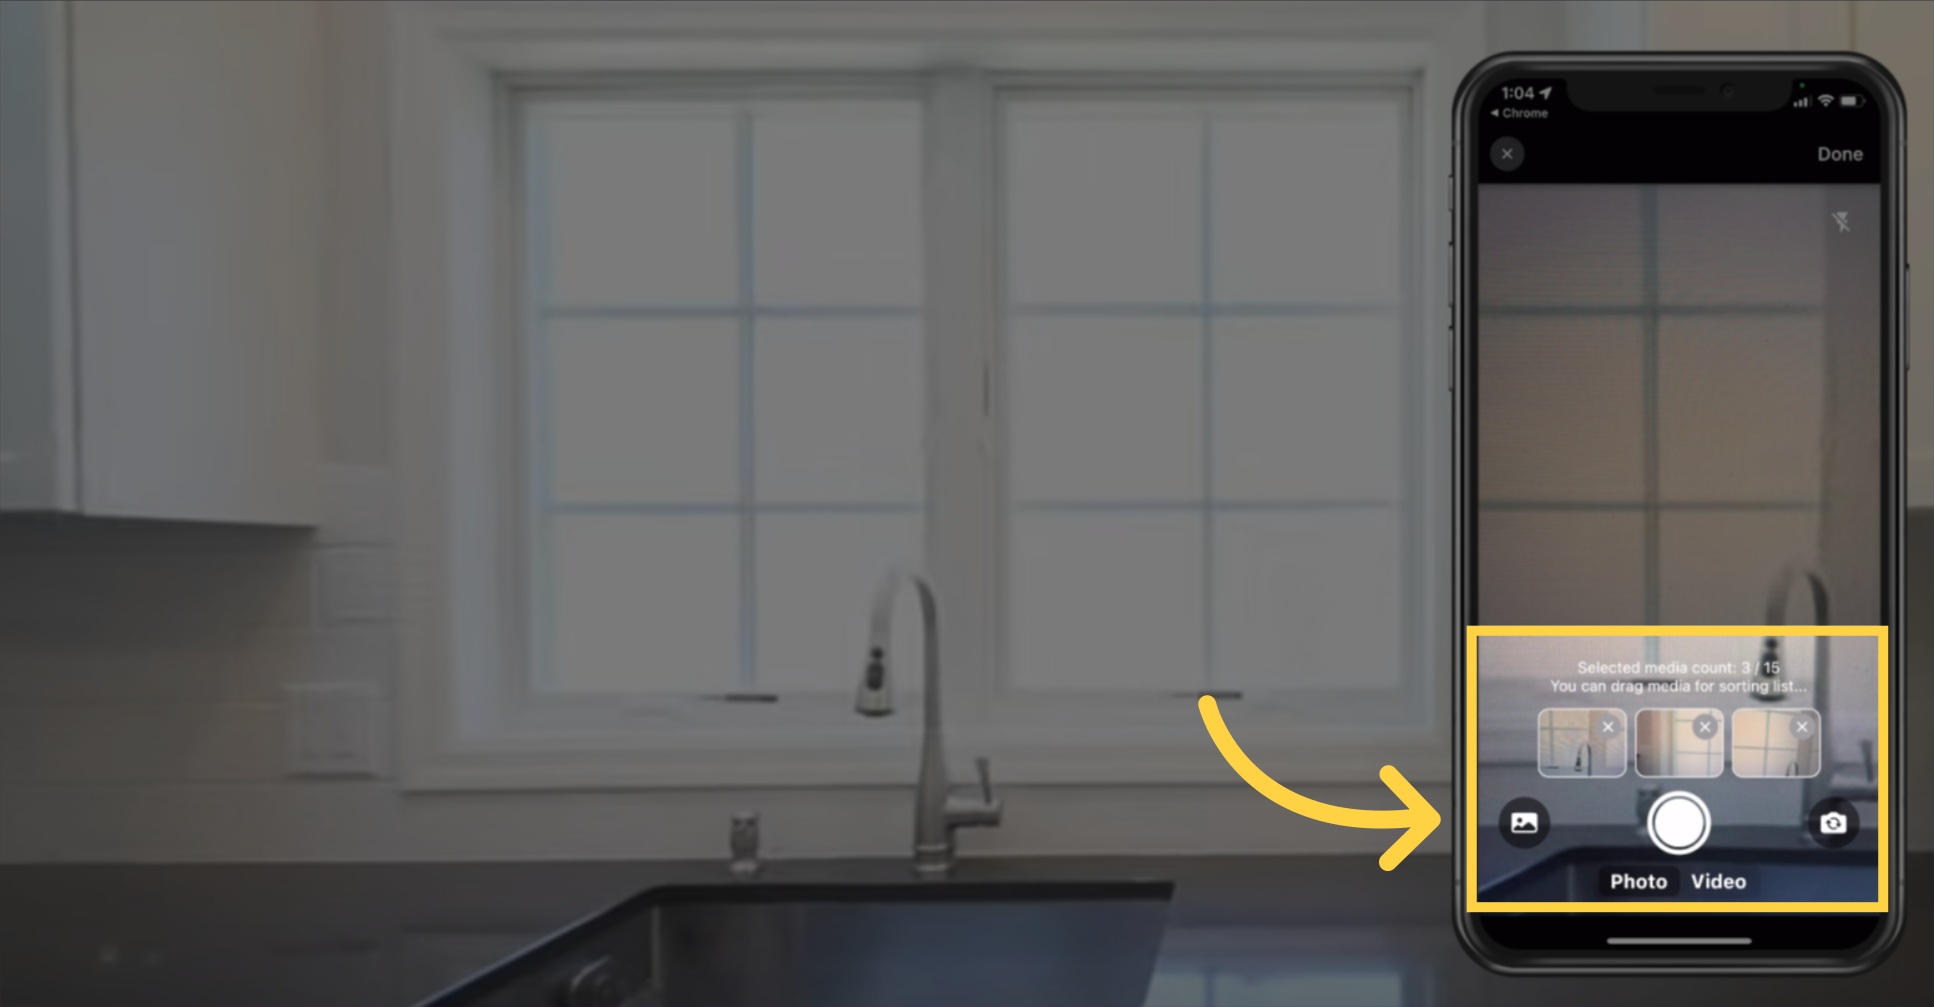
Now it's time to bring your project to life with visuals. You can take new photos or videos using your camera, or add existing ones from your photo library. If needed, switch to the front-facing camera. Once captured, your photos will appear in a small gallery above, where you can easily delete any that you don't want to keep.
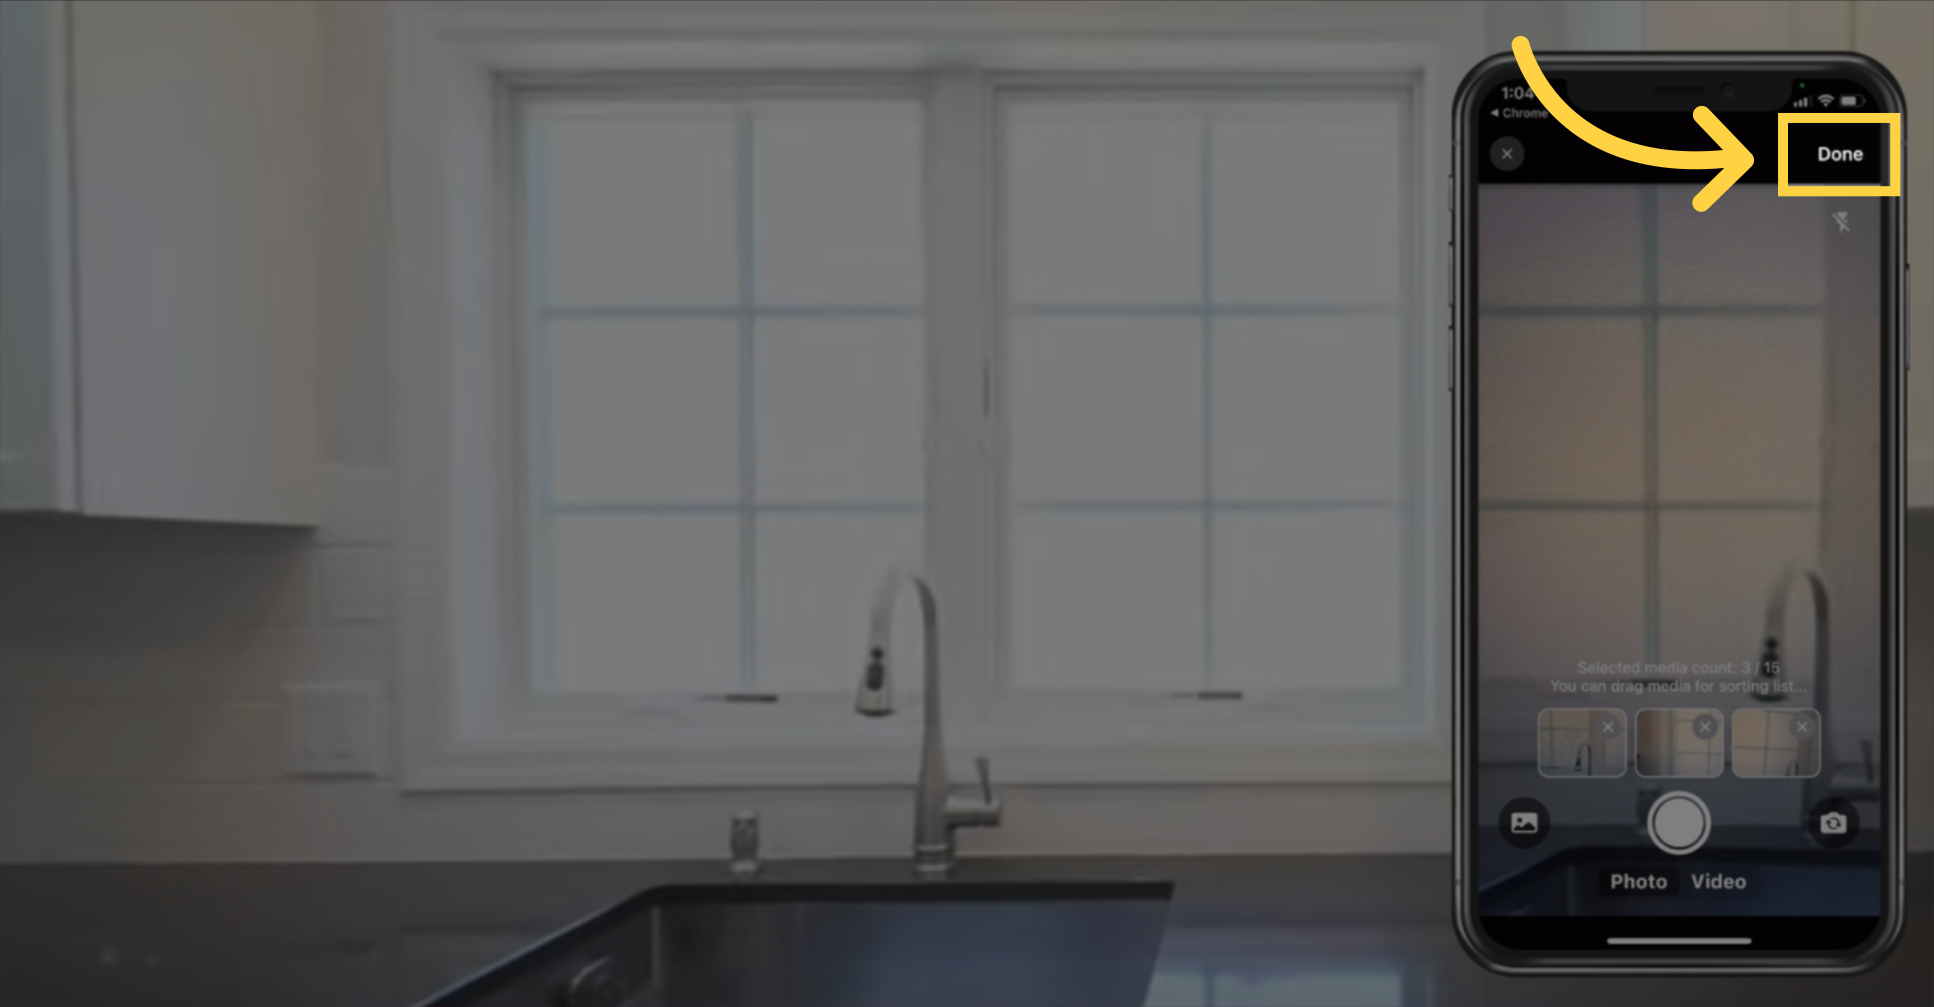
After capturing the desired photos for this stage of your project, simply click the 'Done' button. This will upload the images and save them to your project.
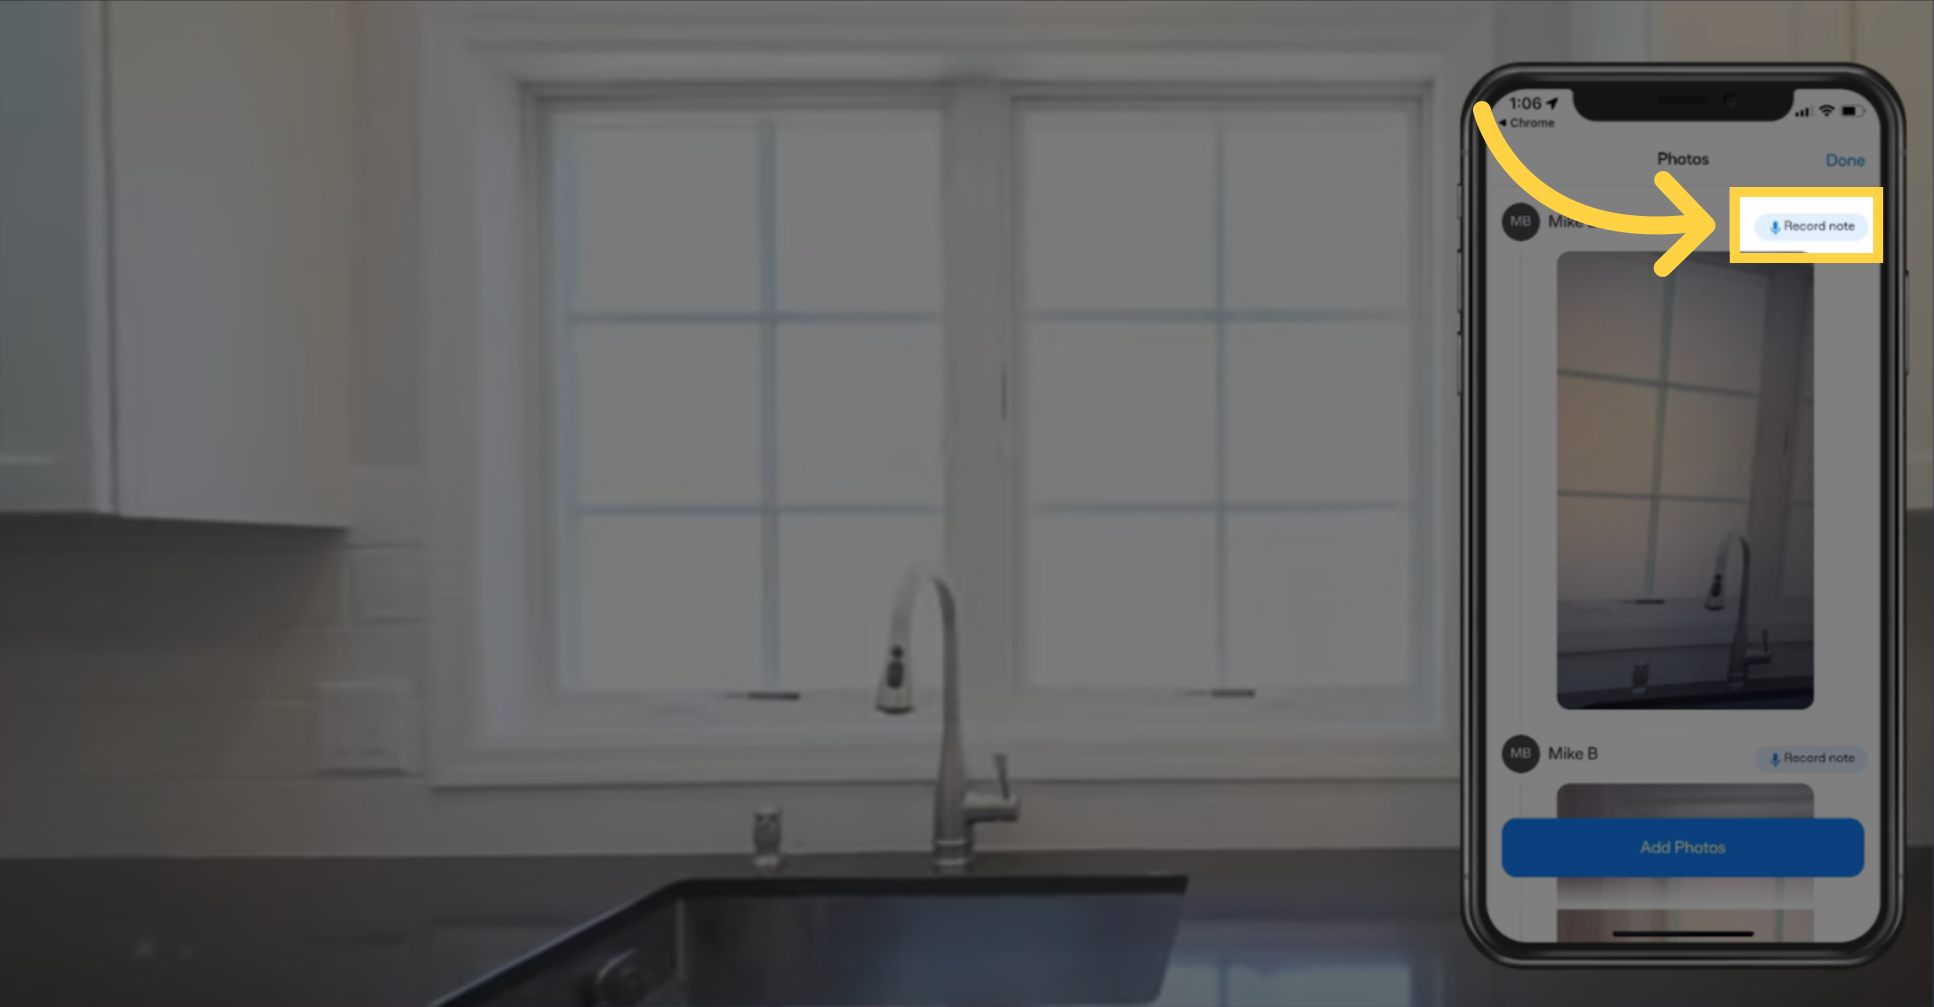
With your photos uploaded, they'll be visible in an activity feed. Now, you can add context with voice notes for each piece of media by clicking the "Record note" button.
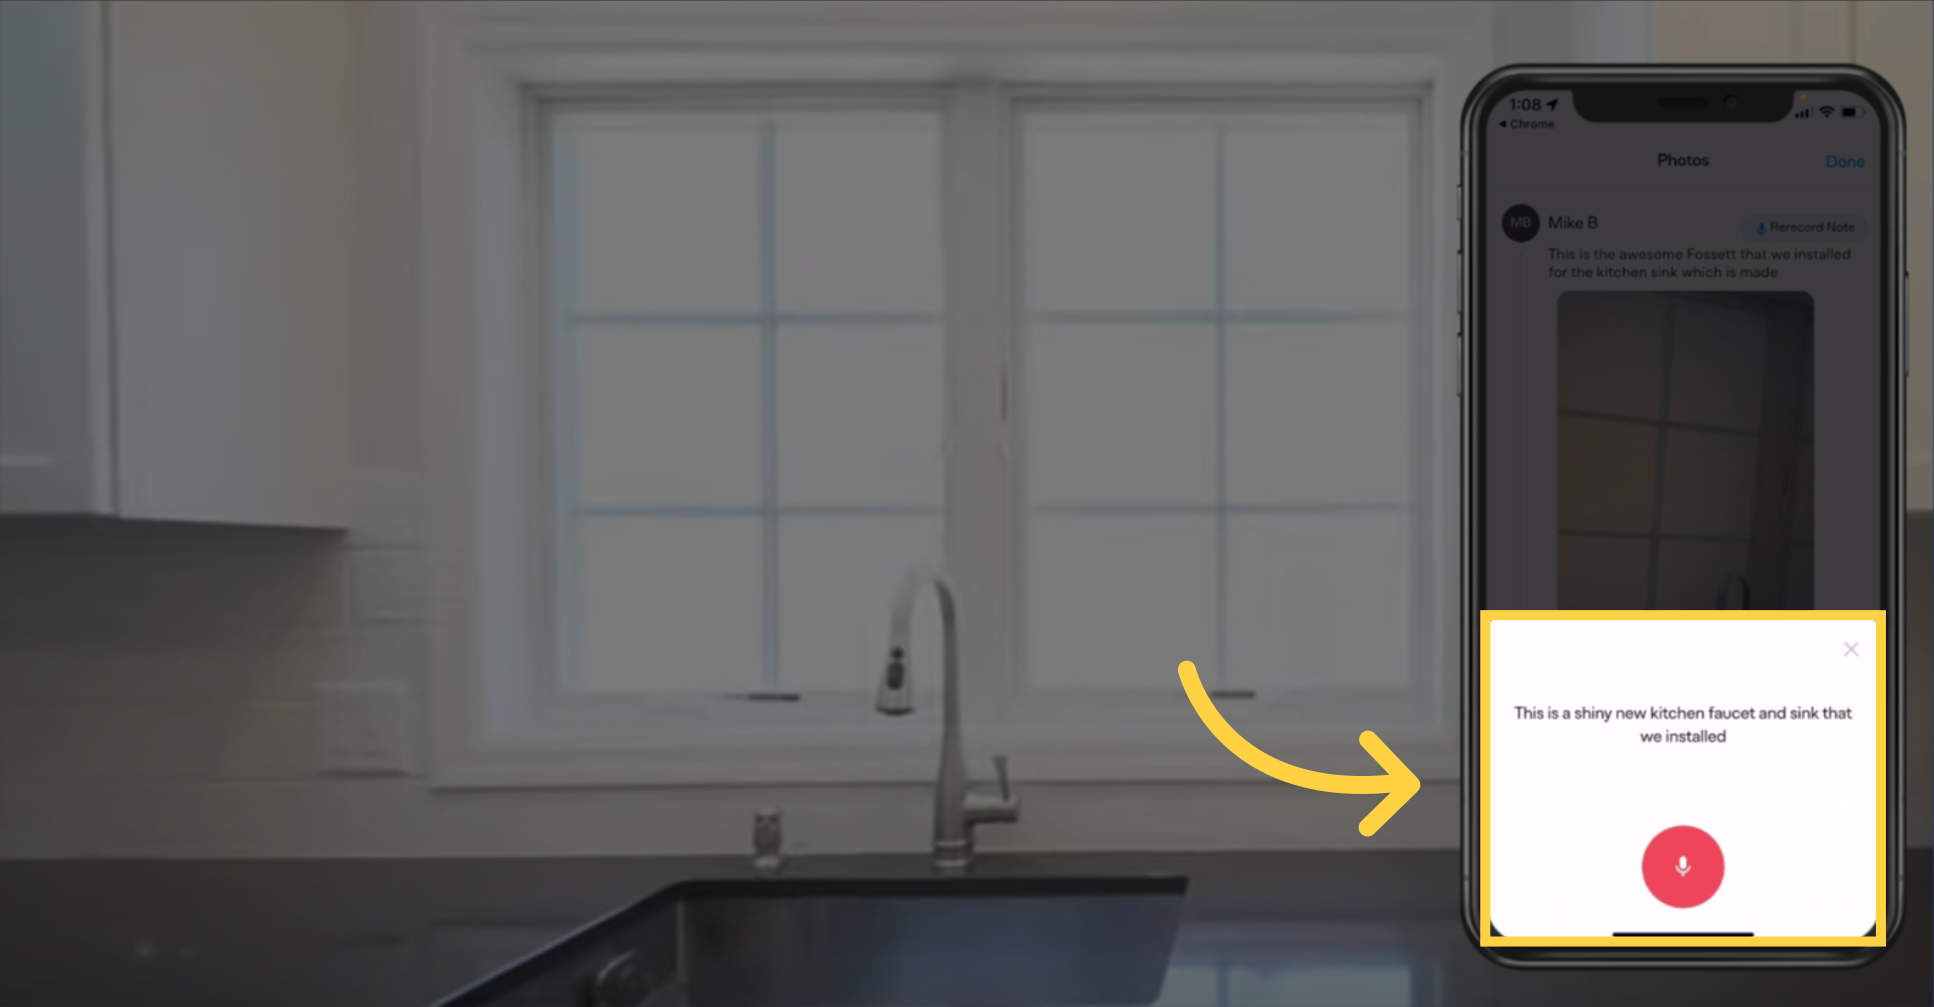
On the Voice Note record screen, you can easily capture voice notes. These recordings are perfect for adding detailed descriptions and valuable observations to accompany your project visuals. When you're finished speaking, press the button to stop recording.
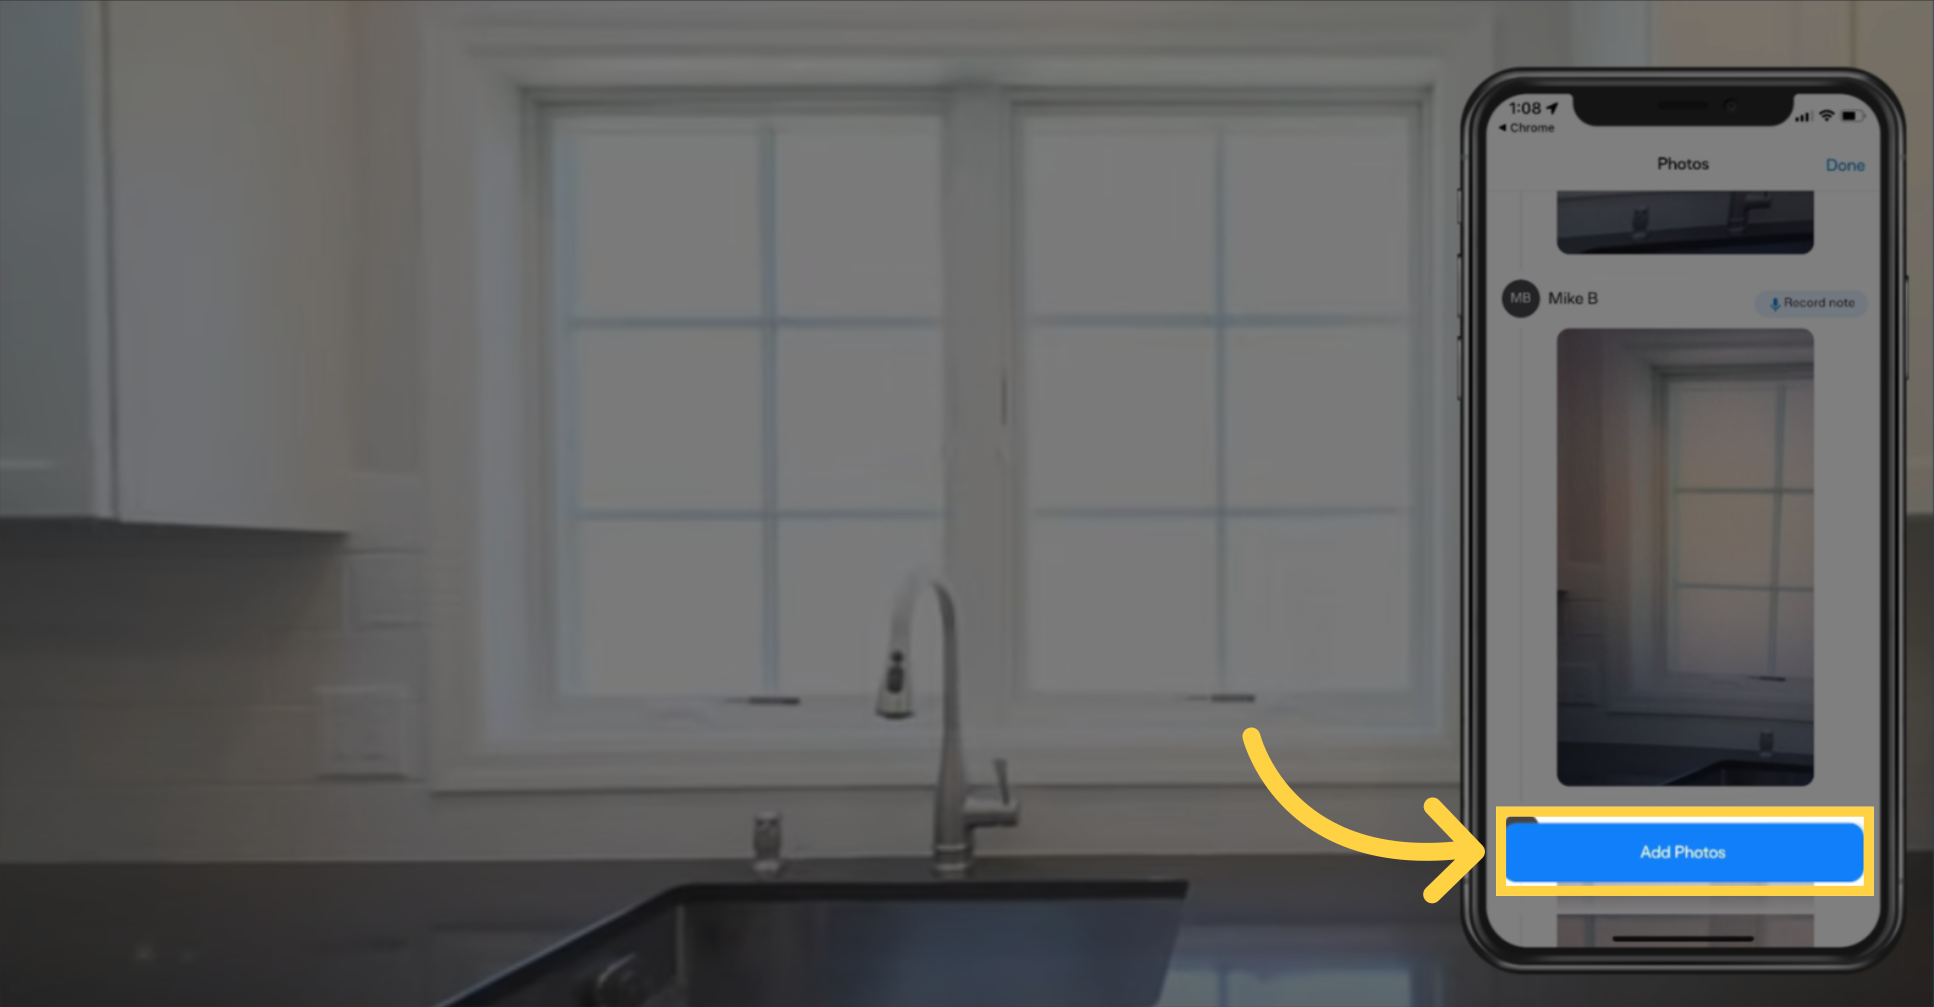
To fully document your project, keep adding photos by clicking the "Add Photos" button. Accompany each photo with a voice note to capture all the details. Continue this process until every aspect of the project is thoroughly documented.
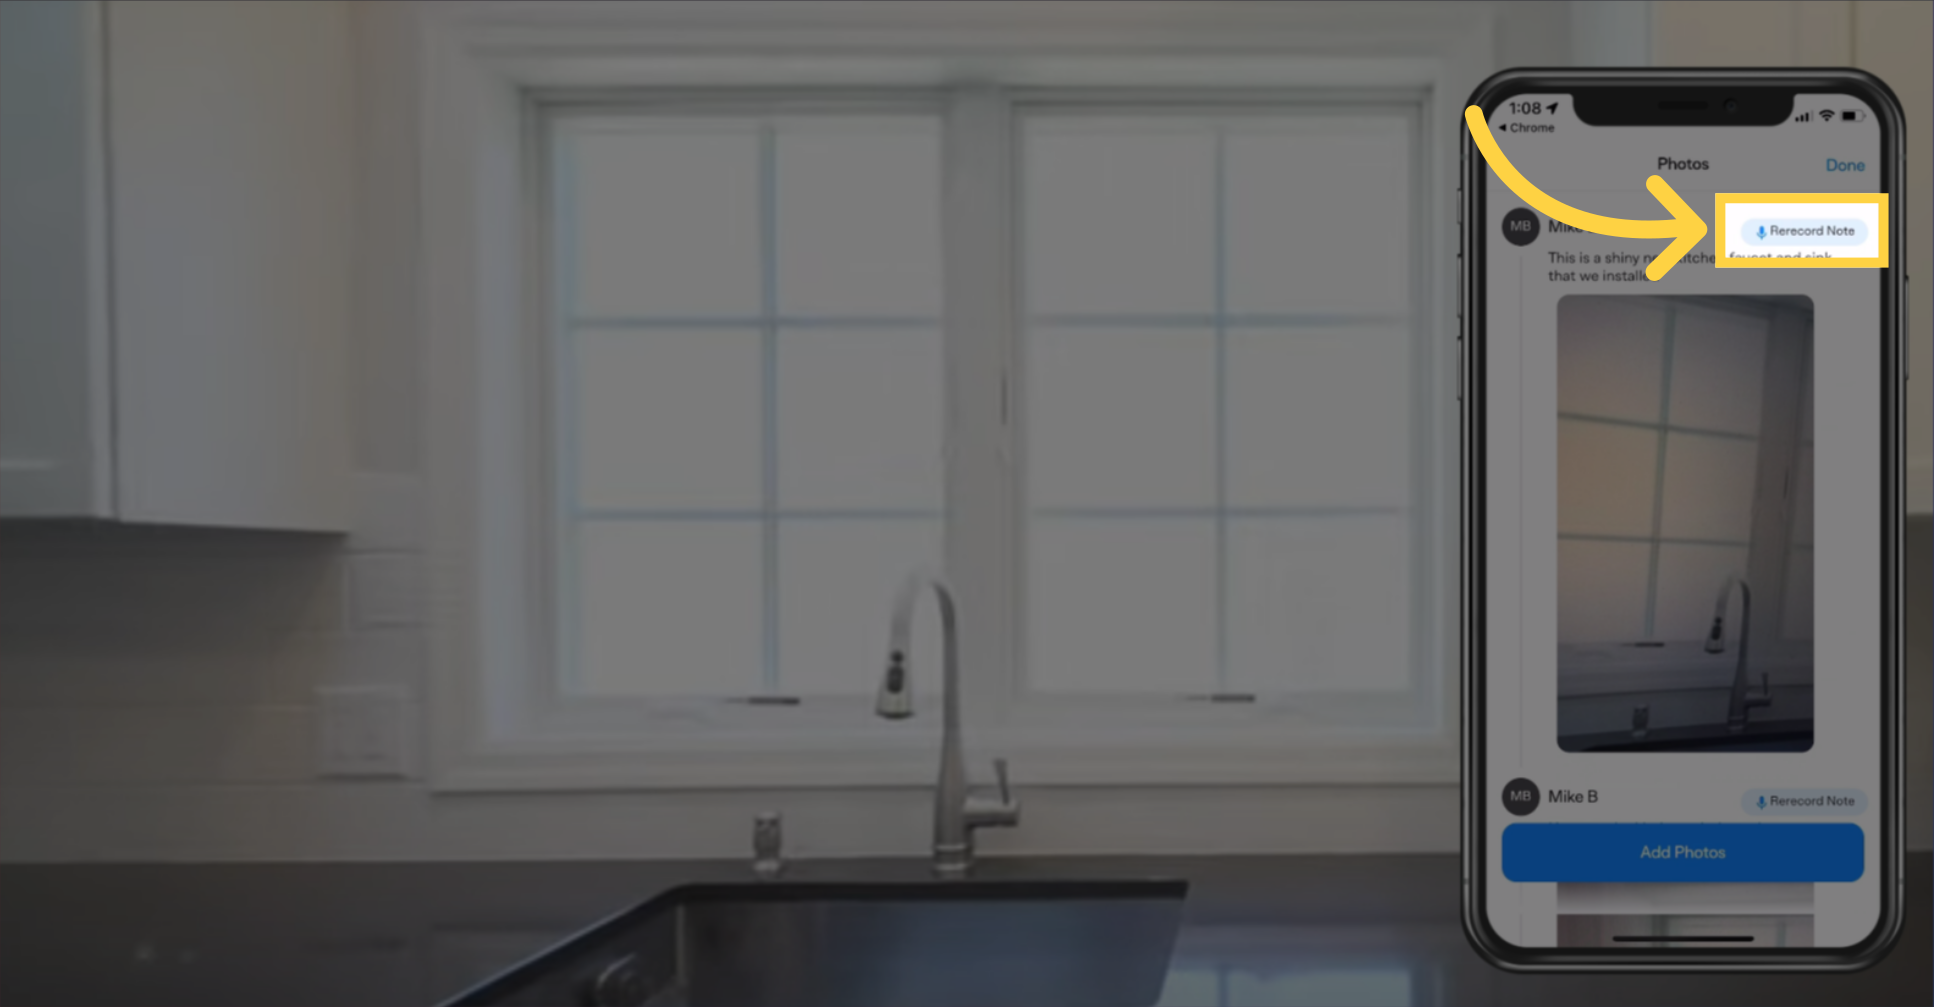
If you need to correct a mistake in a voice note, simply click the "Rerecord Note" button to capture a new recording.
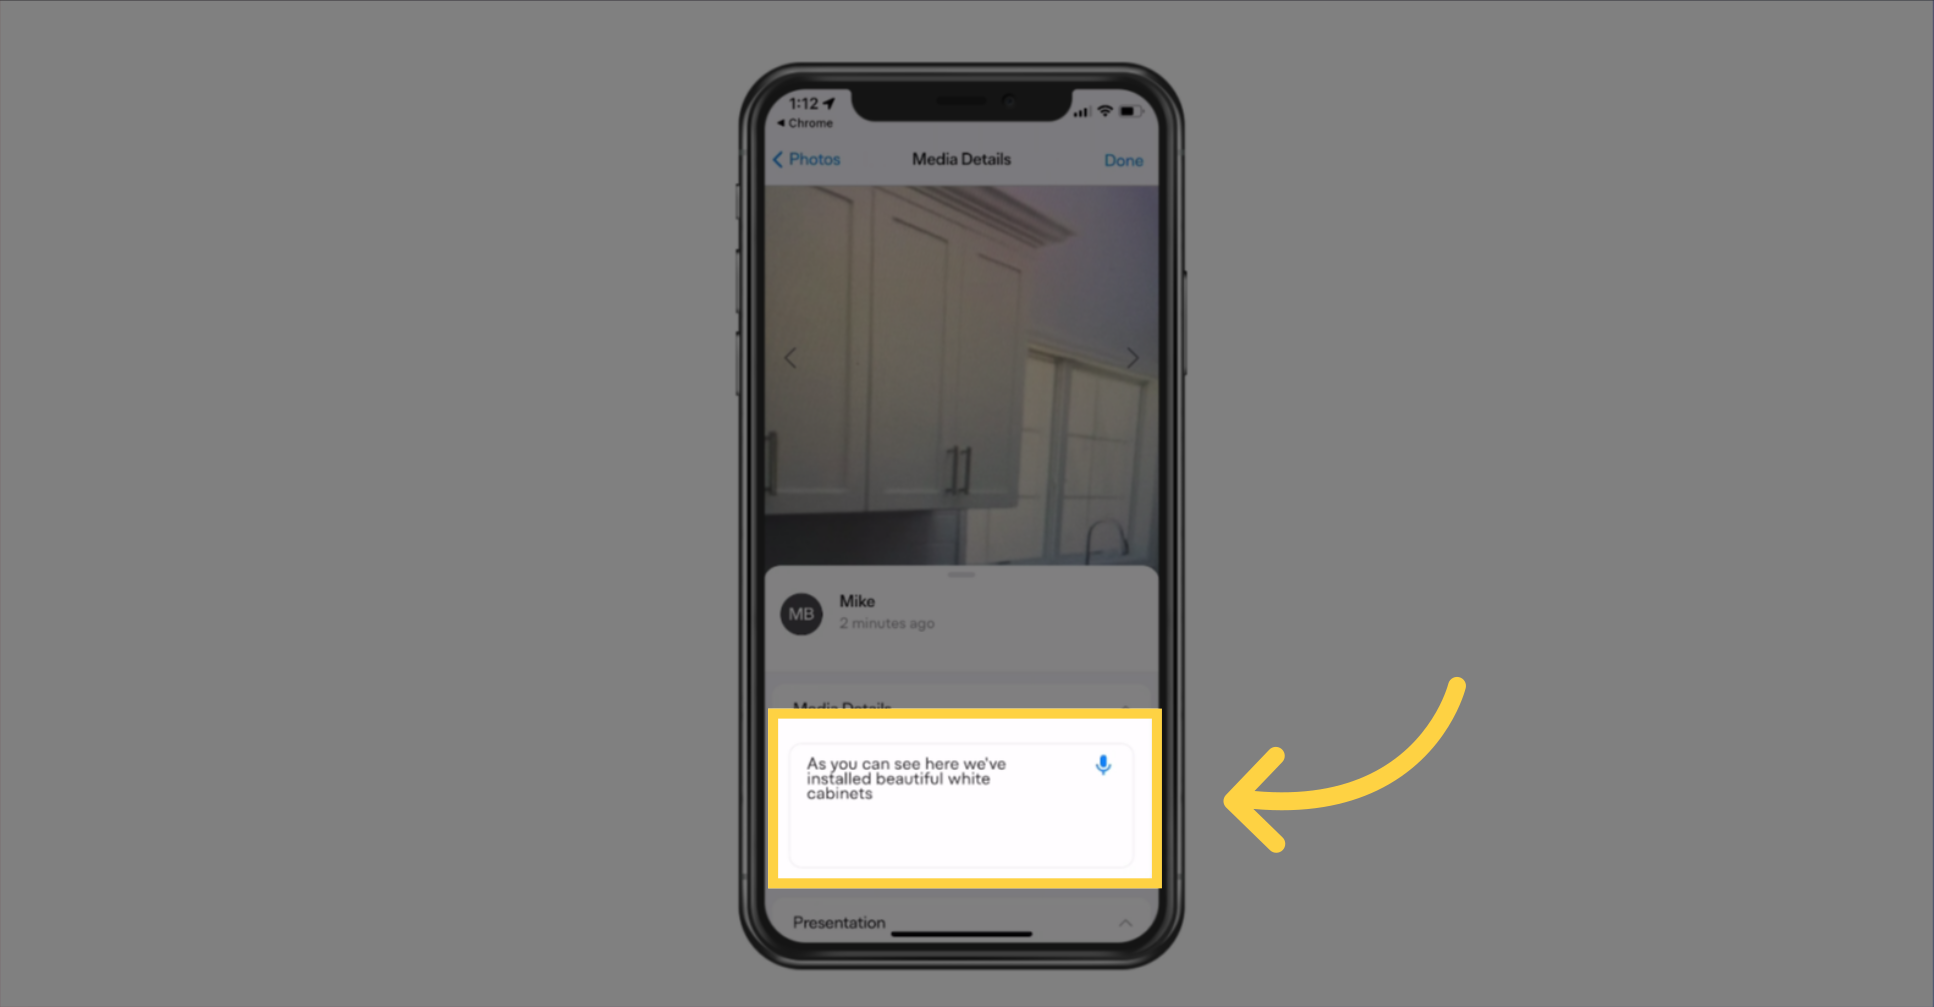
Click on an image to make detailed adjustments to your notes in the text editor. Once you've refined your documentation for accuracy, hit the "Done" button to save your edits.
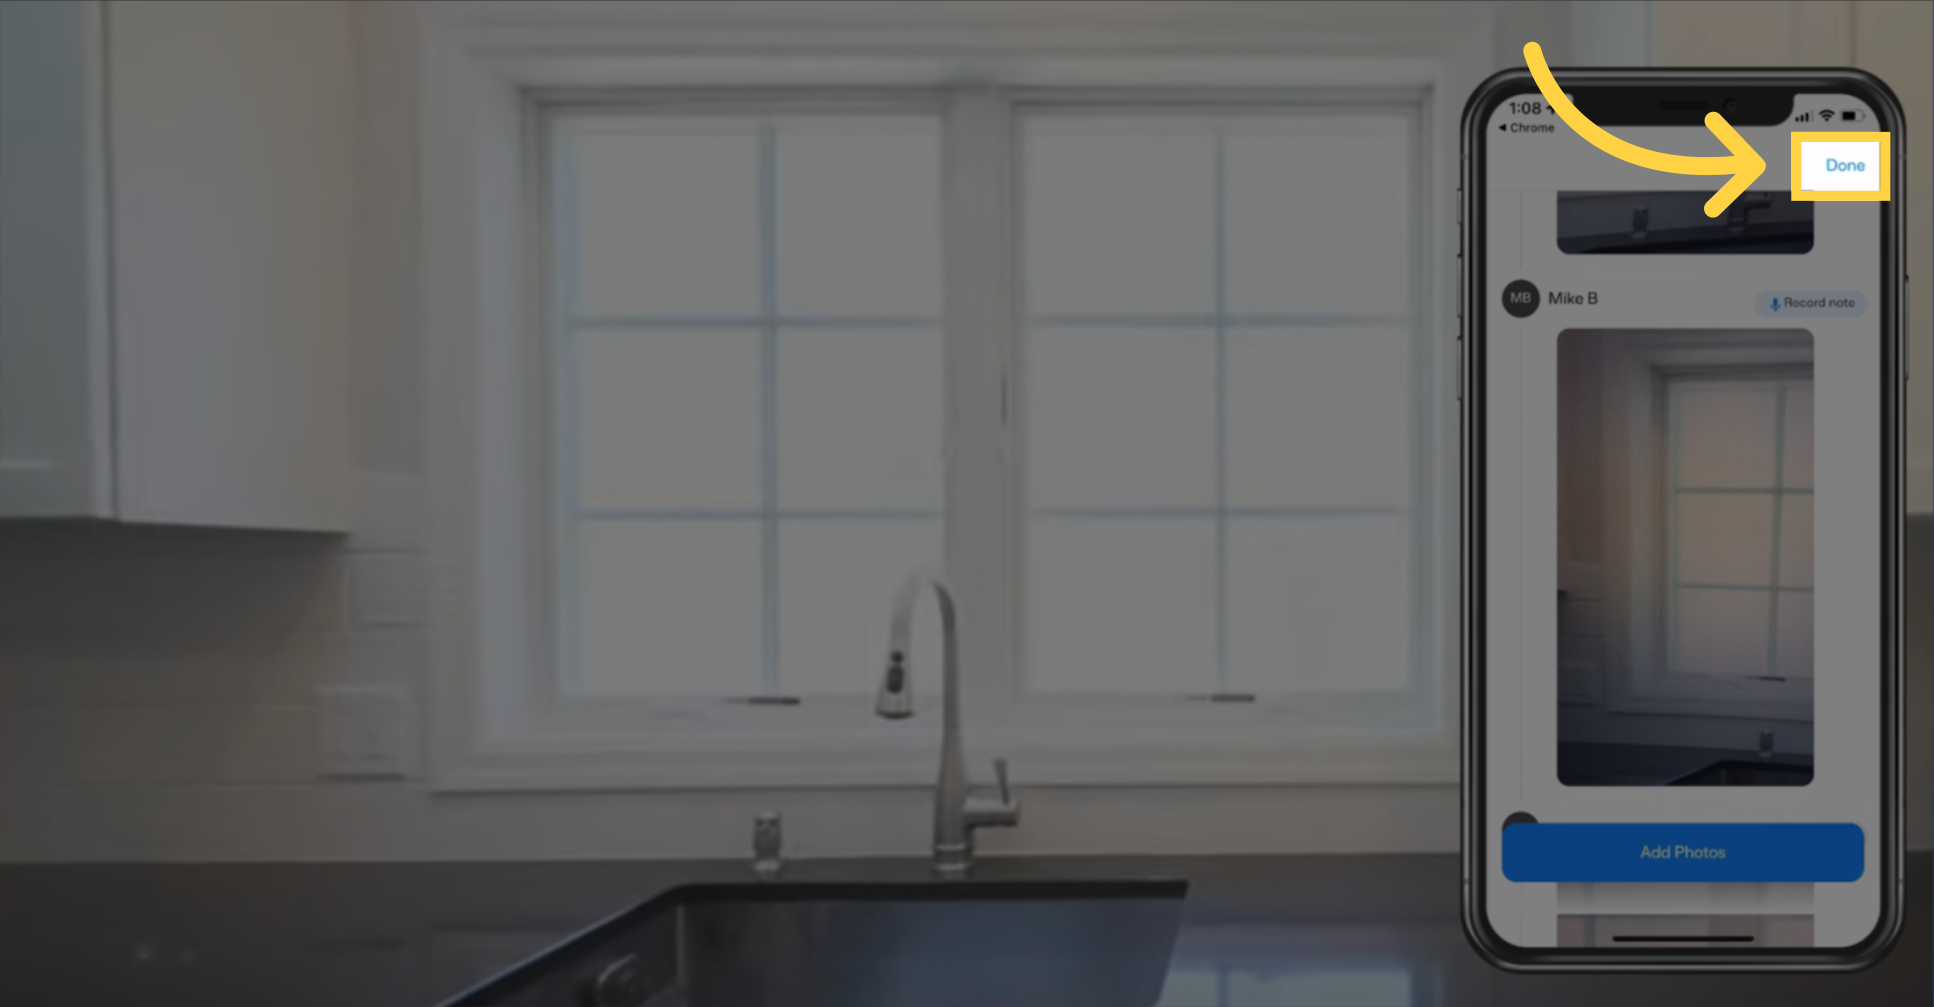
After editing your notes, you'll be back on the photos screen. To return to the main project details screen, simply click the "Done" button.
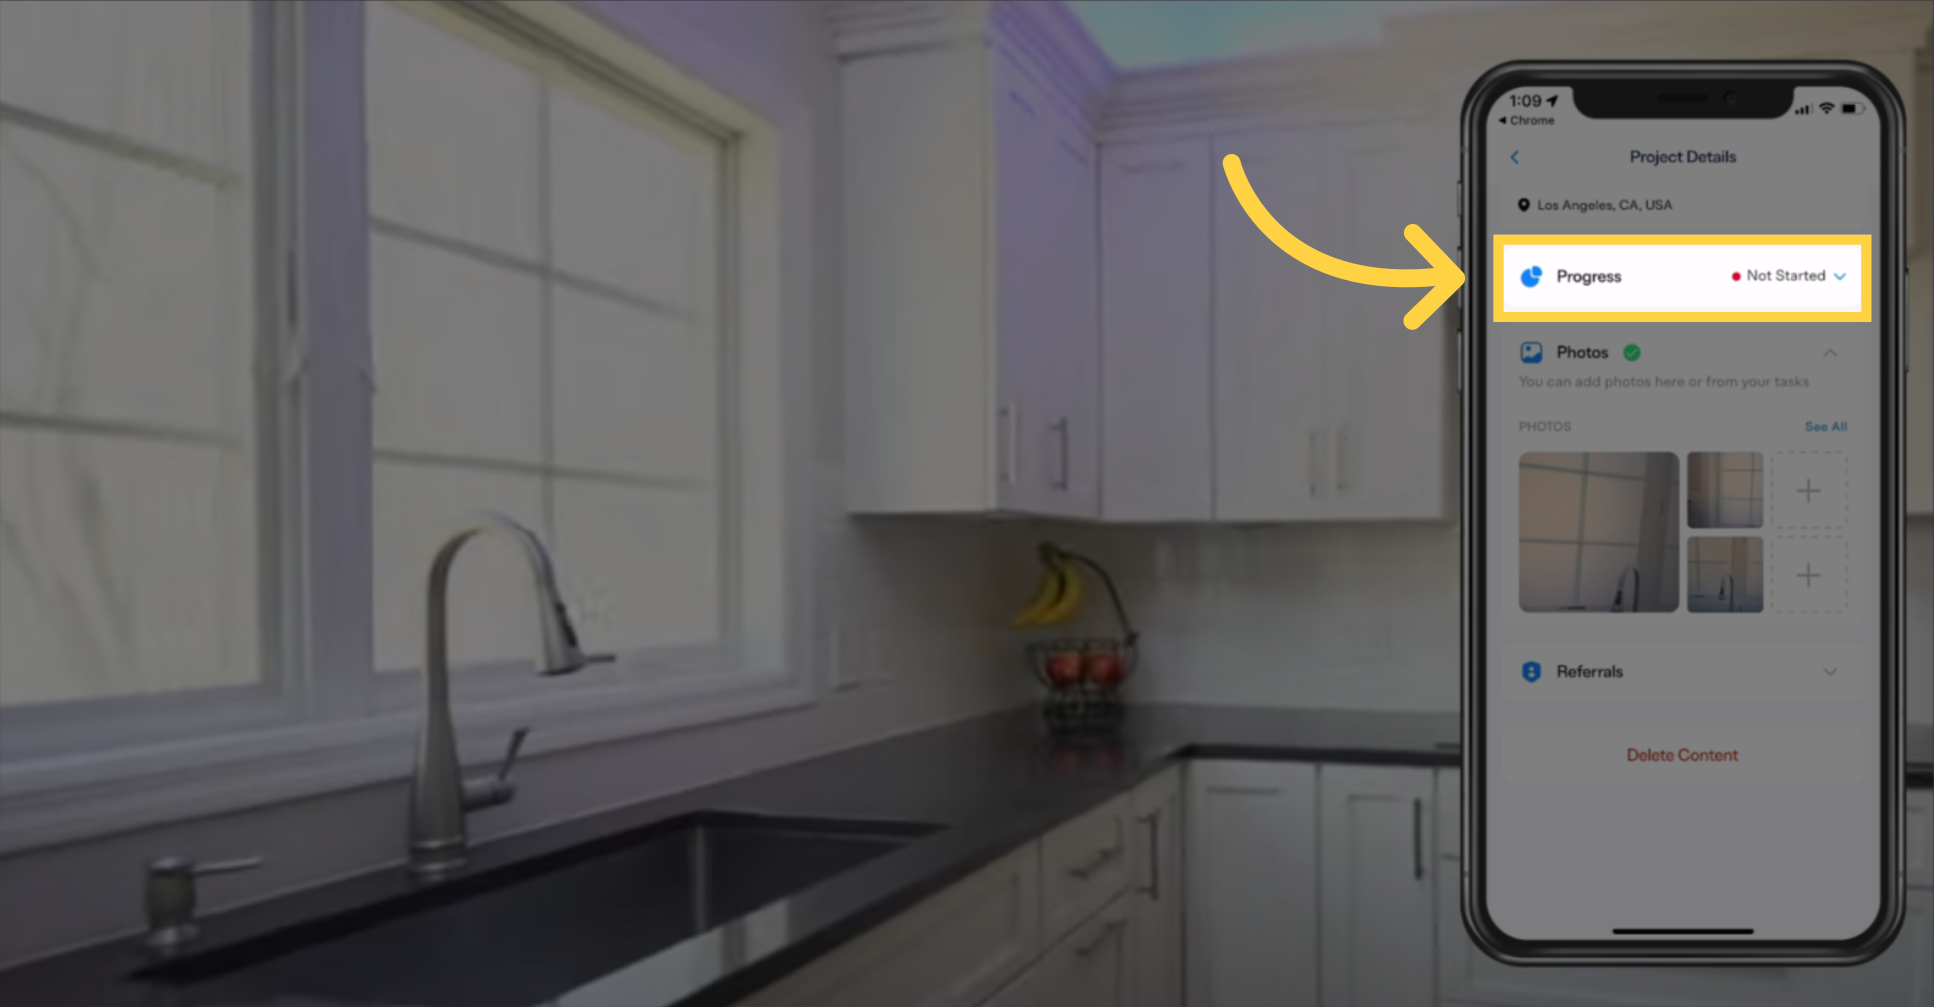
On the Project Details screen, it's time to update your project's status. Click on the current status, which may be labeled as "Not Started" in this example, to change it according to your project's progress.
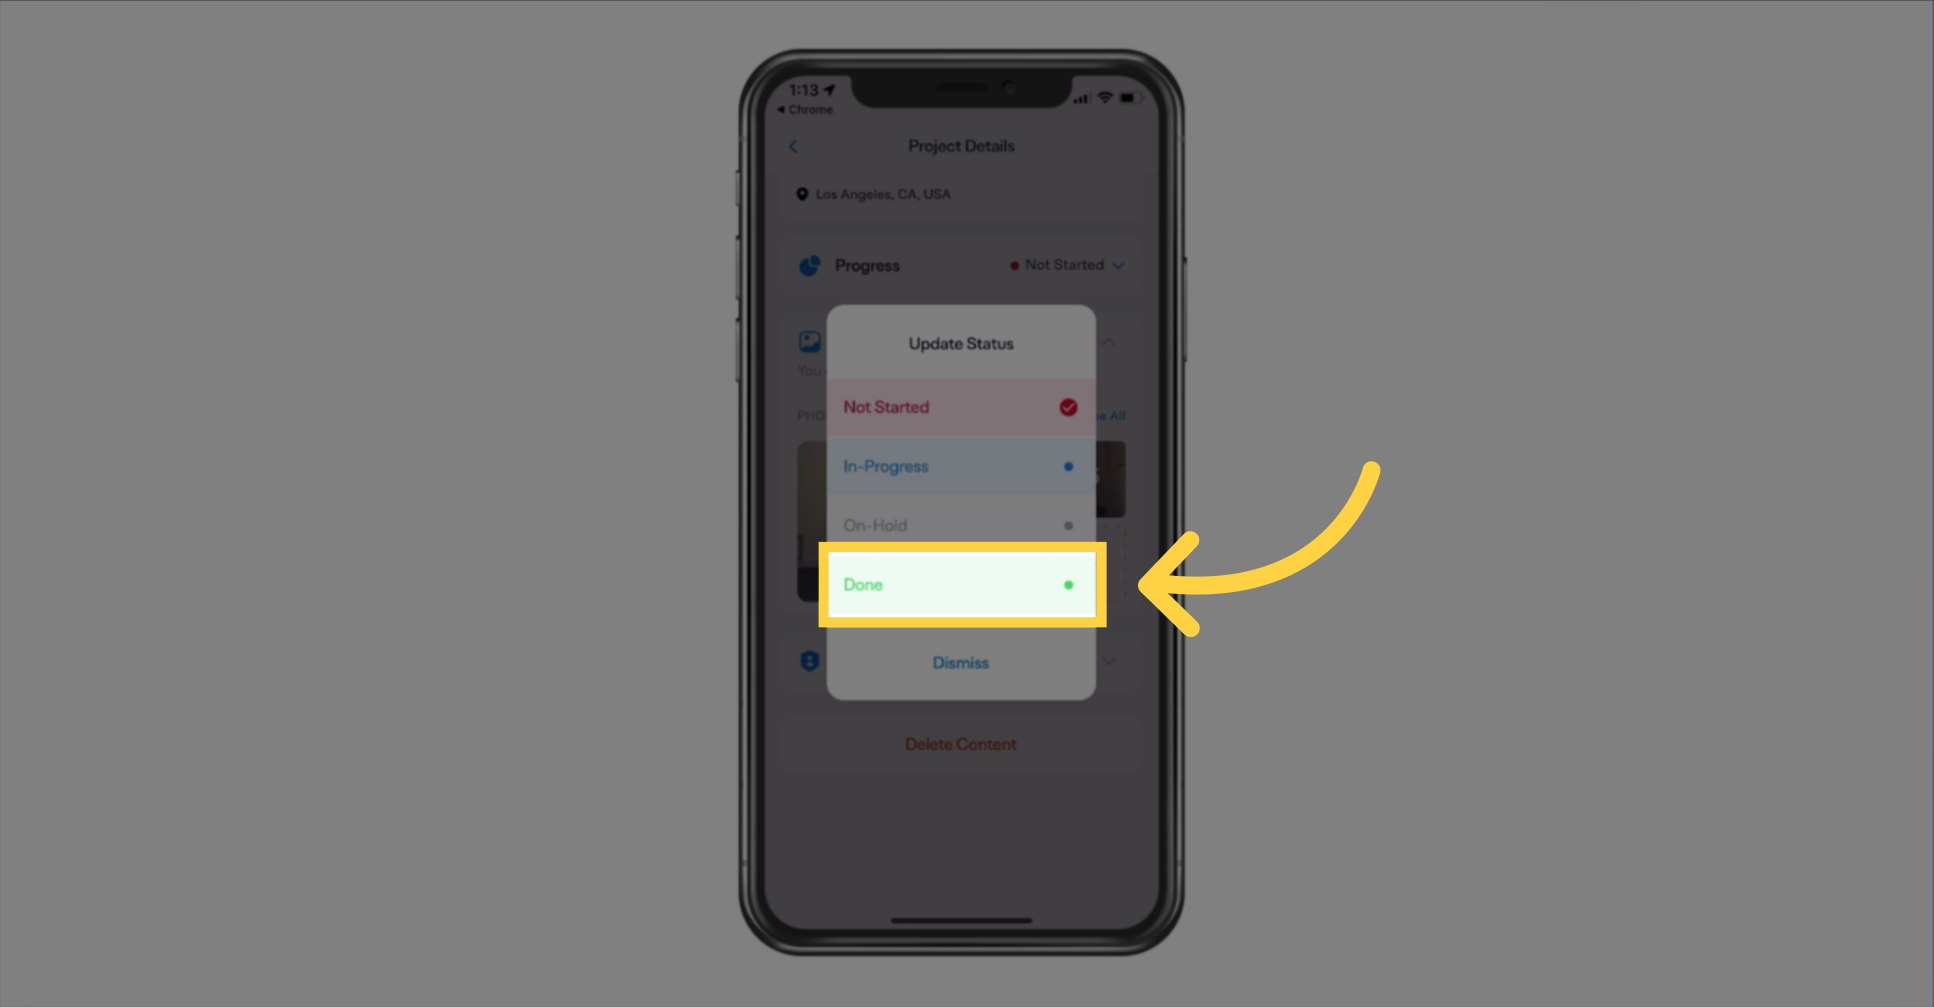
After you click to change the project status, a new screen will pop up. Here, choose "Done" to indicate that your project documentation has been fully completed.
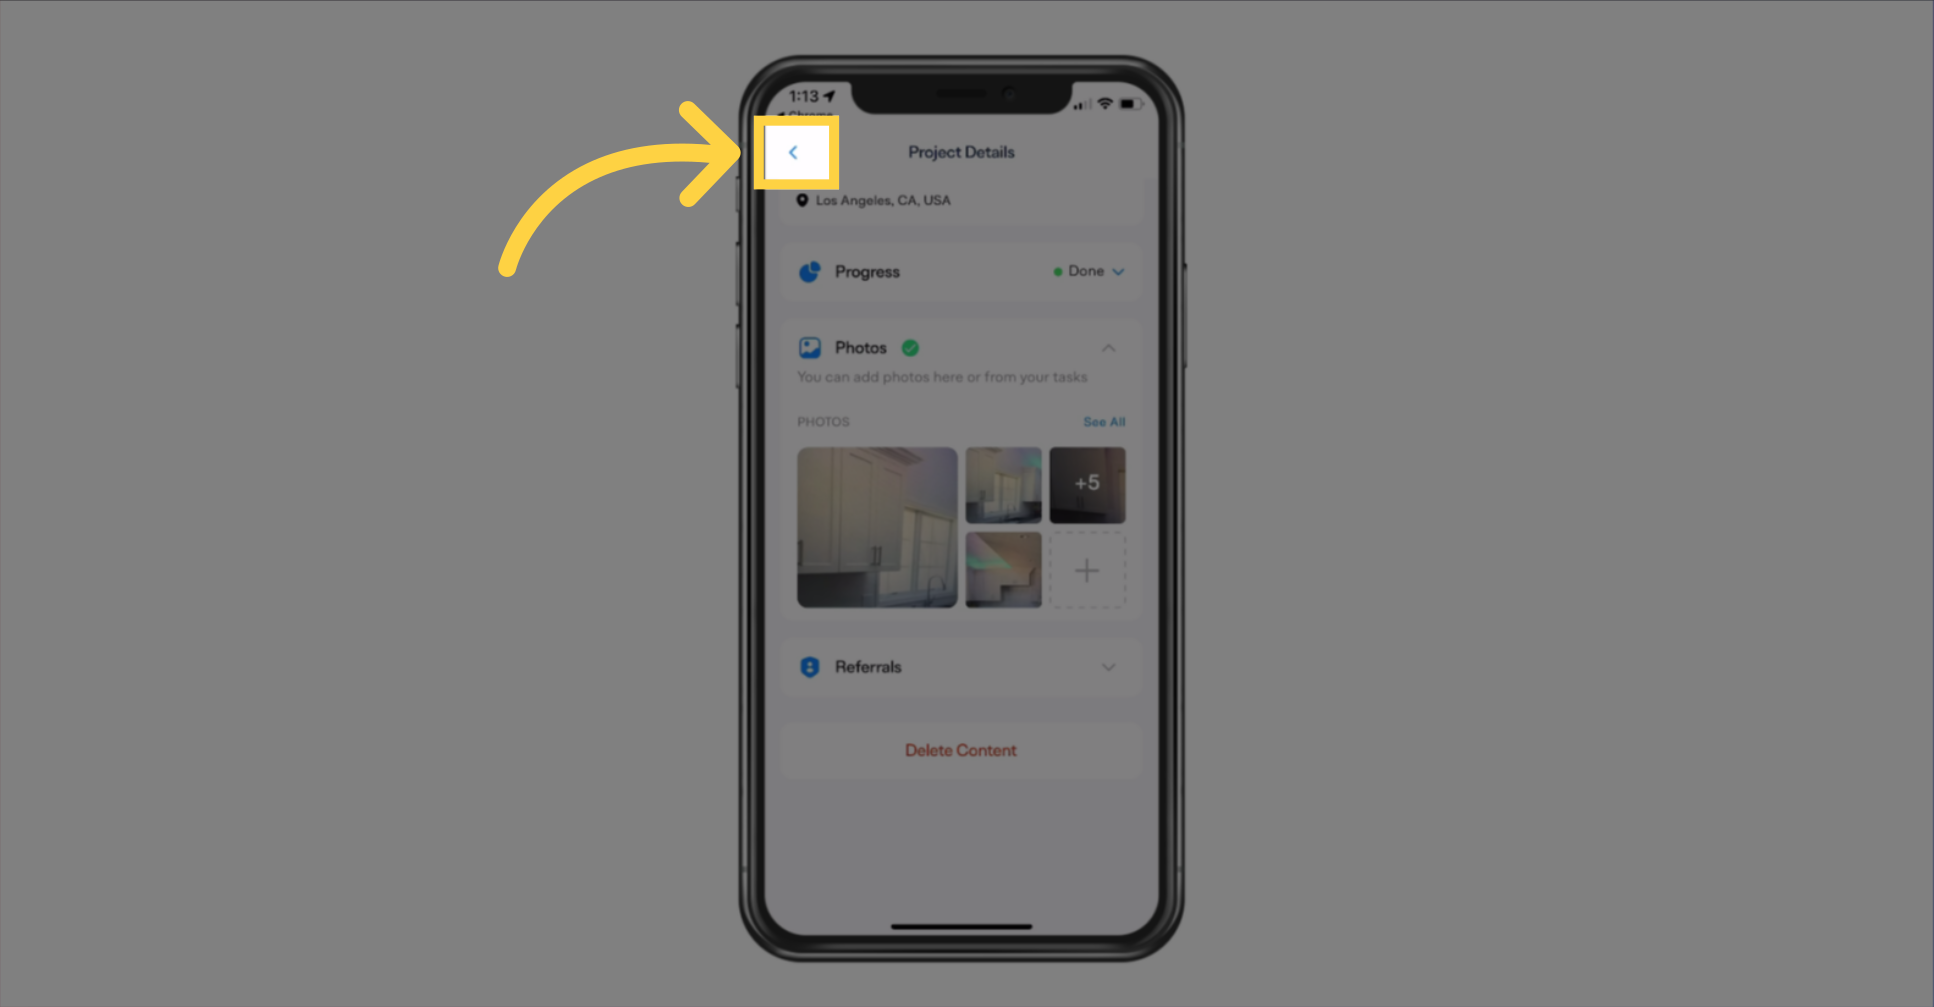
With your project documentation finished, you'll be back on the Project Details screen. To return to the home screen, simply click the back arrow at the top of the screen.
Now that you're on the home screen, remember that you can reopen the project at any time to add more content. However, for the moment, we'll consider this project complete.

And that's it! You've successfully installed the mobile app and documented your first project. You're all set to streamline your project documentation process with our app. Thanks for following along, and here's to the success of your projects!
