Welcome to our step-by-step guide on configuring the mobile app for your team's use in capturing projects or any other content. We'll make this process as smooth as possible, so let's get started!
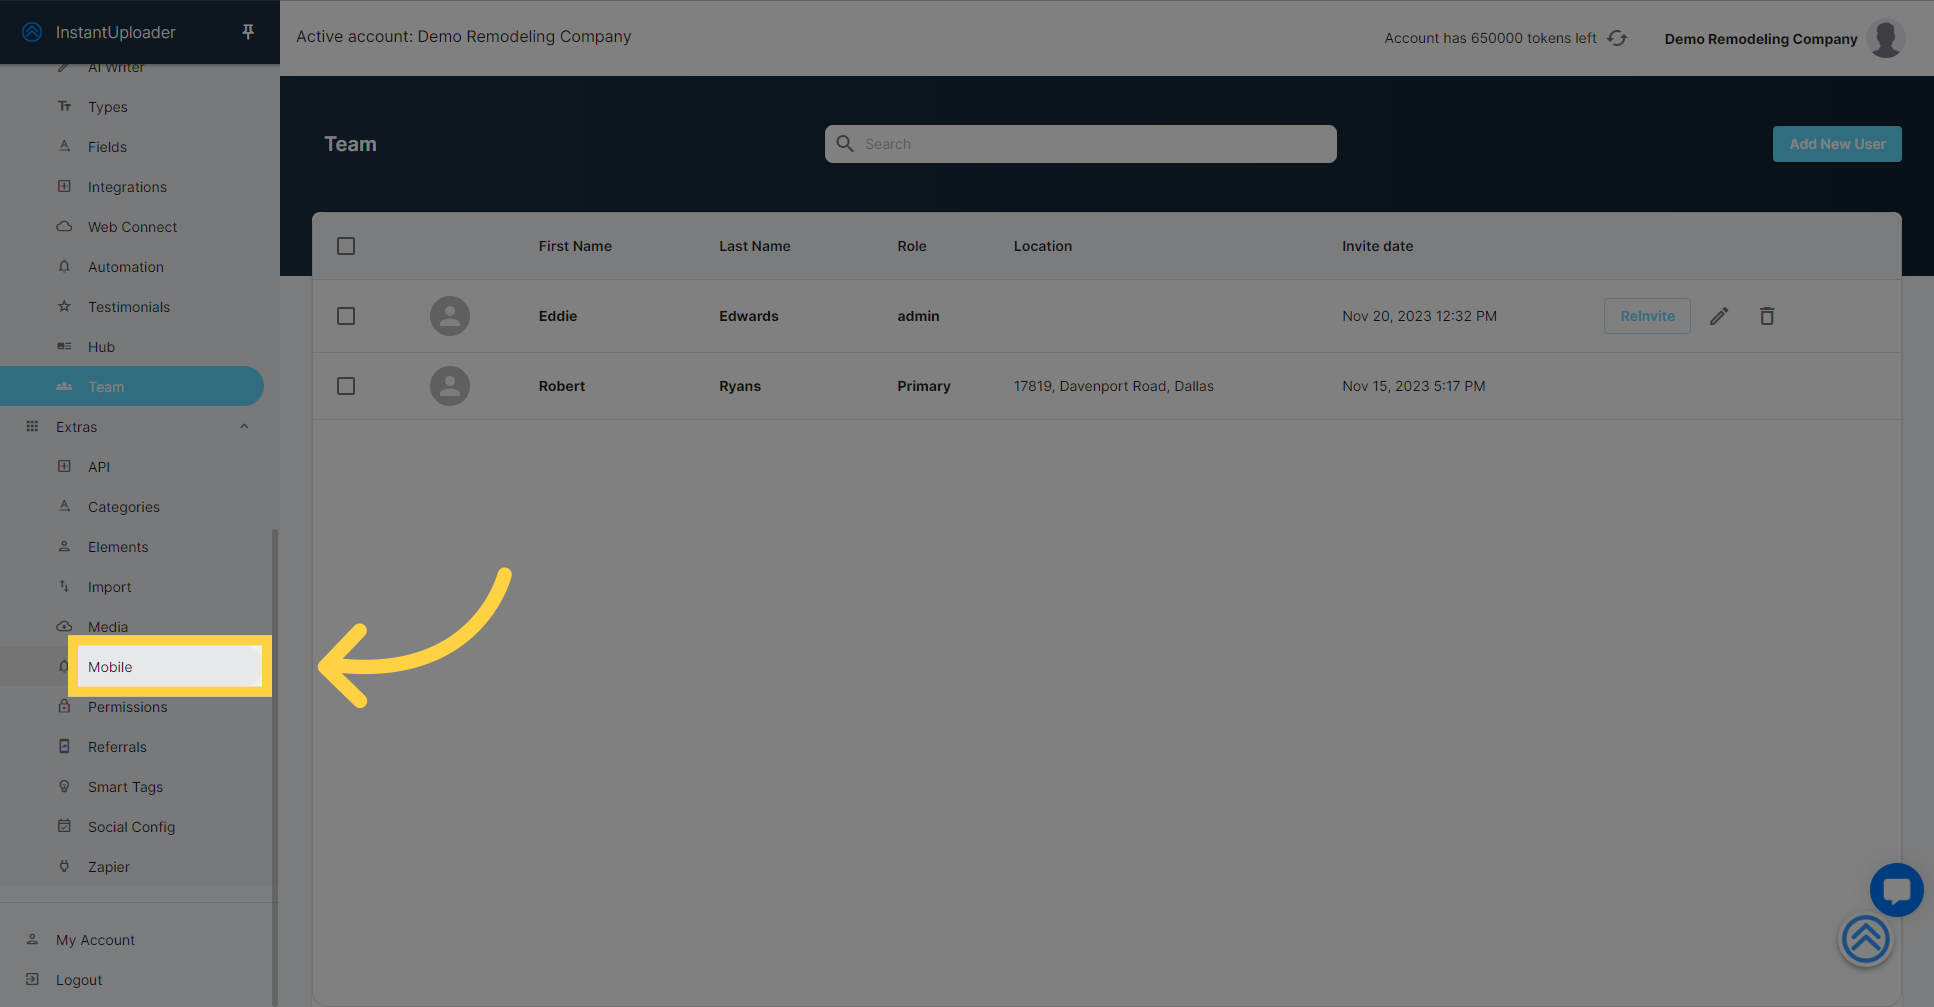
First things first, let's dive into the mobile app settings to cover the basics. You'll find these under the 'Extras' menu. Click on 'Mobile' to bring up the settings screen. Here, we'll focus on the essential configurations to get your team up and running. We'll skip over the more advanced settings for now – they're pretty self-explanatory, and we'll cover them in a separate guide. Let's keep it simple and ensure you have everything you need to start collaborating effectively.
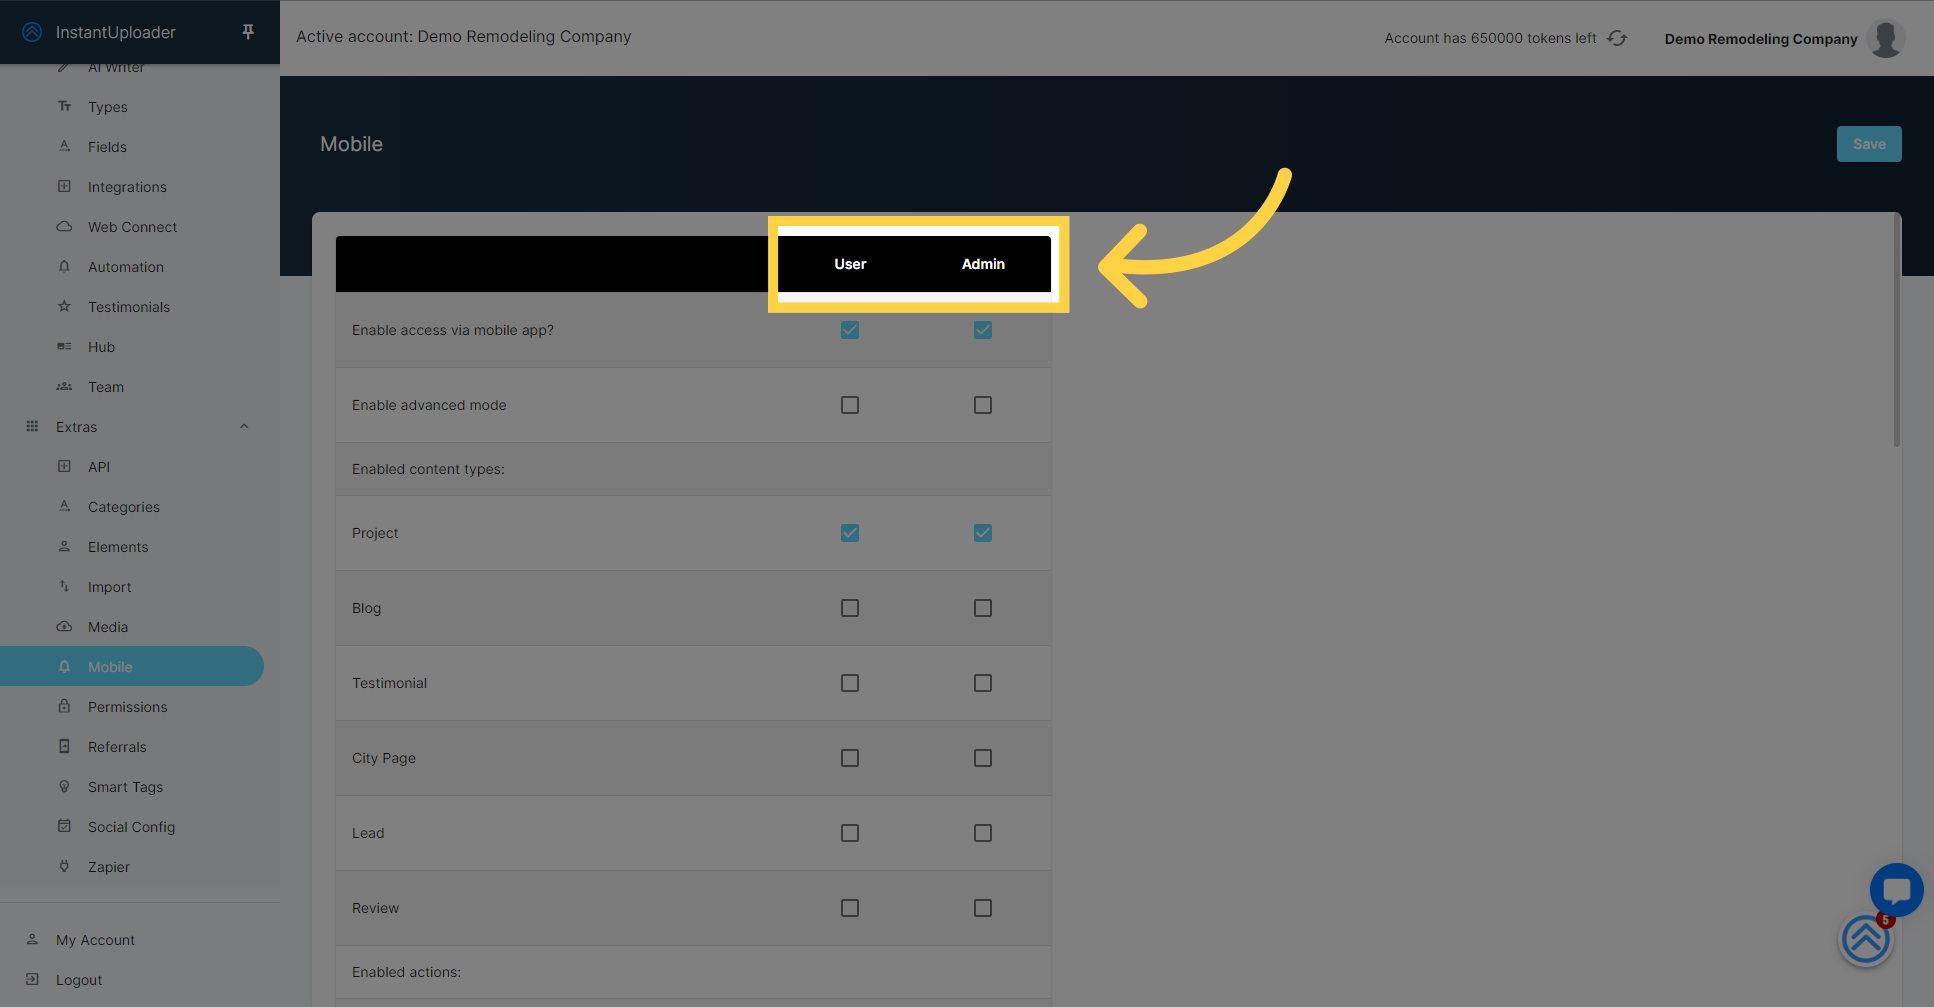
Take note of the two columns present for all features: 'User' and 'Admin'. Use these to toggle features on or off for each role, aligning access with each user's permissions. Remember this structure as you customize your team's app settings.
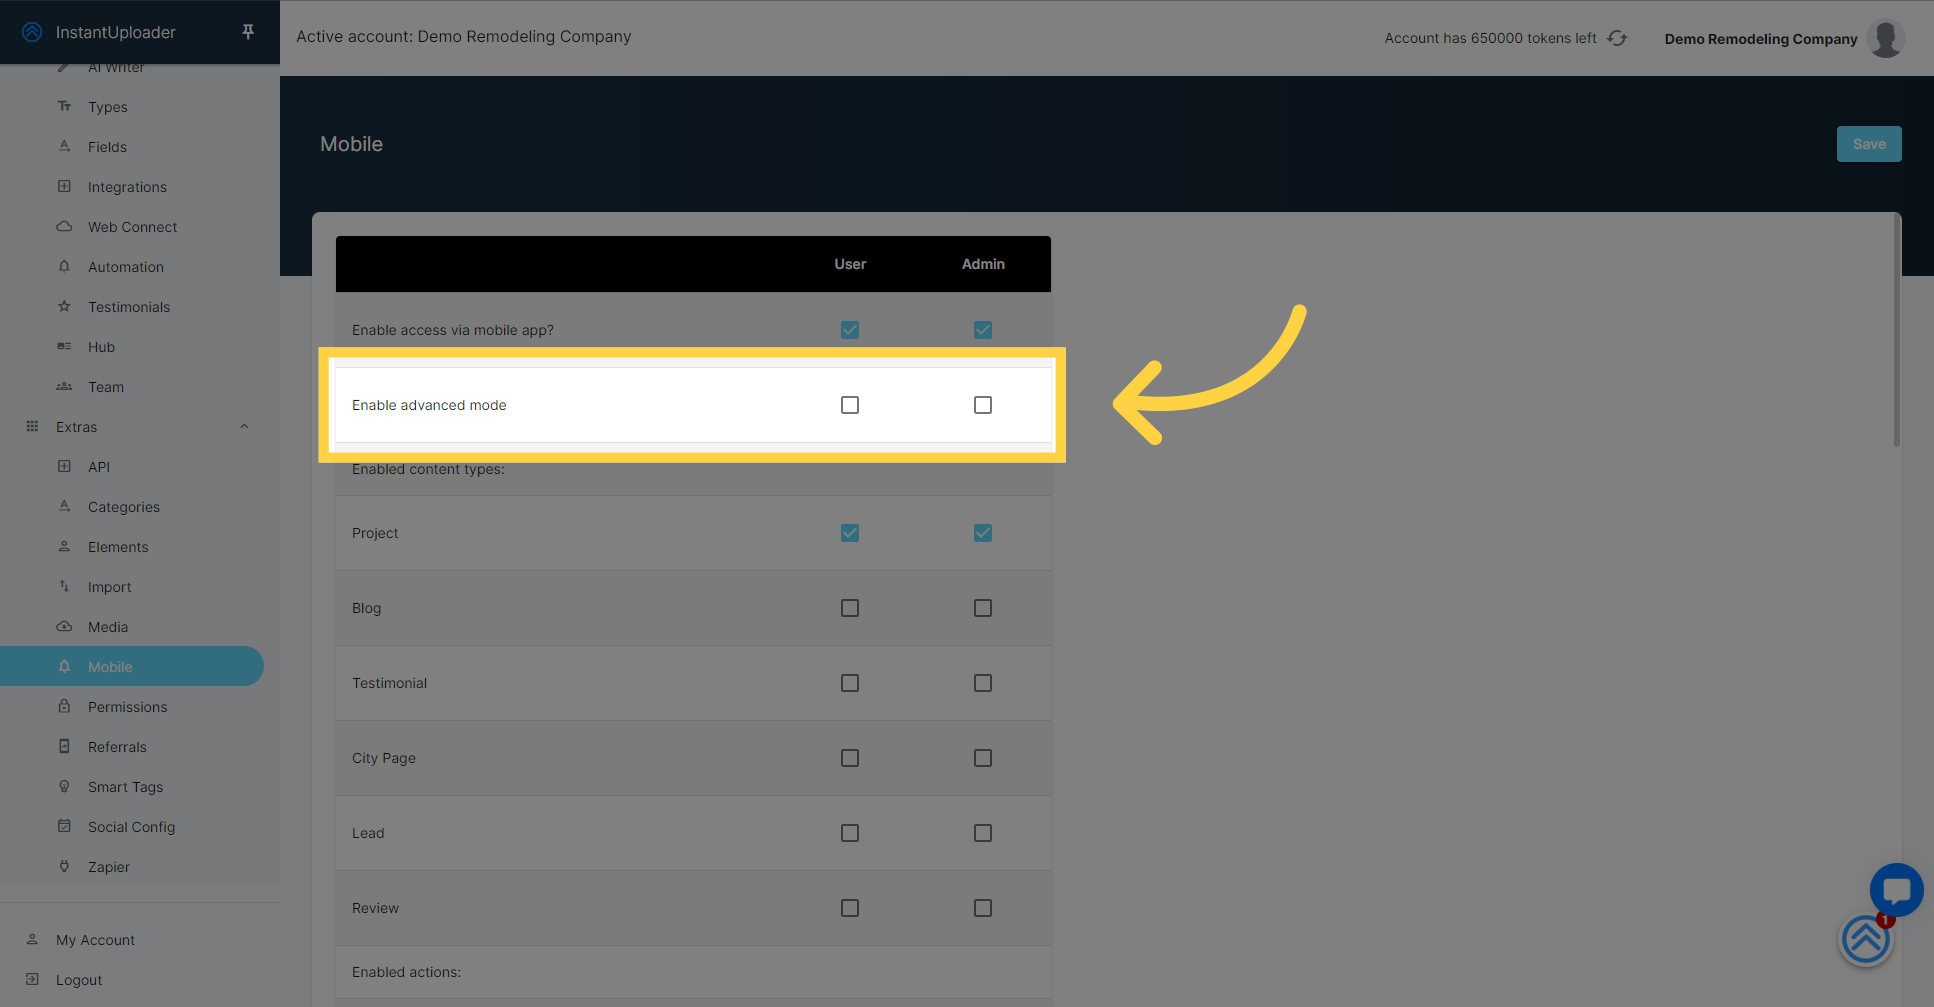
Now, let's turn our attention to the "Enable Advanced Mode" feature. For the most part, we'll want to keep this option unchecked for both 'User' and 'Admin' roles. This mode is tailored for businesses that need access to more sophisticated features and are set up to manage them. If your operations don't require these advanced capabilities, sticking with the standard settings is the recommended approach.
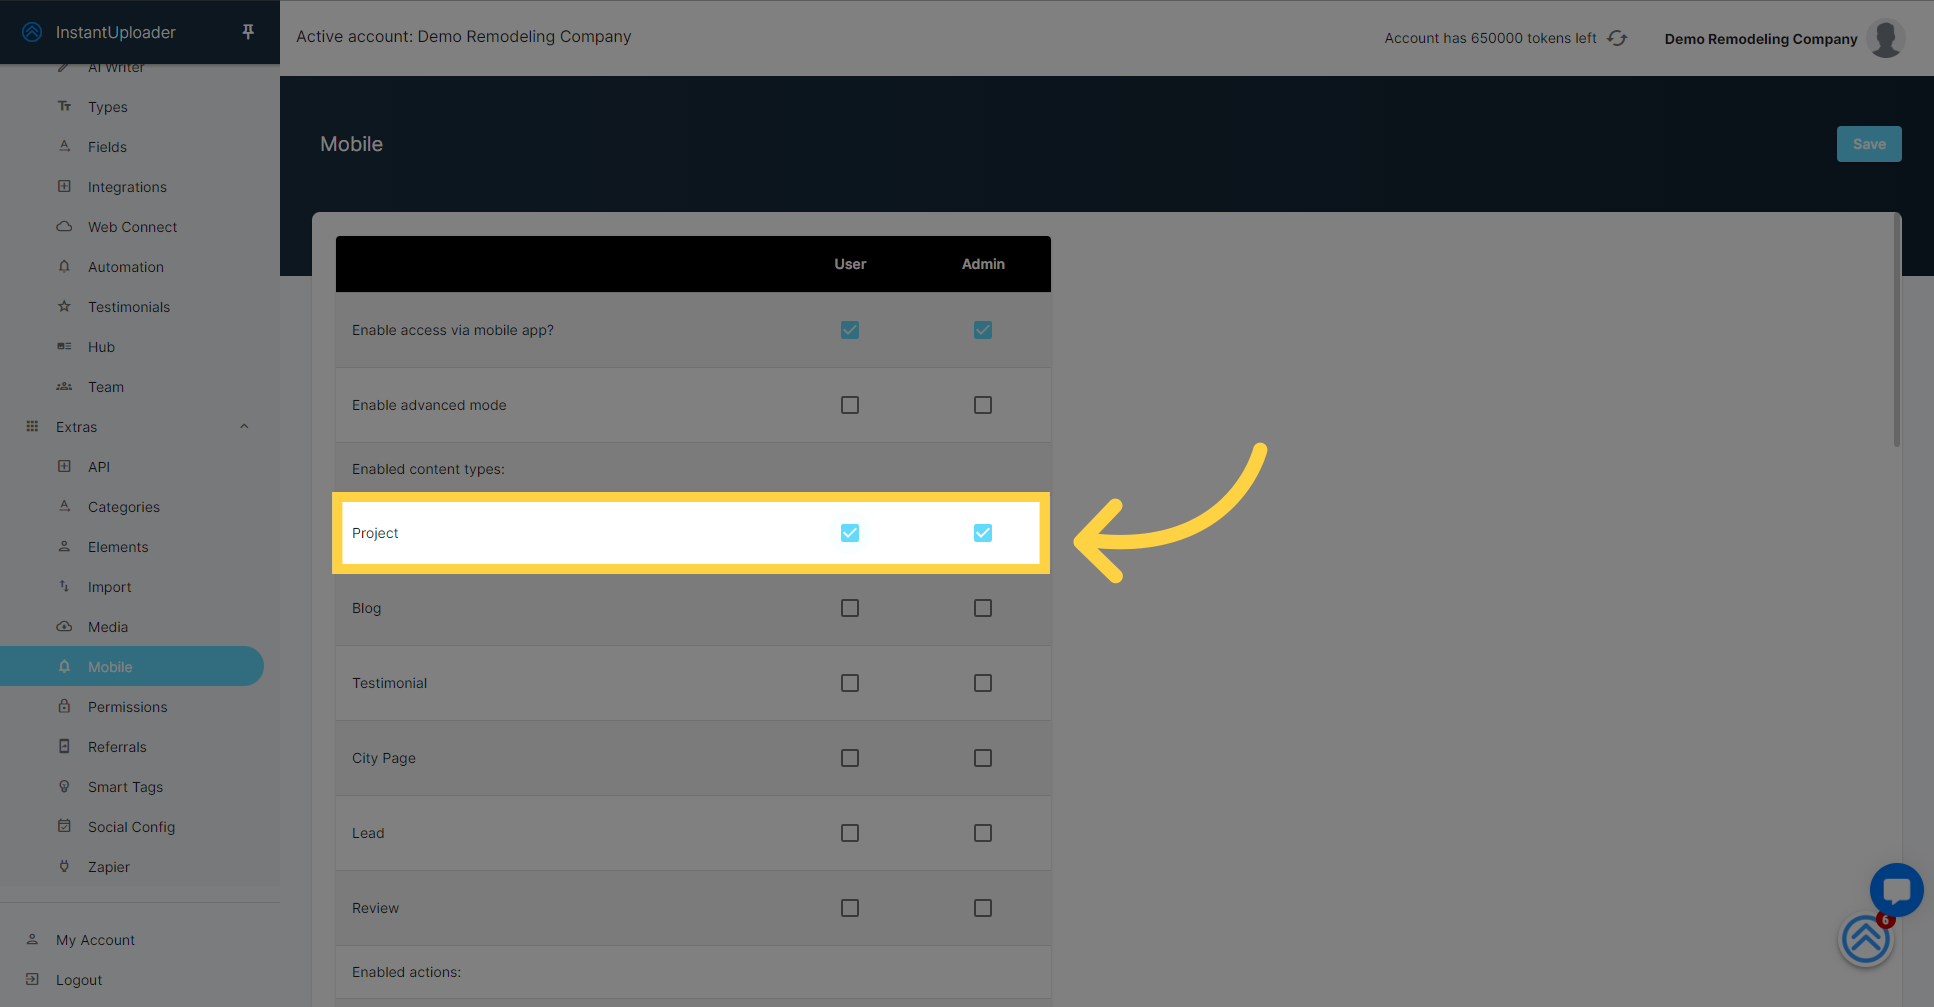
Now, let's shift our attention to the 'Enabled Content Types' feature. This is where you'll manage which types of content are accessible to users based on their role—'User' or 'Admin'.
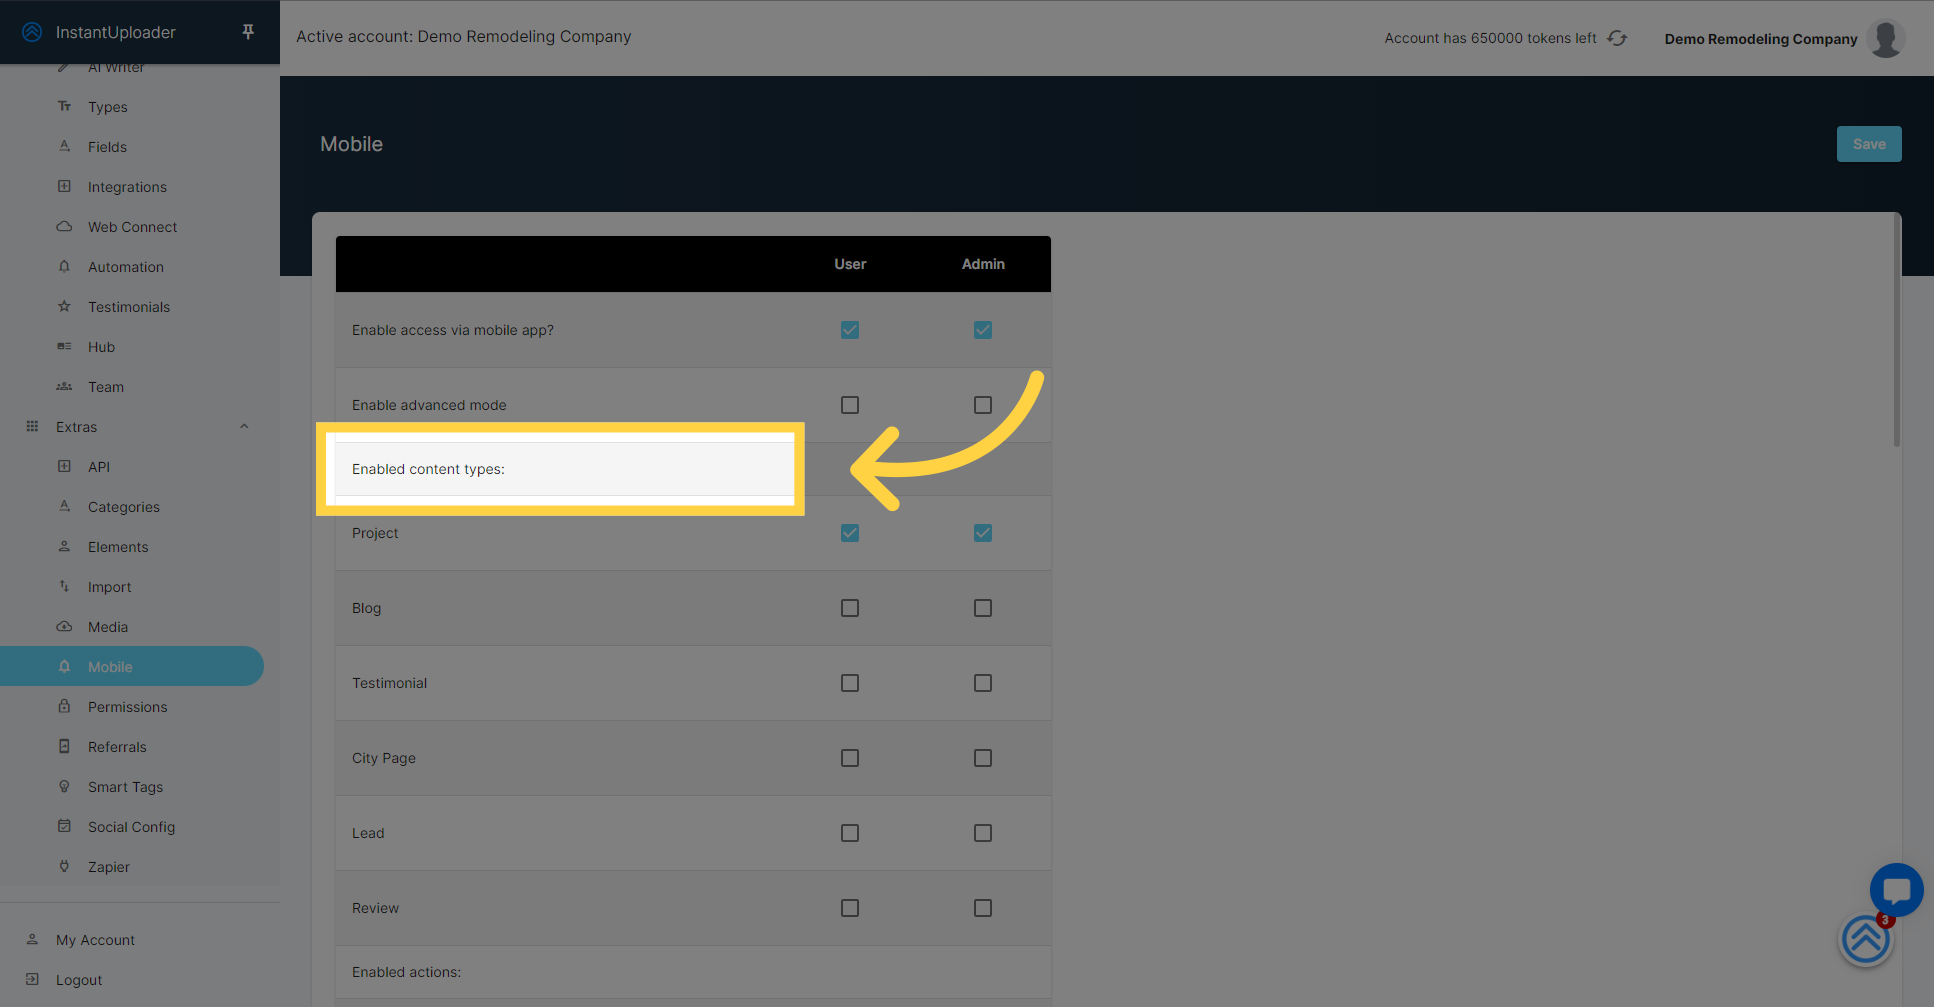
Be sure that the necessary content types, such as 'Projects', are activated for each role. This ensures that your team can smoothly operate within the app, with access to the content they need for their specific roles.
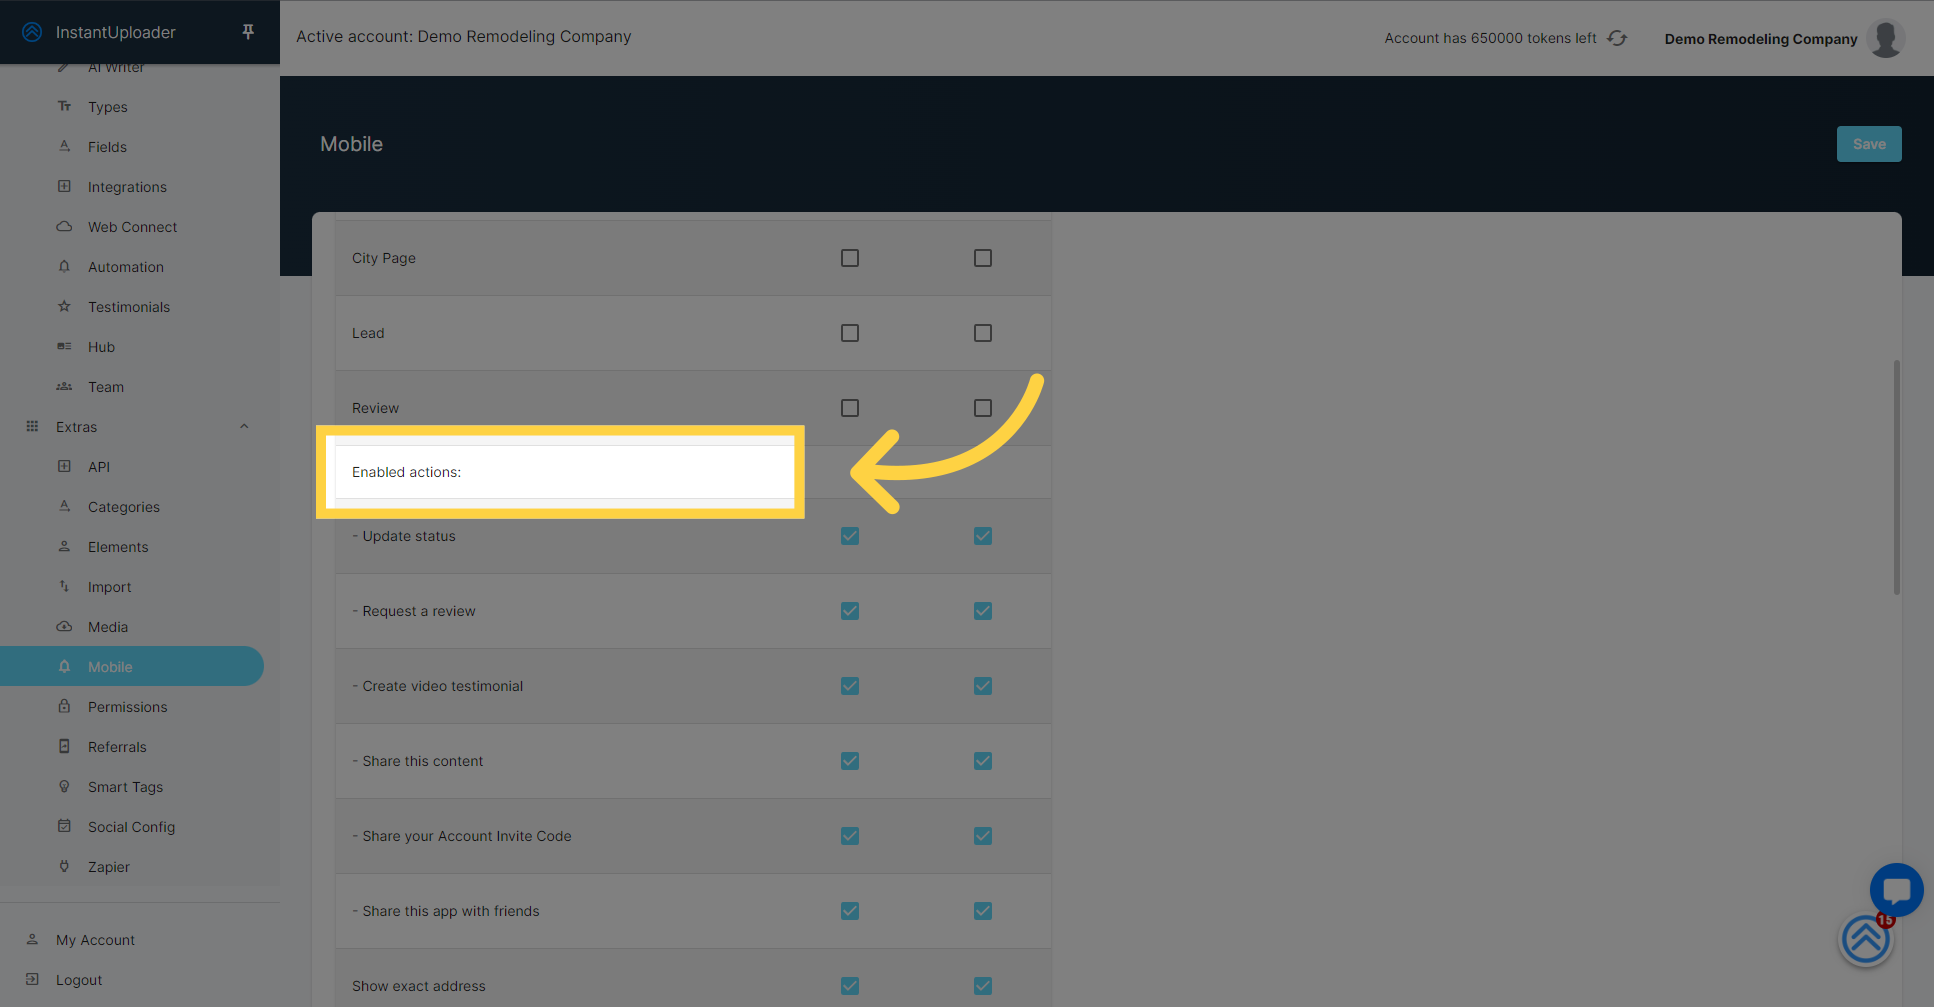
In the 'Enabled Actions' section, you have the option to tailor actions for each role. While you can modify these to fit your needs, we'll keep them at the default settings for now, to streamline the initial setup process.
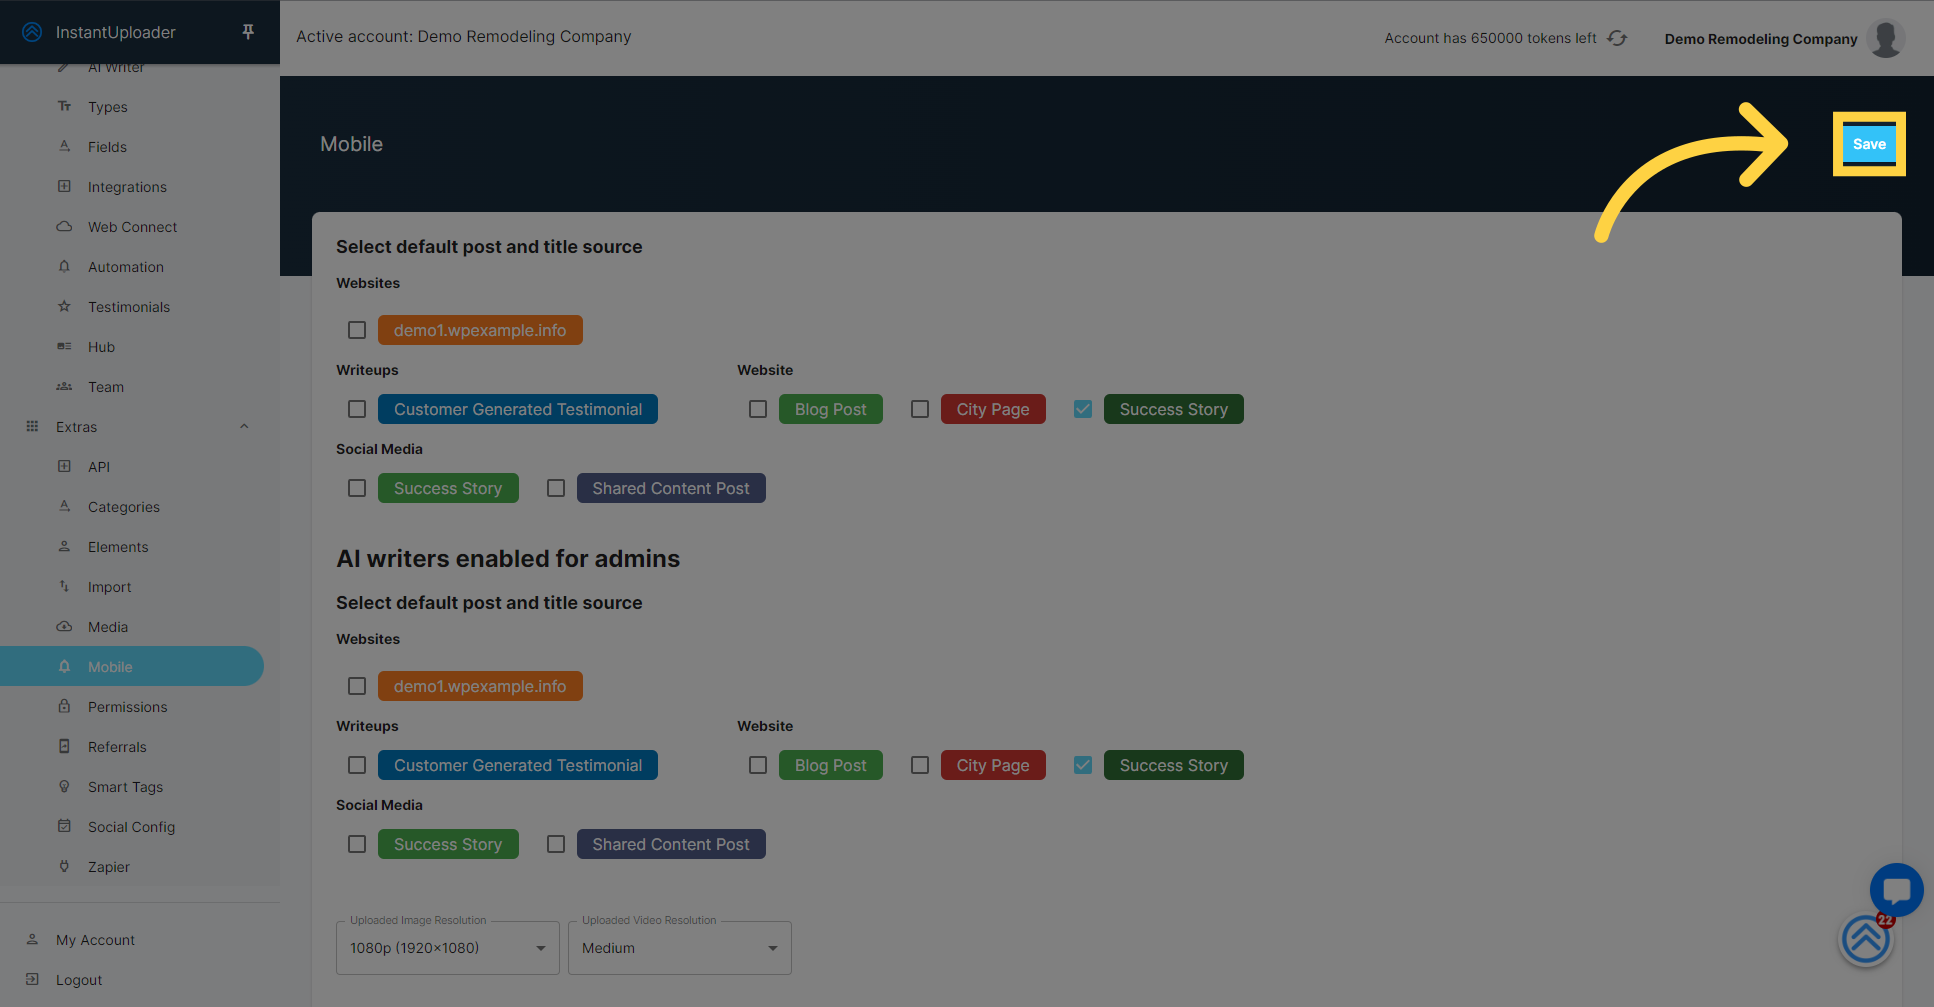
Adjust image and video resolution as needed. Default settings are 920x1080 pixels for images and medium for videos, which suit most users. Change these if your business needs differ.

If you've made any changes during this process, don't forget to save them! Click the 'Save' button to ensure all your new settings are applied. If you haven't made any changes, you can simply move on.
And that's it! You've successfully configured the mobile app for your team. With these settings in place, you're all set to capture and manage projects on the go. If you have any questions or need further assistance, don't hesitate to reach out. Happy capturing!
